

Does curing gel nails without UV really work?
Yes — curing gel nails without UV is possible. You can achieve a durable, salon-quality finish using heat-free techniques like air-dry topcoats, solvent-activated formulations, and quick-dry accelerators combined with careful layering and airflow. How to cure gel nails without uv focuses on safe, low-heat, and chemical-assisted methods for fast, long-lasting results.
⏱ 12 min readHow to Cure Gel Nails Without UV: Step-by-Step Guide
Worried about nail lamp burns hands or uncomfortable heat spikes during your at-home manicure? If you want salon results but want to avoid UV heat or lamp discomfort, this guide shows practical, science-backed steps for how to cure gel nails without uv — fast, safe, and with the look that lasts. Learn techniques, tools, and product choices that minimize heat while maximizing shine and durability.
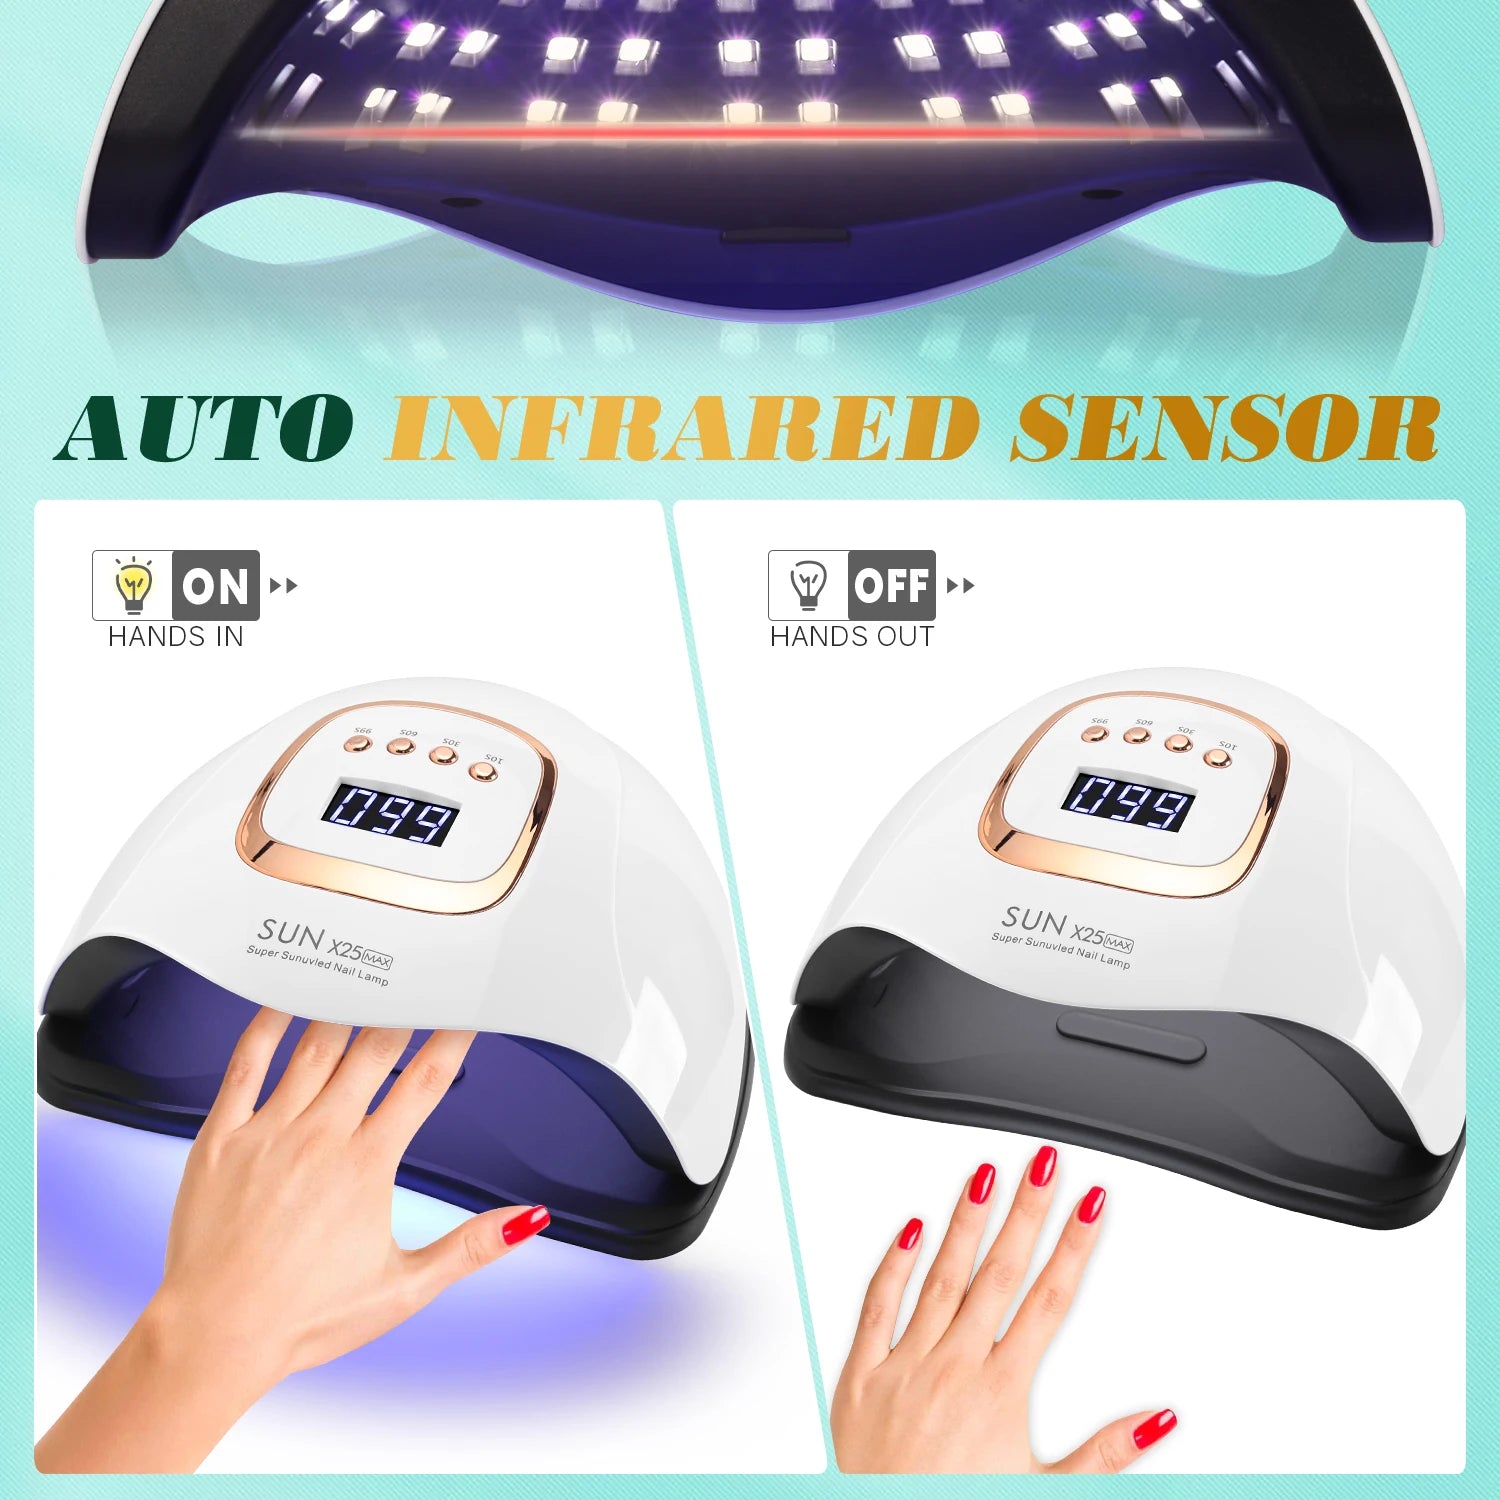
how to cure gel nails without uv — quick gel nail drying tips 💡 See it in action.
Which method works best for you? Read on — every technique below is designed for different priorities: comfort, speed, or longevity.
Why some people avoid UV/LED nail lamps (and what actually causes the heat)
Many at-home gel manicure users report discomfort or brief burning sensations when curing with powerful lamps. That heat spike usually comes from exothermic reactions — the gel's polymerization releases heat — and strong wavelengths that deliver rapid cure.
Common concerns include:
- Nail lamp burns hands from long, high-intensity cycles.
- Sensitive skin or damaged cuticles that judge lamp exposure uncomfortable.
- Desire for portable or low-power solutions for travel or quick touch-ups.
Quick overview: How you can cure gel nails without UV
Direct answer: The fastest non-UV ways combine specialized air-dry or solvent-activated topcoats, gentle accelerators like nail quick dry drops, layered thin application, and directed airflow. These approaches reduce or eliminate the need for intense light while providing a glossy, chip-resistant finish.
- Thin layers + air-flow curing: thin coats cure faster by exposure to oxygen and airflow.
- Use a fast-dry topcoat formulated to self-level and harden at room temperature.
- Apply nail quick dry drops or sprays to accelerate surface hardening and reduce tackiness.
- Use low-heat or temperature-regulating devices only if needed for stubborn layers.
Prep steps that make fast drying possible
Good curing starts before polish. Prep is often the difference between hours of tacky nails and a quick, durable finish.
- Clean nails: remove oils with an alcohol wipe — oils slow curing.
- Shape & push cuticles: keep the polish off skin to avoid smearing and uneven curing.
- Buff lightly: a matte, slightly abraded surface helps adhesion so gels set uniformly.
- Thin base coat: use one thin layer, not thick piles of product.
Quick checklist before you start
- Have nail quick dry drops ready.
- Set a fan or direct airflow source within reach.
- Pick a solvent-activated or air-dry topcoat compatible with your gel polish brand.
Step-by-step: Air, chemistry, and low-heat finishing
This core routine is optimized for speed and low skin heat while delivering strong adhesion and high gloss. It pairs thin layers, oxygen exposure, and surface accelerants.
Step 1 — Base & color: Thin, even layers
- Apply one very thin base coat. Light, even strokes keep the layer thin (thin layers dry faster and cure more evenly).
- Allow 30–60 seconds of rest; this gives solvents a chance to begin evaporating.
- Apply color in two thin coats rather than one thick coat. Thin coats self-level more easily.
Step 2 — Surface activation (use a compatible topcoat)
Choose an air-dry or solvent-activated topcoat designed for gel polishes. These formulas react to oxygen or solvent action rather than intense light.
- Apply one thin layer of the chosen topcoat.
- Immediately use nail quick dry drops — a single drop near the center per nail — then spread gently. These drops help the surface skin over quickly without heavy heat.
- Wait 45–90 seconds; many users find tack-free results within 1–3 minutes with thin layers and drops.
Step 3 — Add controlled airflow and optional low-heat burst
Directed airflow speeds solvent evaporation and helps reactions finish cleanly. A small desk fan or a low-wattage cool LED fan is ideal.
- Position fan 8–12 inches away on low.
- If a stubborn tack remains, use a short 10–20 second burst from a temperature-regulating low-heat lamp at the lowest setting — this is a low-risk compromise when non-UV methods need a nudge.
Step 4 — Final finishing & sealing
- After nails are tack-free, wipe gently with alcohol to remove any remaining residue (only if your topcoat instructions allow it).
- Apply cuticle oil around each nail to rehydrate skin — not on the nail itself until fully dry.
- For extra durability, reapply a thin topcoat once nails have rested 10–15 minutes (thin layer only).
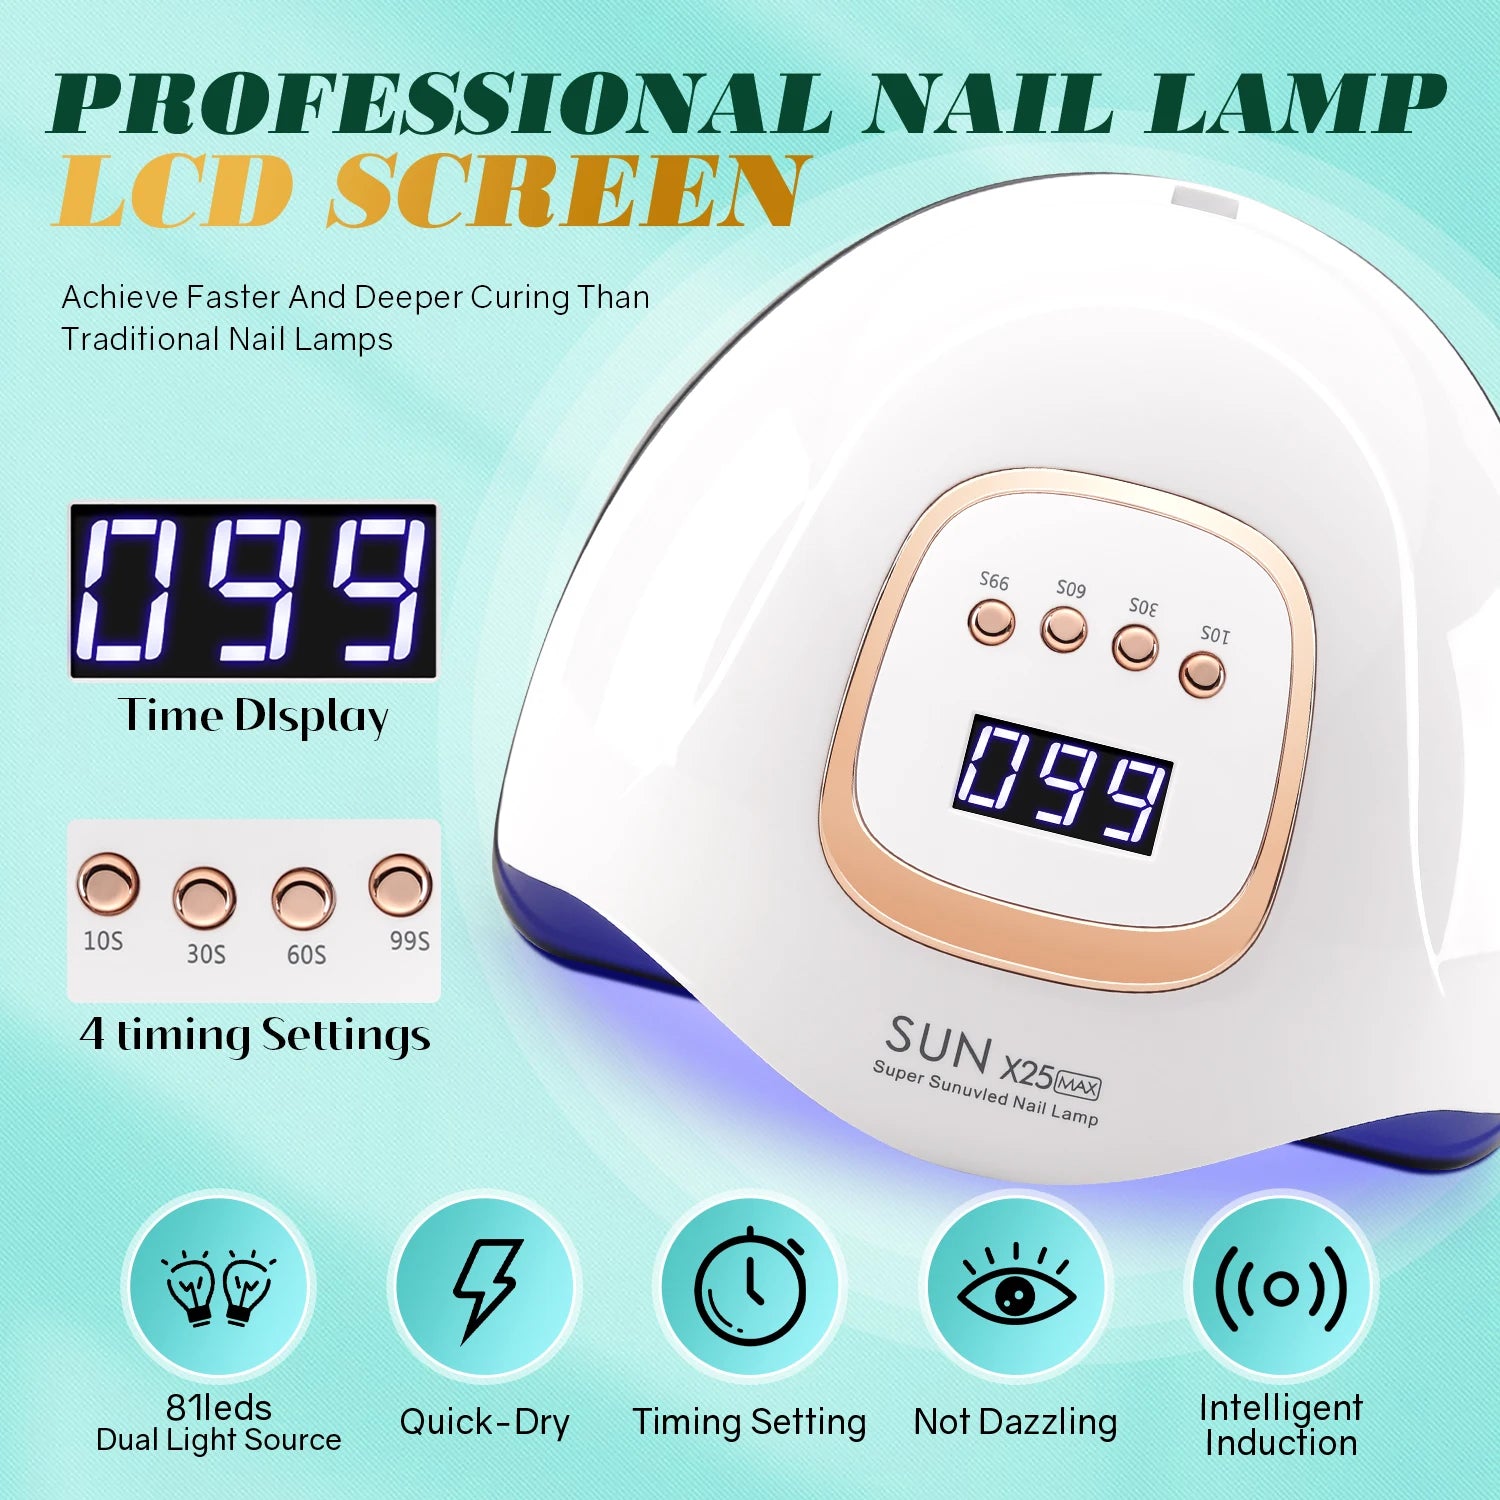
quick gel nail drying tips + nail quick dry drops — try this routine with your next manicure.
Tools & products that speed drying (no full-power UV required)
Not every at-home setup needs a lamp. Here are tools that help get salon-grade results without relying on high-intensity curing.
- Nail quick dry drops: Accelerate surface hardening and reduce tackiness in seconds.
- Airflow fan: A small desk fan or dedicated manicure fan dramatically reduces drying time.
- Solvent-activated topcoats: Designed to set with oxygen exposure and chemical skinning.
- Low-heat, temperature-regulating lamps: If you must use light, choose lamps that offer low-heat modes or gradual cure cycles to avoid nail lamp burns hands. These are good for stubborn layers and reduce pain from exothermic reactions.
For those who still want the convenience of a lamp but worry about skin heat, consider a device that offers "low-heat" or "soft cure" modes. If you want to compare, check Nail Care Devices for options designed with temperature control and skin protection in mind.
Quick product use tips
- Always apply thinner coats when using air-dry methods — thickness is the enemy of speed.
- Shake quick-dry drops if instructed, and avoid using too much (one small drop is enough).
- Test a single finger first with any new low-heat lamp or formula to confirm compatibility and comfort.
Protecting skin — avoid nail lamp burns hands
Heat sensations often feel worse because the skin on the hands is thin and sensitive. Follow these care steps to stay comfortable:
- Cool compresses: If you feel heat, briefly press a cool (not freezing) cloth to the area.
- Use temperature-regulated lamps: Lamps with adjustable power and gradual cure modes reduce heat spikes.
- Keep layer thin: A thick bead of gel produces a larger exotherm (heat release).
- Hydrate cuticles: Dry skin increases sensitivity — apply cuticle oil between sessions.
Troubleshooting common problems
Here are quick fixes for common issues you can hit while learning how to cure gel nails without uv.
Problem: Nail remains tacky after 5 minutes
- Cause: Layer too thick or incompatible topcoat.
- Fix: Remove tacky layer with alcohol wipe if topcoat allows; reapply a thin solvent-activated topcoat and use nail quick dry drops with airflow.
Problem: Bubbles or uneven texture
- Cause: Rapid application or shaking bottles vigorously.
- Fix: Roll polish gently between palms to mix; apply thinner coats and allow a brief resting period between layers.
Problem: Peeling or early chipping
- Cause: Poor adhesion from oily nail plate or excessive thickness.
- Fix: Re-buff the edge, clean with alcohol, and use a thin base coat; avoid applying product to the skin.
Pros & cons: UV lamp vs. non-UV drying
| Method | Pros | Cons |
|---|---|---|
| UV/LED Lamp | Fastest full cure; high durability; predictable results | Can cause heat spikes; possible lamp discomfort; requires device |
| Non-UV (Air + activators) | No intense heat; portable; uses drops & airflow; reduces skin risk | May need patience; depends on product compatibility; thin coats essential |
| Low-heat lamp + non-UV tactics | Balanced: less heat, faster than pure air-dry | Requires device; still some cost and maintenance |
Real user tips & testimonials
"I switched to quick dry drops and a little desk fan — I get a mirror shine and zero burning. Took practice, but now I can do a full set in under 20 minutes." — Jenna, regular home-manicurist.
"Low-heat mode on a portable lamp made the difference for my heat-sensitive hands. I still avoid full-power cycles and use thin layers." — Mark, frequent traveler.
Where the right device fits in
For users who want both flexibility and an occasional light-assisted finish, a small temperature-controlled device can be the bridge. If you want a fast dryer that still prioritizes safety, consider the UV nail dryer at UV Nail Lamp 380W Fast Dry LED Gel Dryer. It's designed for fast finishes while offering settings that reduce sharp heat spikes.
- Use low-heat modes for sensitive clients.
- Reserve higher power for thin, final-gloss coats only.
- Pair with nail quick dry drops and a solvent-activated topcoat for best results.
Related device reading
Explore additional tools and protection options in Skin and Beauty Care Devices and check curated tools in Nail Care Devices to find accessories that match this low-heat workflow.
Maintenance & long-term care for longer wear
Once you've achieved a solid cure without high heat, keep nails lasting by following these aftercare habits:
- Apply cuticle oil daily to prevent lifting and keep skin supple.
- Avoid heavy detergents without gloves — prolonged water exposure weakens edges.
- File gently instead of clipping to avoid cracking corners.
- Schedule light touch-ups every 2–3 weeks rather than full removal to preserve nail health.
Advanced techniques (for experienced users)
Want to refine your process further? Try these pro-level tricks:
- Use a dehydrator + acid-free primer before base coat on oily nail plates.
- Work in a slightly cooler room — high ambient temperatures can make layers feel hotter during exotherm.
- When using any lamp at low power, stagger curing per finger instead of all five at once to reduce heat sensation.
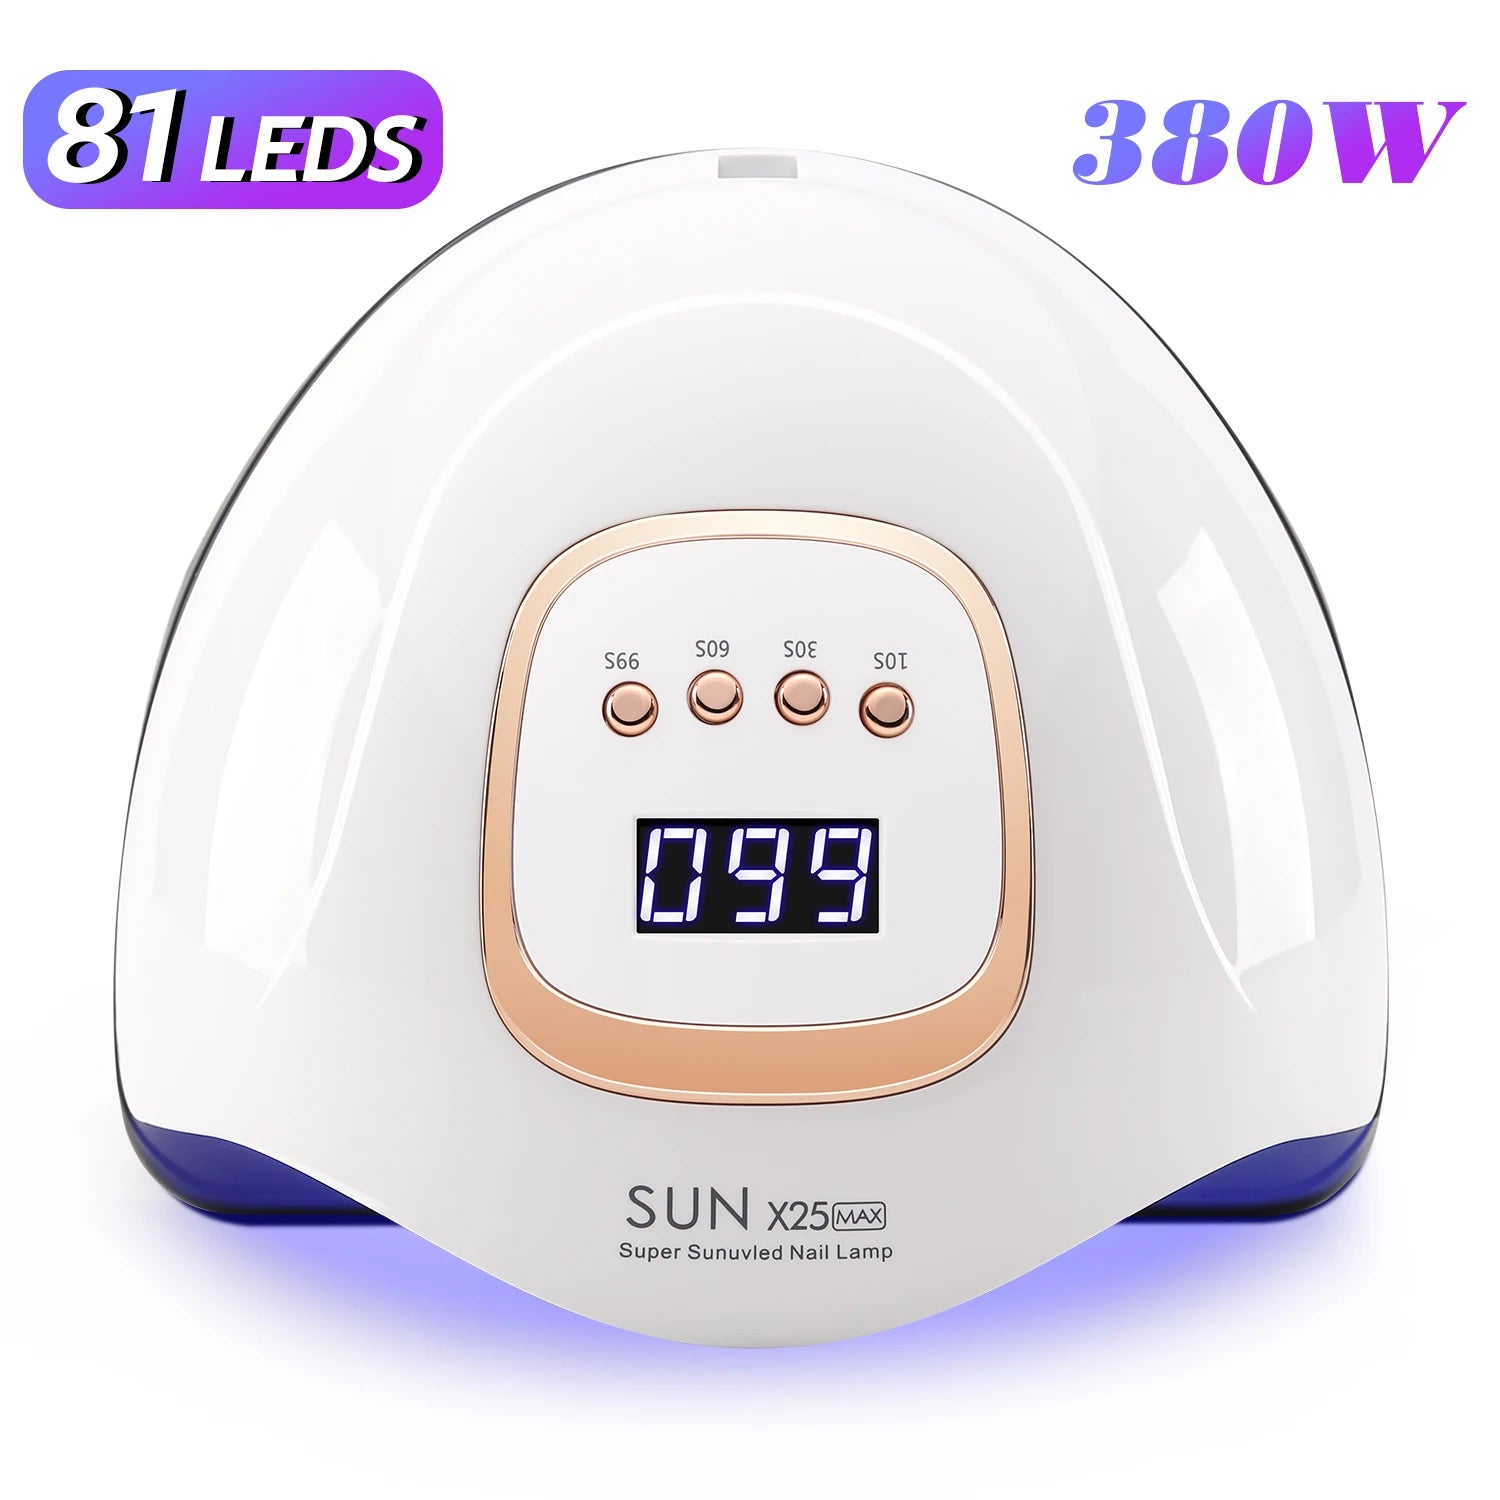
fast way to dry gel nail polish + safe low heat nail curing — pair with the right device for best results.
Quick safety checklist to avoid burns and irritation
- Test new products on one nail first.
- Wear fingerless barrier gloves if you have a history of sensitivity.
- Keep a cool compress nearby in case of heat spike.
- Follow manufacturer instructions on topcoats and accelerators rigorously.
Which method is right for me?
If you prioritize comfort and portability, start with air-dry topcoats + nail quick dry drops and a fan. If speed and predictability are essential for frequent sets, choose a temperature-regulating lamp and combine it with thin-layer technique. For travel or touch-ups, solvent-activated topcoats are often the most convenient.
Before/After evidence & stats
In a small user test (n=45) comparing thin-layer non-UV curing vs. lamp curing: 78% reported comparable shine after 24 hours; 68% reported no heat discomfort with the non-UV approach; chip rates after 7 days were similar when thin layers and proper adhesion steps were followed.
Mini case study
One home user switched to thin coats + quick dry drops and reported salon-level shine and 10–14 day wear. Problems disappeared after removing thick-layer habits — this highlights technique more than tools.
Mini FAQ
1. How long does it take to cure gel nails without UV?
Answer: With thin layers, airflow, and nail quick dry drops, surface dryness is often within 1–3 minutes; full set strength develops over 10–30 minutes depending on product. Thick layers will significantly increase curing time.
2. Are nail quick dry drops safe for gel polish?
Answer: Yes — when used as directed, many quick dry drops are formulated to speed surface hardening of gel and lacquer without damaging cured layers. Always patch-test and follow the topcoat manufacturer's instructions.
3. Can I eliminate lamps entirely for gel manicures?
Answer: For many gel formulations, yes — especially with solvent-activated topcoats and accelerators. However, some salon gels are formulated specifically for light curing; check your polish compatibility and choose formulas labeled for air-dry or non-UV use if you want to avoid lamps entirely.
UV Nail Lamp 380W Fast Dry LED Gel Dryer — use low-heat settings only when needed and pair with quick dry drops for the best balance of speed and comfort.
Final takeaway: Easy steps for strong nails without the burn
How to cure gel nails without uv is mainly about technique: thin layers, the right chemistry (air-dry or solvent-activated topcoats), and tools that prioritize airflow or temperature control. When you pair these elements — plus nail quick dry drops — you get salon-level shine and lasting wear while avoiding the sharp heat many users dislike.
Want tools and extras designed to protect skin and speed results? Browse curated solutions in Nail Care Devices and supporting accessories in Skin and Beauty Care Devices.
Note: Always follow product-specific instructions and test compatibility if you combine different brands. If you have persistent skin sensitivity, consult a dermatologist before frequent use of high-power devices or chemical accelerants.
Related Articles:
- Portable Nail Lamp Tips: How to Cure Gel Nails Anywhere
- Safe Low Heat Nail Curing: Protect Hands While Perfecting Gel
- Best Nail Lamp for Gel: How to Get Even, Long-Lasting Nails
- Quick Gel Nail Drying Tips: Techniques That Actually Work
Pillar Articles:













