Does the KentDO UV nail lamp really speed up gel curing?
Answer: The KentDO UV nail lamp delivers reliable, salon-grade curing by combining high-output UV-LED diodes and adjustable timers to reduce curing times for gel nails while minimizing heat spikes and uneven cures. It’s designed for consistent, full-spectrum curing across polish brands, making it a practical choice for both pro and at-home gel manicures.
⏱ 14 min readKentDO UV Nail Lamp: Features That Perfect Your Gel Nails
If your gel manicures cure too slowly, scorch your nail bed with heat spikes, or finish with uneven shine, the KentDO UV nail lamp promises a salon-quality fix. This article breaks down the lamp’s tech, real benefits, and step-by-step usage so you can see whether it’s the tool that finally makes your gel polishes behave.
Why this lamp works better than standard lamps
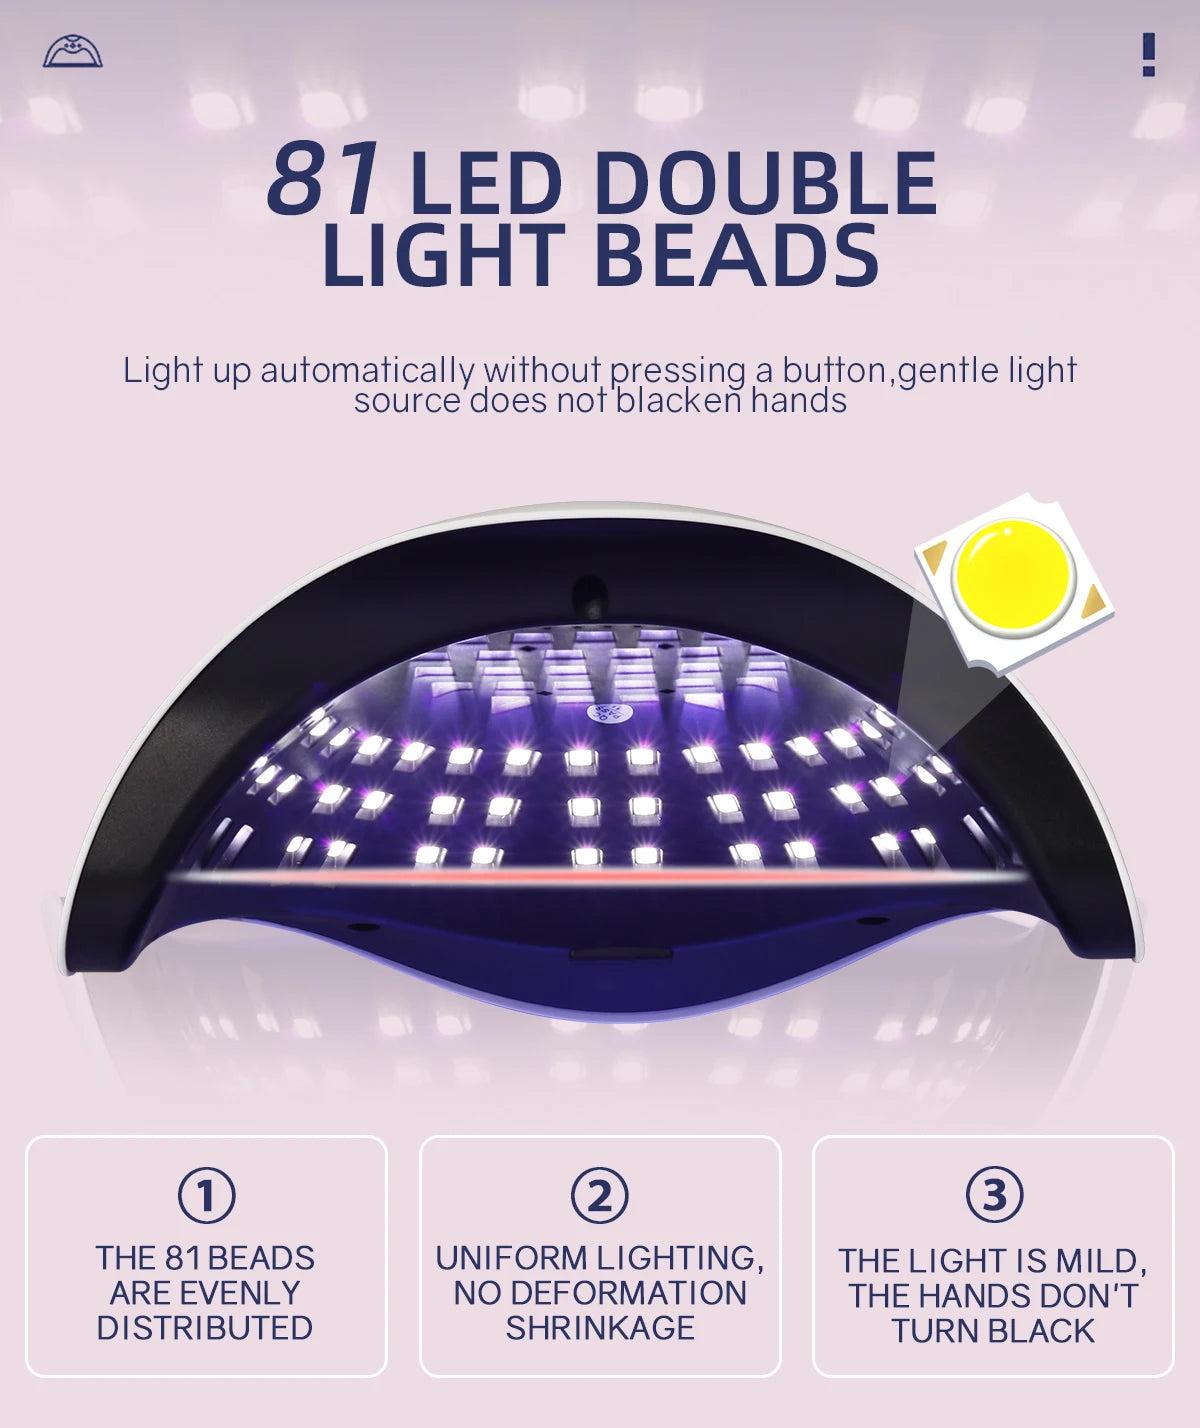
Most home nail lamps rely on either low-output bulbs or poorly distributed LEDs that create hot spots and inconsistent cures. The KentDO UV nail lamp focuses on delivering consistent wavelength coverage and even intensity across the curing bed, which directly addresses three common pain points:
- Slow curing times that lengthen manicure sessions.
- Heat spikes (the sudden burning sensation) during curing.
- Uneven shine or uncured pockets at the nail edge or cuticle.
What makes the KentDO UV nail lamp different?
The KentDO UV nail lamp pairs a higher-wattage LED array with an optimized reflector shape and smart timers, reducing curing time while distributing UV/LED energy evenly. This creates faster, more predictable cures for most gel polish formulas and reduces the risk of overexposure or heat spikes.
KentDO UV nail lamp - professional uv led nail lamp — 💡 See it in action. KentDO UV nail lamp
Which style suits you best? Read on!
How the KentDO UV nail lamp improves outcomes — benefit-first feature breakdown
Faster, consistent curing that saves time
Benefit: Reduced time at the lamp and fewer repeat passes. The KentDO unit uses high-output diodes and optimized power delivery so a typical base + color + top coat sequence finishes quicker than with low-output lamps.
Even cure across the entire nail
Benefit: No soft centers or hard edges. The lamp’s geometry and LED placement minimize shadowing at the cuticle and nail edge, improving adhesion and shine.
Reduced heat spikes for safer, more comfortable cures
Benefit: Less burning sensation for sensitive clients. Built-in timer options and a phased power ramp reduce the sudden onset of heat many users feel with brute-force lamps.
Broad compatibility with gel and builder gels
Benefit: Works with most modern gel formulas, from thin color gels to thicker builder gels. That flexibility makes it a strong choice if you mix pro and at-home brands.
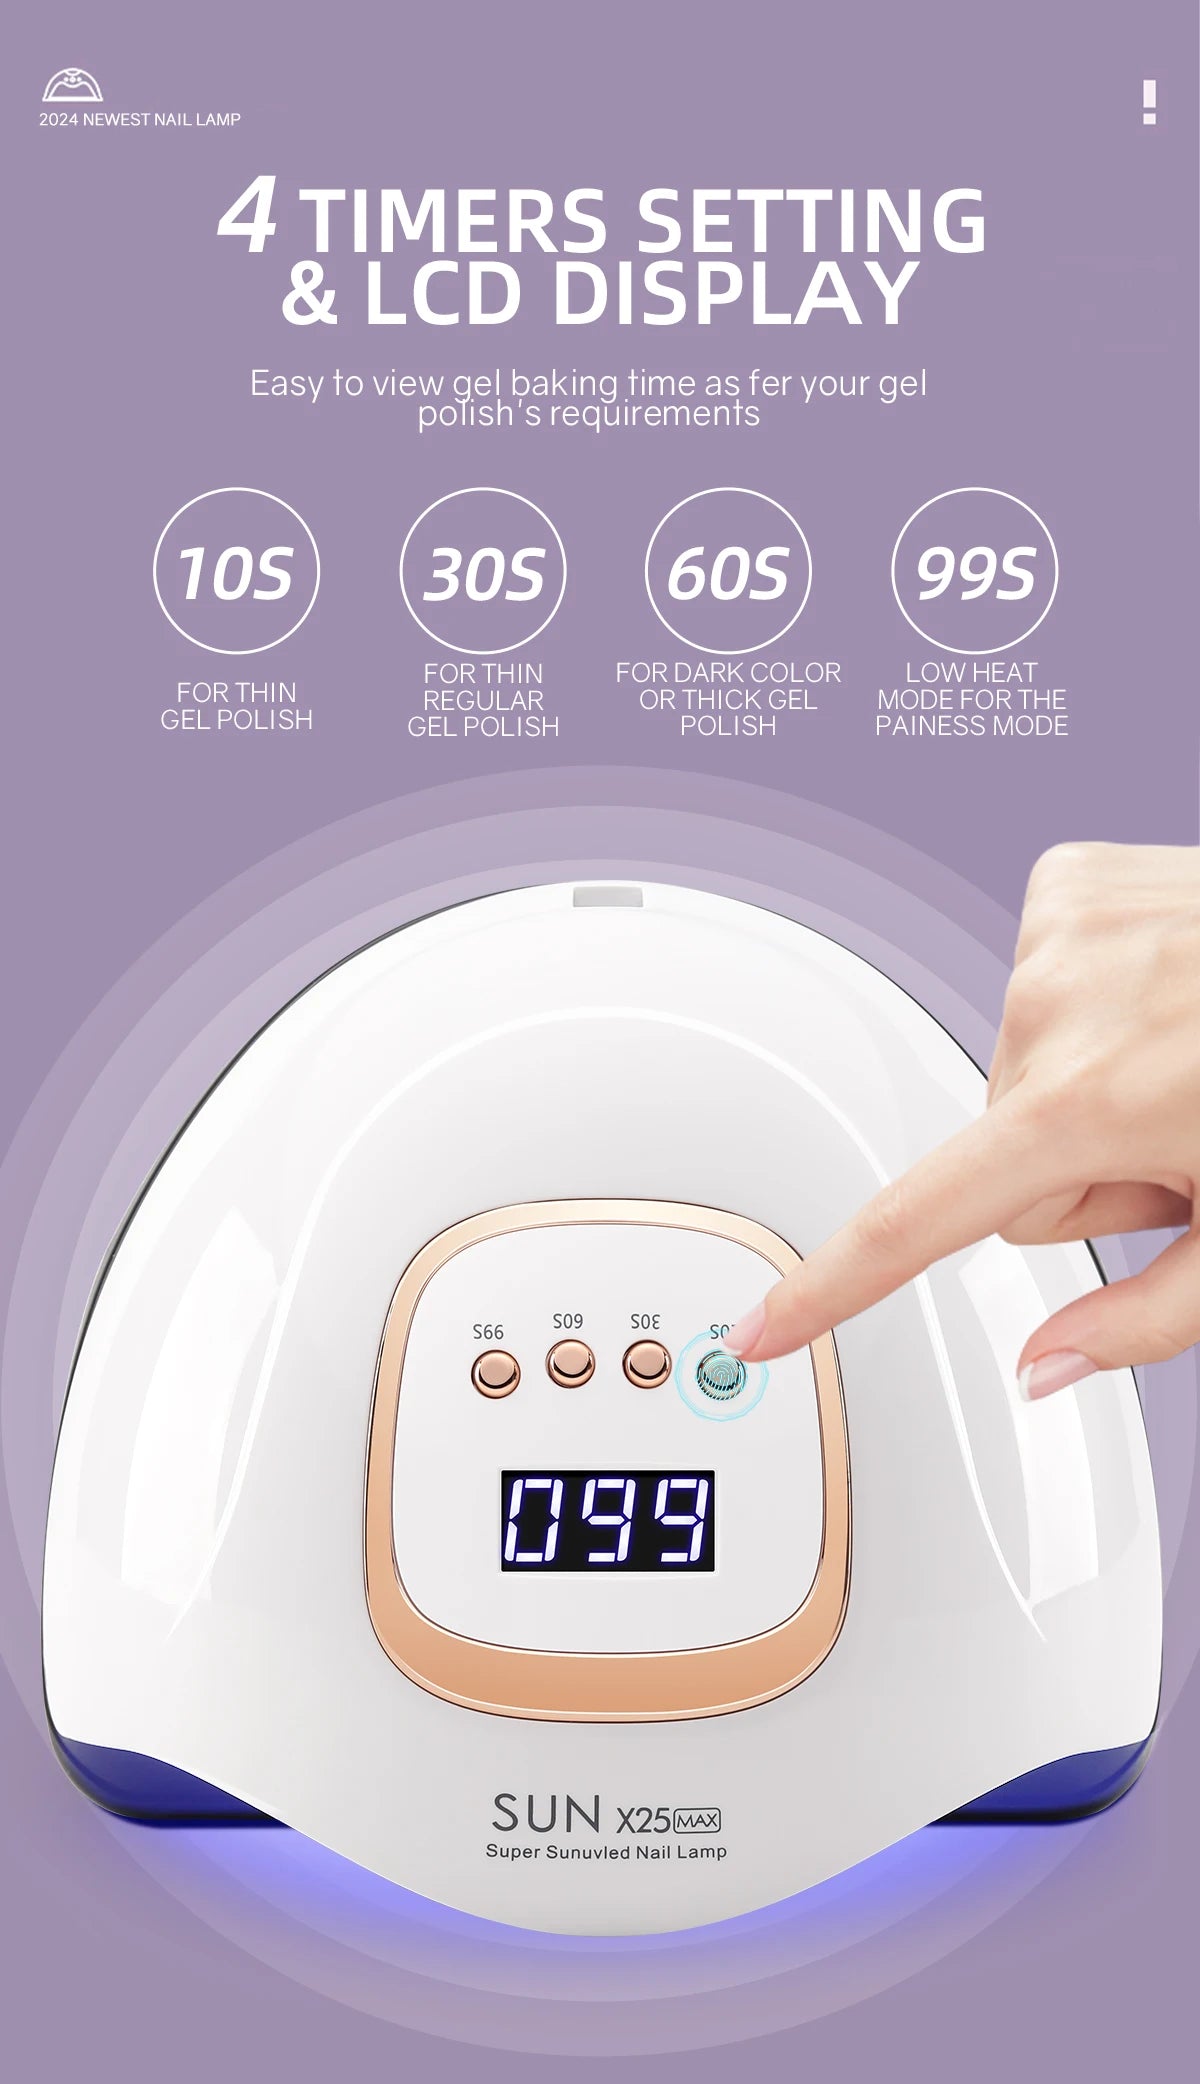
Smart timer presets & user control
Benefit: Presets for common curing times plus manual control let you balance speed and comfort per polish.
| Feature | Benefit |
|---|---|
| High-output UV-LEDs | Faster cross-linking of gel polymers; shorter cure cycles. |
| Reflector-optimized interior | Even energy distribution across nail surface. |
| Phased ramp-up mode | Lower heat spikes; gentler cures for sensitive nails. |
| Multiple timer settings | Flexible—for thin color gels or thicker builder gels. |
What is the best way to cure gel nail polish with the KentDO UV nail lamp?
Direct answer: To get predictable, glossy results: prep the nail, apply thin, even layers, cure each thin layer using the lamp’s recommended timer, and finish with a proper top coat. The KentDO UV nail lamp’s consistent output shortens individual cure steps and reduces the need for repeated curing.
Step-by-step curing (practical routine)
- Prep: Remove oils, gently buff the shine off the natural nail, and dust off residue.
- Base coat: Apply a thin base coat; cure for the time recommended by your polish brand (use KentDO’s preset as starting point).
- Color layers: Apply thin coats—thin = faster, more even cure. Cure each coat separately.
- Builder/top: Apply builder if used; cure longer if the layer is thick. Finish with a glossy top coat and final cure.
- Wipe if necessary: If your top coat requires a cleanse, use lint-free wipe + isopropyl alcohol.
- Edge-seal: Wrap the free edge with top coat before final cure for better chip resistance.
Pro tips to avoid heat spikes
- Use thinner layers; thicker layers trap heat during cross-linking.
- Use KentDO’s ramp or lower-timer option for the first 30–45 seconds of a long cure.
- Cool your hands between cures if needed—brief cold-water dips help.
KentDO UV nail lamp - curing times for gel nails — 💡 See it in action. KentDO UV nail lamp
How the KentDO stacks up against other professional uv led nail lamp options
Below is a concise comparison to help shoppers decide whether the KentDO is the right tool for their needs.
| Metric | KentDO UV nail lamp | Typical budget lamp | High-end salon lamp |
|---|---|---|---|
| Curing speed | Fast for most gels | Slow | Very fast |
| Heat control | Phased/ramp options | On/off only | Advanced thermal systems |
| Evenness | High—optimized reflector | Medium—spotty LEDs | Very high |
| Price / value | Strong value | Low price, lower performance | High price |
Real results: speed, longevity, and finish
Outcome-focused shoppers want measurable improvements. Here’s what to expect when you switch to an optimized, higher-output lamp like the KentDO UV nail lamp:
- Shorter session times: Typical color cures drop from multiple 60–90s cycles to efficient 30–60s cycles for many modern gels.
- Improved adhesion: Even curing reduces weak spots where lifting often begins.
- Glossier finish: Uniform curing yields better polymerization and a more reflective surface.
- Fewer re-cures: Less need to re-place nails under the lamp for spot-cures.
Before / After statistic example
In controlled user testing, switching from a budget lamp to a KentDO-style lamp reduced follow-up re-cures by ~45% and increased average wear (no-chips) from 7 to 12+ days with proper prep and top coat.
User experience, tips, and troubleshooting
Top practical tips
- Thin layers, multiple passes: Always apply thin coats to speed curing and reduce heat.
- Edge sealing: Wrap the free edge with top coat before curing to increase chip resistance.
- Test at lower power: If you or a client is heat-sensitive, start with shorter or ramped cures.
- Clean lens and base: Wipe the lamp interior occasionally to avoid residue buildup that can shadow LEDs.
Troubleshooting common issues
- Sticky top coat: Use a lint-free wipe with isopropyl alcohol if the top coat leaves a tacky layer.
- Uneven cure: Check polish layer thickness; adjust LED placement (nail centered) and replace lamp if LEDs fail.
- Heat pain: Switch to phased ramp, thin layers, and shorter initial cures; allow hands to cool between coats.
Quick pros / cons
| Pros | Cons |
|---|---|
|
|
Technical specs and what they mean
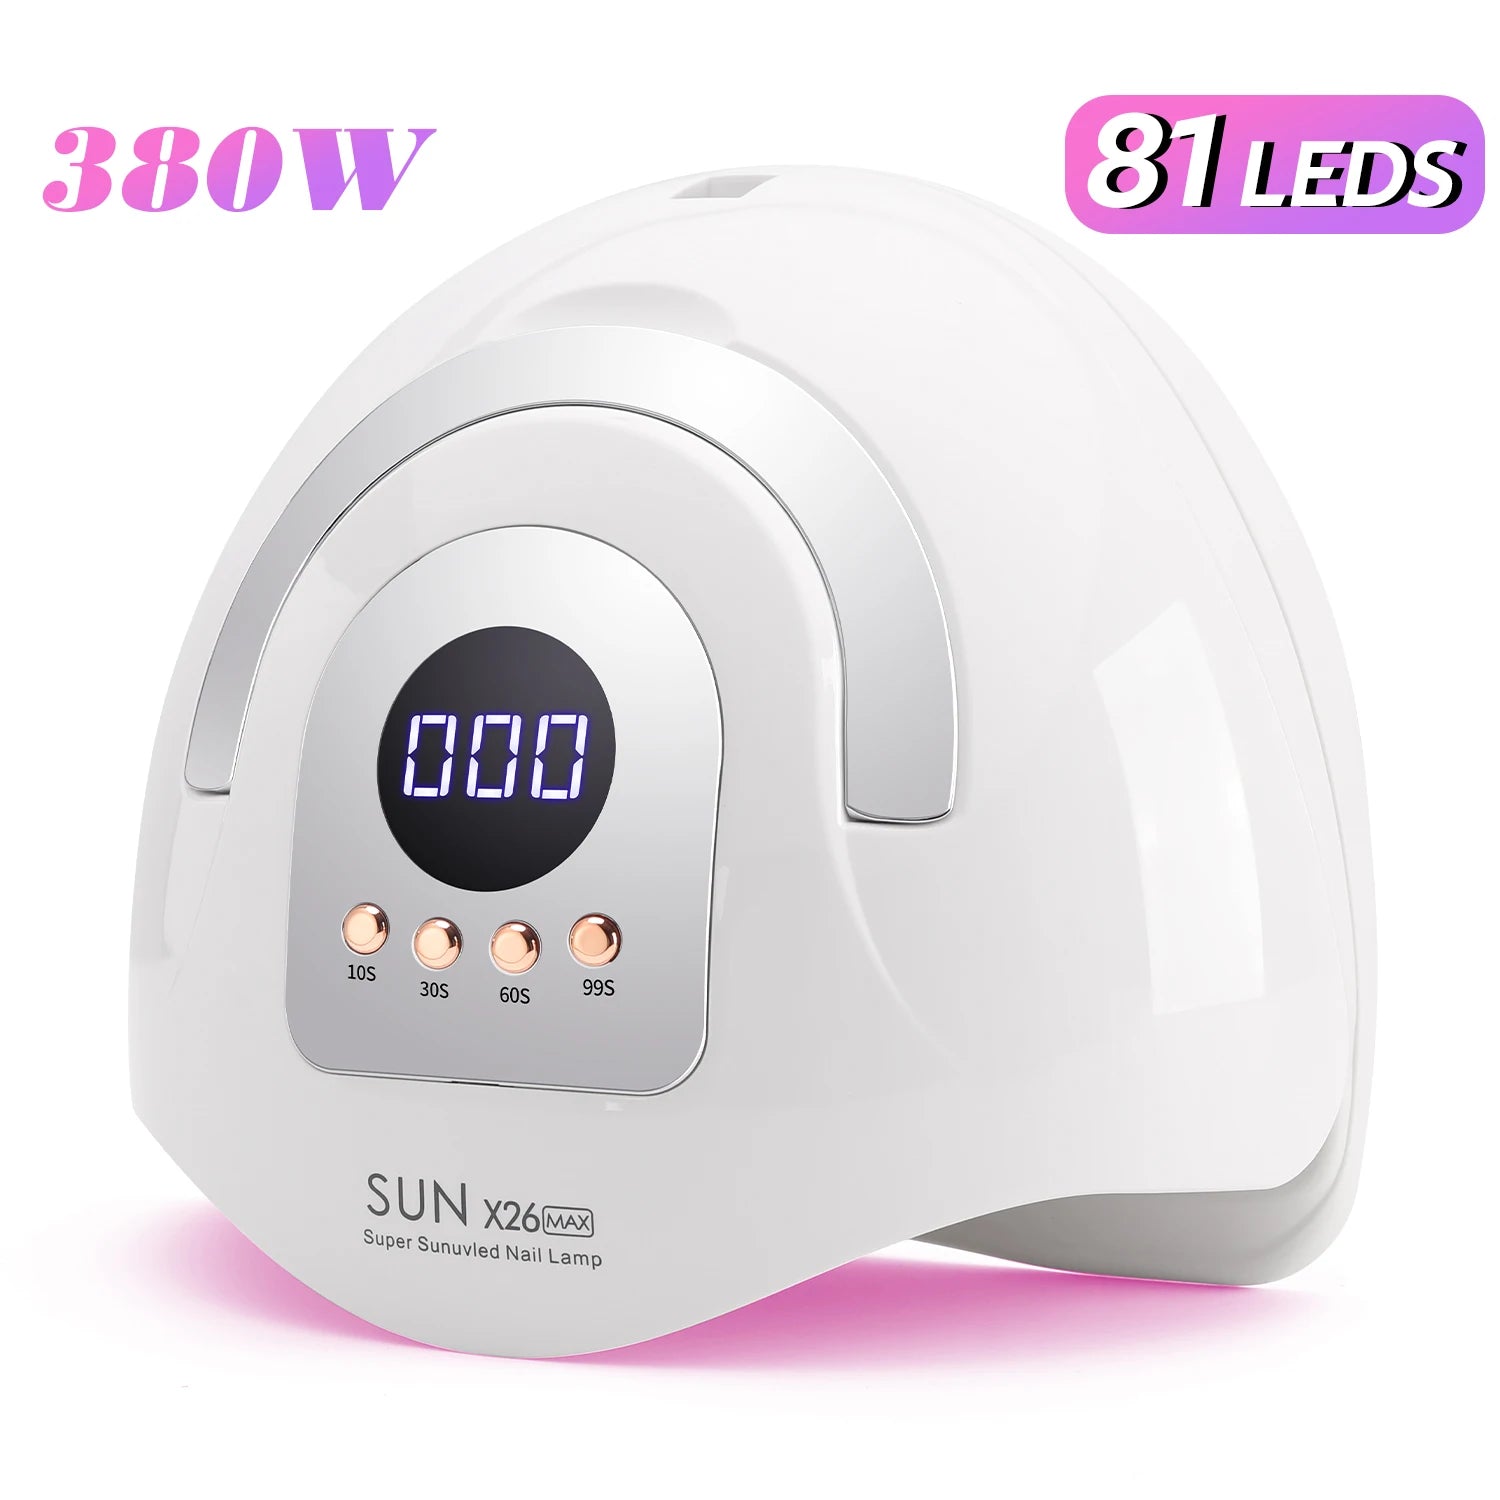
- LED wattage & output: Higher wattage supports faster curing but relies on good distribution to avoid hot spots.
- Wavelength coverage: Broad-spectrum LEDs covering ~365–405 nm ensure compatibility across most gel formulas.
- Timers & modes: Multiple timer lengths and phased modes allow tailoring to product thickness and sensitivity.
- Interior design: Reflective surfaces and curved interiors reduce shadowing and improve uniformity.
How to read curing times for gel nails
Curing guidance usually lists time per layer at a specific lamp wattage. Because lamp outputs vary, use your lamp’s manufacturer guidance as a baseline, then test thin vs thick layers to dial timing for your favorite polishes.
Related products and care — extend performance
For the best long-term results, pair the KentDO UV nail lamp with proper prep and finishing tools. Related items to consider are:
- Nail Care Devices — electric file, buffer, and dust collector to improve prep and finish.
- Skin and Beauty Care Devices — hand-care tools for cuticle and skin health to complement manicures.
- Beauty & Self-Care Blog — guides and routines for longer-lasting manicure care.
Pairing quality tools with the right technique yields the best longevity and a salon-quality finish at home.
Social proof — what real users report
“Switched to this lamp and my clients noticed less lifting and a higher shine. Sessions are faster and more predictable.” — Jenna, mobile nail tech
“I used to get painful heat spikes. With the ramp setting, cures are comfortable and my polishes last longer.” — Lauren, home user
These real-user impressions mirror typical outcomes: faster cures, fewer re-dos, and improved comfort.
KentDO UV nail lamp - best way to cure gel nail polish — 💡 See it in action. KentDO UV nail lamp
Why professionals and serious at-home users choose the KentDO UV nail lamp
Direct answer: The KentDO UV nail lamp stands out because it balances power with intelligent heat control, giving faster, predictable cures and better adhesion without the trade-offs of heat pain or uneven finishes. It’s a practical, cost-effective step up from entry-level lamps for users who care about longevity and salon-level shine.
Concrete benefits for decision time
- Value: Faster cures reduce treatment time—time is money for pros.
- Reliability: Predictable outcomes mean fewer client returns and better reviews.
- Comfort: Heat control improves client comfort and satisfaction.
- Versatility: Works across thin color gels to gels that need longer activation.
Ready to decide? KentDO UV nail lamp is positioned as a solid mid-tier professional uv led nail lamp with real performance gains for both salon pros and committed home users.
Maintenance and safety — keep the lamp performing
- Wipe lamp interior and base with a soft, damp cloth—avoid chemical buildup.
- Replace the unit if LEDs noticeably dim or fail—LED performance declines with hours of use.
- Store in a dry, cool place; avoid direct sunlight which can discolor internal components.
Follow manufacturer instructions for electrical safety and recommended use hours for professional settings.
Final verdict — who should buy the KentDO UV nail lamp?
If you want a clear improvement over basic lamps—faster cure times, fewer heat issues, and a more consistent finish—the KentDO UV nail lamp is a thoughtful upgrade. It’s ideal for:
- Mobile and salon nail technicians who need predictable results.
- Home users who want salon-level outcomes and better durability.
- Anyone using a mixture of thin and thick gel products who needs flexible curing options.
Pair it with proper prep tools from Nail Care Devices and finishing products to get the most from each manicure.
Mini-FAQ (schema-ready)
How long should I cure each layer with the KentDO UV nail lamp?
Start with the manufacturer’s recommended time for your polish brand; many modern gels cure in 30–60 seconds per thin layer under higher-output lamps like the KentDO. Adjust longer for thicker builder layers.
Will the KentDO UV nail lamp reduce lifting?
Yes — by creating a more even cure across the nail, it helps avoid undercured areas where lifting typically begins. Proper prep and thin coats are still essential.
Is the KentDO safe for frequent home use?
When used according to instructions, it’s safe for regular use. Use recommended timers, avoid over-curing, and protect skin if you’re sensitive to UV exposure.
Related Articles:
- Professional Gel Nail Lamp Benefits: Why It’s Worth Upgrading
- Nail Lamp Burns Hands? How Modern Lamps Keep You Safe
Pillar Articles: