
What are “nail drill bits explained for beginners”?
nail drill bits explained for beginners means understanding how each type of e-file bit works, when to use it, and how to prevent damage. In this guide you’ll learn how to match the right bit to the job, decode the nail drill grit chart, and master safe usage for healthier nails.
⏱ 8 min read
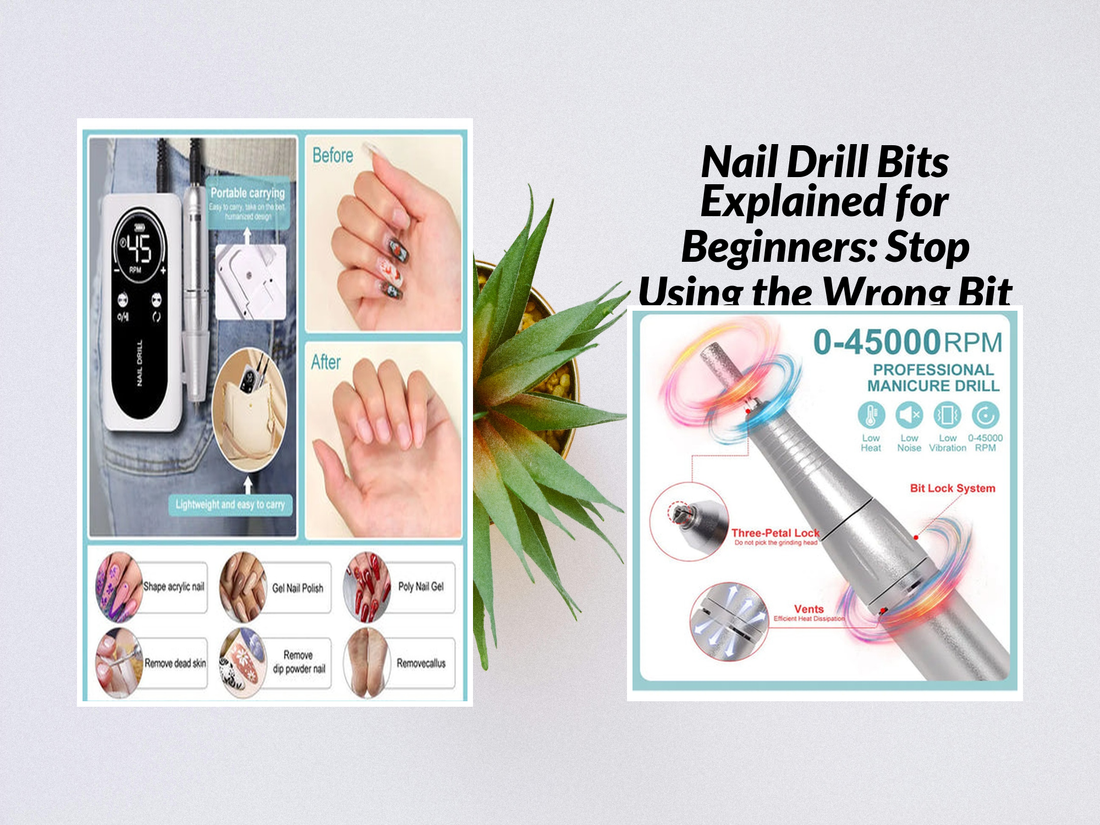
Nail Drill Bits Explained for Beginners: Stop Using the Wrong Bit
If you’ve ever wondered what nail drill bits actually do, this guide on nail drill bits explained for beginners breaks it all down simply. From e file nail bits uses to understanding nail file drill bits and decoding the nail drill grit chart, you’ll finally know which bit to use and when. Ready to master electric nail drill bits explained like a pro and stop damaging your nails without realizing it?
💡 Nail drill bits explained for beginners – see proper usage in action
Why Bit Selection Matters (Avoid Damage & Save Time)
Choosing the wrong bit is one of the most common mistakes that leads to weak, thin, or peeling nails. Many beginners grit too harsh or use a ceramic bit where a safety barrel would have sufficed. Let’s identify the core pain points you’re likely experiencing:
- 🔴 Nails feel “burnt” or get heat rash (too coarse grit or high speed).
- 🟡 Bit seems to “drag” rather than slide (improper bit shape or dull bit).
- 🟢 Removal or shaping takes forever (inefficient choice of bit).
- 🔵 You second-guess everything — “Is this the right bit?” — and lose confidence.
By mastering e file nail bits uses and understanding the nail file drill bits options, you gain speed, safety, and confidence.
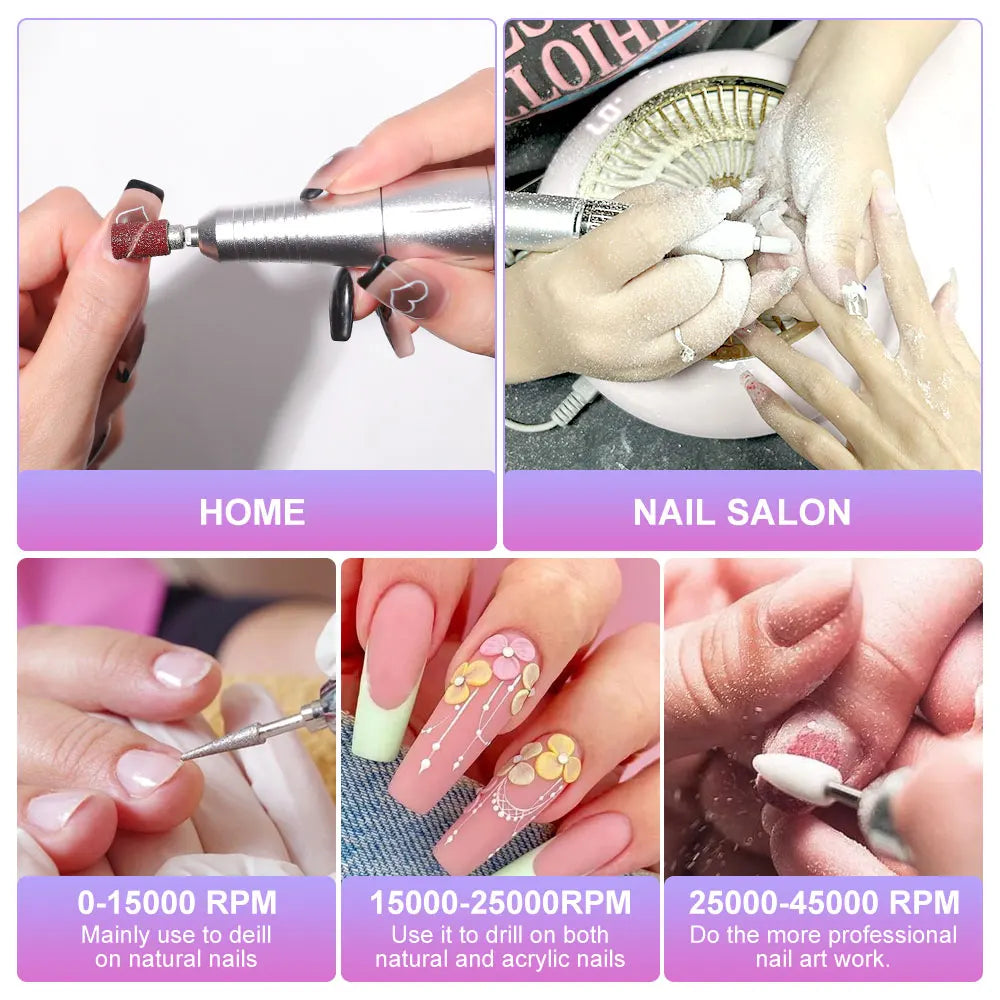
Types of Nail Drill Bits & Their Uses (Benefit-First)
1. Safety Barrel / Round Top (Best for Beginners)
Rounded barrel tips protect the cuticle line while removing gel or surface shine. Ideal for soft prep or cleaning corners.
2. Mandrel + Sanding Bands
Use these for quick removal of bulk coating layers. Works especially well with soak-off gels, but use caution near edges.
3. Cone / Tapered Bit
Great for sidewalls and under-nail cleaning. The narrower tip fits into tight curves.
4. Needle / Pin Bit
Used for cuticle cleanup or poking through sealed product—use lightly!
5. Carbide Bits (Small Ball, Flame, Cylinder)
Highly efficient for bulk removal of hard gel or acrylic. Use only when you're confident in your speed and control.
6. Ceramic Bits
Gentler on natural nail—great for soft removals or thin overlays.
7. Diamond Bits
Ultra-fine finishing — suitable for smoothing and refining edges without bulk removal.
Nail Drill Grit Chart – What It Means
Understanding grit will transform your process. The nail drill grit chart shows which grit is appropriate for different tasks.
| Grit / Coarseness | Typical Use | Caution / Notes |
|---|---|---|
| 80 – 100 (Very Coarse) | Bulk gel/acrylic removal | Use low RPM, high risk of heat damage |
| 150 – 180 (Medium-Coarse) | Shaping gel & reducing thickness | Still aggressive — go slow |
| 240 – 320 (Medium / Medium-Fine) | Refining shape, smoothing edges | Safe for thinner overlays |
| 400+ (Fine / Ultra-Fine) | Polishing, finishing & cuticle work | Minimal removal power |
How to Use Nail Drill Bits Safely (Step-by-Step)
Follow these steps to make sure you’re confident, safe, and effective:
- 🧼 Sanitize both your bit and your client’s nails.
- Start with the lowest RPM, test speed, and listen for drag.
- Use light pressure—let the bit do the work, don’t force it.
- Keep moving; don’t sit on one spot too long to avoid heat buildup.
- Switch to finer grit bits gradually for smoothing and finish.
- Inspect frequently and stop if you feel heat or see whitening.
Common Mistakes Beginners Make — And How to Fix Them
- Using coarse bits too early: Many users grab a carbide immediately (thinking “faster”), and end up causing micro-trauma.
- Excessive pressure: Pressing down is a shortcut to burning; lighten up and take your time.
- Ignoring speed settings: Higher RPM with coarse grit = disaster. Know your bit’s safe range.
- Skipping finer bits: If you neglect finishing, nails feel rough or peel later.
- Overusing one bit: A bit dulls with use—rotate and retire when wear shows.
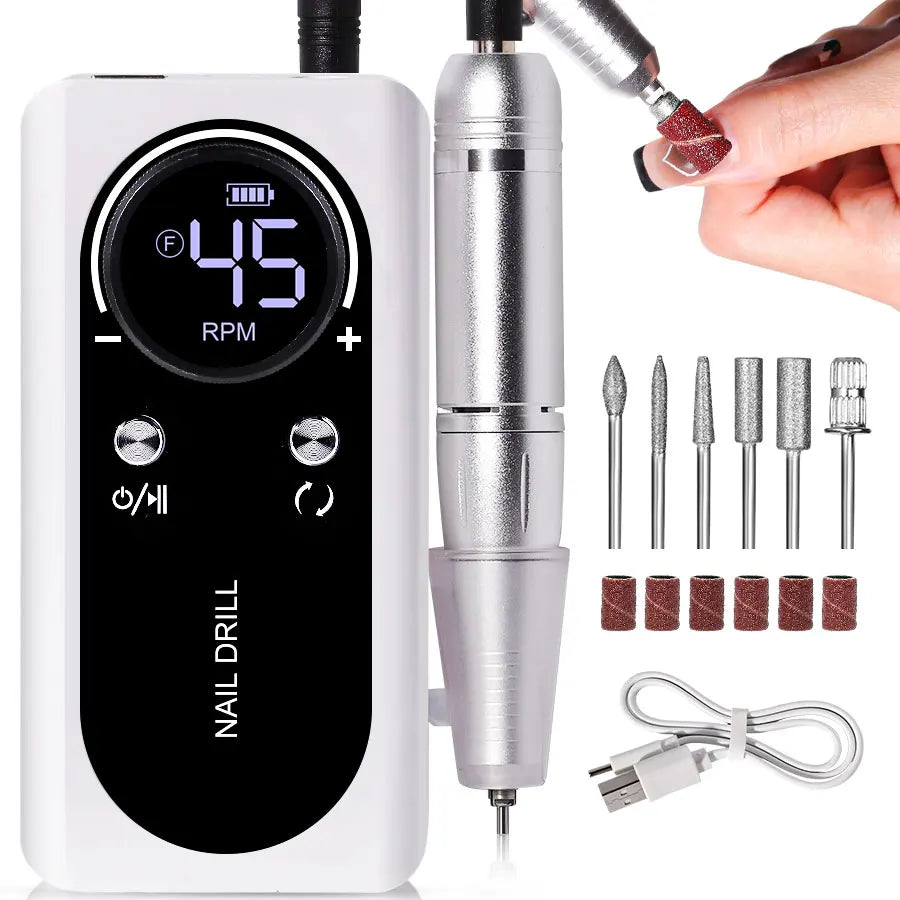
KentDO Nail Drill: A Bit-Perfect Example
When you’re ready to practice with a reliable machine, the KentDO Rechargeable Nail Drill Machine is a solid partner. Use the right bits with it, and you’ll see smoother finishes, faster removal, and less stress.
💡 See the bits working in tandem with your device — nail file drill bits in action
Here’s how KentDO pairs with bit selection:
- Use safety barrel bit for surface prep and edges at lower RPM (5,000–10,000 rpm).
- Switch to ceramic or diamond bits for finishing and clean-up.
- Apply your knowledge of grit transitions to switch from aggressive to delicate steps.
Mini FAQ — Nail Drill Bits Explained for Beginners
- Q: Can I use one bit for everything?
- A: No. A single bit cannot handle bulk removal, finishing, and cuticle work without risk. You’ll shorten the bit’s life and damage the nail.
- Q: What speed should beginners use?
- A: Start at ~5,000–8,000 rpm for coarse removal, then slow to 3,000–5,000 for finishing bits.
- Q: How often should I replace bits?
- A: Replace when you see visible wear, dullness, or if the bit drags rather than glides—even if it’s new-looking.
- Q: Are ceramic bits better than carbide?
- A: Both have strengths: ceramic is gentler (great for thin overlays); carbide is efficient at bulk removal when used correctly.
Related Articles:
- Electronic Nail Drill Review: Does It Outperform Traditional Files?
- Drill Nail Bits Every Salon Pro Keeps in Their Kit
Pillar Articles:


