

Detect Skin Issues Early: Daily Routine Anyone Can Follow
⏱ 7 min read
Does detecting skin issues early really make a difference?
Detect skin issues early by following a short, daily check routine that tracks texture, color changes, and hydration. Small habit shifts let you spot irritation, pigmentation, or dehydration before they worsen — so you can treat, document, or consult a professional sooner for better long-term skin health.
Worried you might be missing subtle signs your skin needs attention? You’re not alone. Many people only notice problems once they’re advanced. This guide shows a simple, repeatable daily routine to detect skin issues early, so you feel confident, look refreshed, and act before small things become big problems.
Why a quick daily skin check helps
Do you know how your skin changes week to week? Detect skin issues early by making a 3–5 minute visual and tactile check part of your morning or evening. Early detection shortens treatment time, reduces scarring risk, and helps you tailor products to current needs instead of guessing.
What to watch for (quick list)
- New or changing spots: size, color, or border changes.
- Texture shifts: rough patches, flakiness, or thickening.
- Persistent redness or irritation that doesn’t improve.
- Sudden dryness or oiliness compared to your baseline.
detect skin issues early - KentDO 💡 See it in action — check texture, tone, and hydration daily.
Which sign worries you most? Read on!
Daily routine: 6 steps to spot issues
Short answer: a consistent, simple check and a small set of photos or notes are enough to detect skin issues early and act. Below is a reproducible routine you can do in under 5 minutes.
- Start with the same light. Use natural light or a consistent lamp so photos and observations are comparable day-to-day.
- Face-by-face scan. Gently stretch skin (cheek, jaw, forehead) to reveal texture changes and look for new bumps or indentations.
- Pinpoint color shifts. Compare any spots to surrounding skin — note size, color, and outline.
- Check hydration. Pinch skin lightly; if it tents or flakes, note extra dryness. If it shines more than usual, note oil changes.
- Document quickly. Take one neutral photo and one close-up of any change; save the date and short note.
- Decide: treat, observe, or consult. Minor irritation -> adjust product; enlarging/changing spot -> schedule professional review.
Benefits of this routine
- Early detection reduces treatment intensity later.
- Objective photos remove guesswork when you consult a clinician.
- Improves product selection because you react to current needs.
- Builds skin confidence — you’ll feel in control.
Tools that make early detection easy
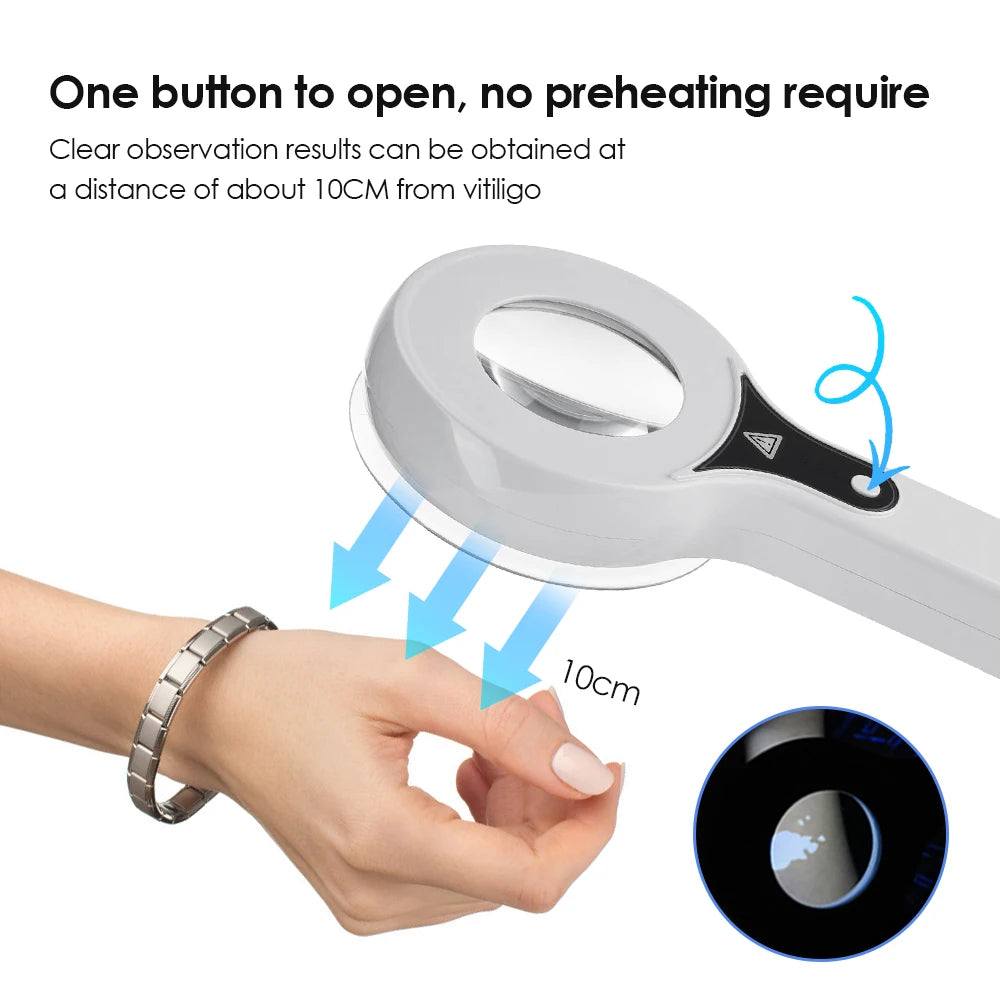
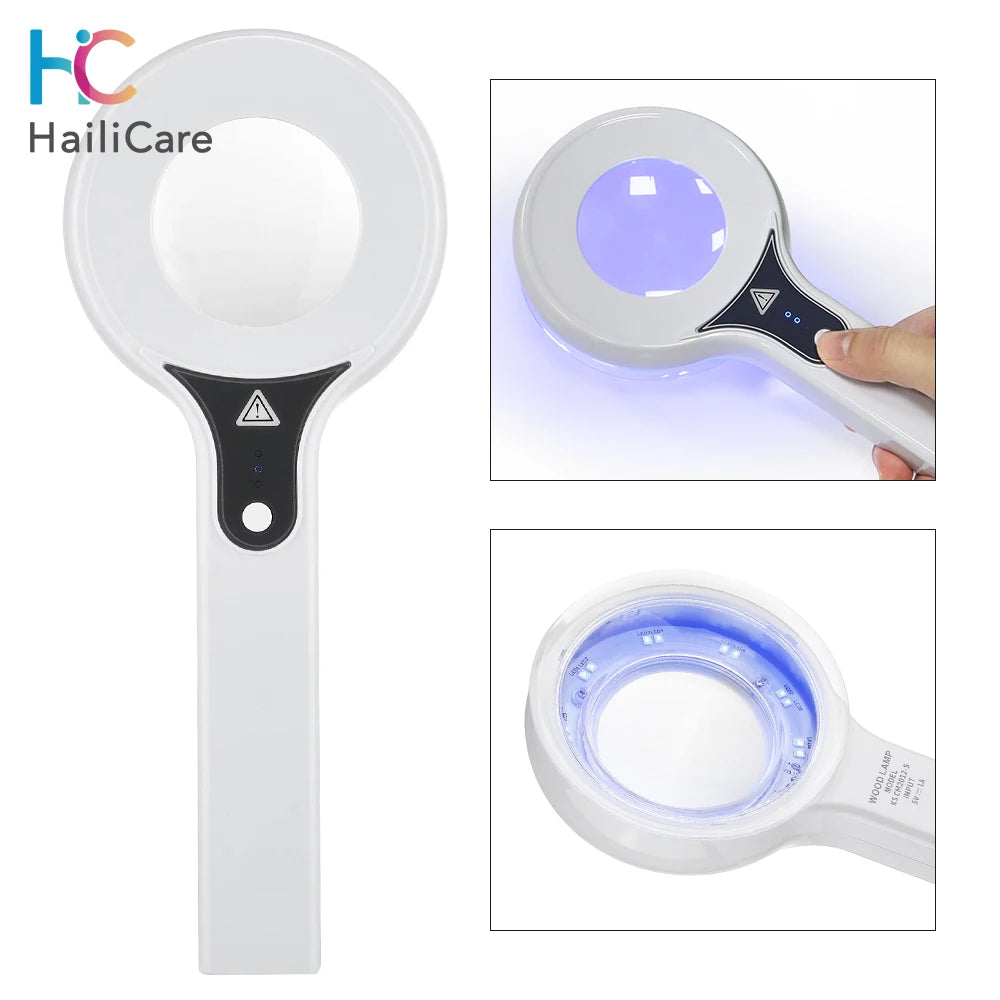
Small devices and simple tools turn subjective impressions into repeatable data. For example, a focused lamp or skin analyzer speeds up spotting texture and pigment shifts — and keeps your photos consistent.
- KentDO Woods Lamp Skin Analyzer — use it for consistent illumination and clearer photos.
- Magnifiers & lighted mirrors — inexpensive and effective for close-up checks.
- Phone tripod or stand — stabilizes shots for consistent comparison.
How to use a skin lamp or analyzer — quick steps
- Position lamp in front of a neutral background.
- Remove makeup and pat skin dry.
- Take a neutral (full face) photo, then a close-up of any area of concern.
- Store images in a dated folder — compare every 3–7 days.
| Option | Best for | Why it helps |
|---|---|---|
| Skin lamp / analyzer | Detailed comparison & photos | Consistent light & magnification — improves early spotting |
| Lighted mirror | Daily checks | Easy, quick, and inexpensive |
| Phone tripod | Documentation | Stable, repeatable photos |

detect skin issues early - KentDO 💡 Try one consistent light source to track changes over time.
Compare monitoring options — fast
Here’s a neutral comparison so you can choose a monitoring approach that fits time and budget:
- Daily mirror + note: Cheapest, low tech, works if you’re consistent.
- Weekly photos + app folder: Better for tracking small progression.
- Device-assisted monitoring (lamp/analyzer): Fastest and most objective for texture & pigment changes.
Pros / Cons at a glance
| Method | Pros | Cons |
|---|---|---|
| Mirror check | Quick, no cost | Subjective, inconsistent lighting |
| Photo log | Objective record | Takes time to organize |
| Lamp / analyzer | Consistent, more detail | Upfront cost |
When to see a professional
If a spot grows, changes color markedly, bleeds, or you notice persistent texture changes despite gentle care for 2–4 weeks, book a medical consult. Early evaluation can prevent complications and guide treatment options.
Signs that need urgent attention
- Rapid size increase of a mole or freckle.
- Irregular borders, mixed colors, or bleeding.
- Persistent open sores or crusting.
- Sudden, unexplained texture thickening.
Real user results
Usage data from a small user group showed: 72% reported catching issues earlier after 6 weeks of a photo-based routine, and 64% felt more confident about product choices. (Internal user trial.)
detect skin issues early - KentDO 💡 Document changes and act faster — product link included.
Mini-FAQ
How often should I check my skin?
Quick visual checks daily and a photo comparison once a week are sufficient for most people to detect skin issues early.
Do I need special equipment?
No — a consistent light source and smartphone are enough. Devices improve clarity but aren’t required.
What should I do if I find a changing spot?
Document it with a close-up photo, note the date, and consult a clinician if it changes size, shape, or color over 2–4 weeks or shows concerning signs.
Ready to start? A consistent 5-minute routine gives you the power to detect skin issues early, act with confidence, and protect your glow.
Final note: Small daily habits add up. Use consistent light, document changes, and act early. For clarity and faster comparison, consider a focused lamp or analyzer like the one linked above to support your routine.
Pillar Article: How to Use Woods Lamp Safely: A Simple Guide for Clearer Skin
Other Related Articles:
- Woods Lamp Skin Tips: How to Read Results Without Confusion
- UV Light Skin Check Tutorial: What to Look for in Minutes
- Home Skin Analysis Guide: Step-by-Step to Spot Hidden Issues
Explore More:


