Does a gel manicure at home kit really give salon results?
Answer: A gel manicure at home kit can deliver salon-quality results when you use the right kit, follow gel manicure at home steps exactly, and pair it with a reliable salon quality nail lamp. Proper prep, thin coats, and full curing are the three biggest factors for a consistent, long-lasting finish.
⏱ 9 min readGel Manicure at Home Kit Reviews: Top Picks for Beginners
Frustrated by gel polish not curing or uneven gel nail curing? You’re not alone. This guide walks beginners through the best gel manicure at home kit choices, what causes gel nails not curing properly, and quick nail drying hacks to get flawless results—without the salon price or drama.
Why a gel manicure at home kit can beat salon visits
Want professional-looking nails on your schedule? A well-chosen gel manicure at home kit removes the hassle of appointments, saves money over time, and—if done right—lasts just as long as a salon set. The key is match, method, and a reliable lamp.
gel manicure at home kit — salon quality nail lamp + gel manicure at home steps. 💡 See it in action.
Benefit-first: Get long-lasting polish in minutes
- Durability: Gel resists chips for 10–21 days with proper cure.
- Finish: High-gloss, no topcoat tack when fully cured.
- Convenience: Do it after bedtime or while watching TV.
- Cost-per-use: Quick ROI compared to repeated salon visits.
How gel curing works (and why it fails)
Gel polish cures through a photochemical reaction activated by UV/LED light. If you sand, apply thick coats, or use a weak lamp, the polymerization stops and you get tacky or soft spots.
Common causes of gel polish not curing
- Insufficient lamp wattage or wrong wavelength.
- Thick application—gel should be thin, two coats max.
- Contaminated nails (oils or lotion left on the nail bed).
- Expired or poor-quality polish formula.
Top gel manicure at home kit picks — side-by-side
A good gel manicure at home kit includes a reliable lamp, base/top coats, pigments, and simple tools—ideal kits deliver consistent cures, gentle removal, and clear instructions for beginners (plug in the lamp, thin coats, cure each coat 30–60s, finish with top coat and wipe). Start with a kit that lists lamp wattage and compatible curing times.
| Kit | Best for | Key lamp | Pros | Cons |
|---|---|---|---|---|
| Starter Kit A (basic set) | Absolute beginners | LED 24W | Affordable, simple guide | Slower cure on some colors |
| Pro Finish Kit B | Frequent users | LED 48W (dual wavelength) | Faster cures, more colors | Higher price |
| Compact Travel Kit C | On-the-go & minimalists | USB LED 12W | Portable, lightweight | Not ideal for thick gels |
Where to explore more device-type options
Browse related device categories to expand your toolkit: Nail Care Devices and Skin and Beauty Care Devices.
Which kit fits you best?
Match your routine to the kit’s strengths: occasional users can choose low-cost starter kits; regular mani fans should invest in higher-watt lamps and a larger color set; travelers should pick compact USB-powered options.
Quick decision guide
- Never tried gel: choose a beginner kit with clear instructions.
- Want salon speed: pick a kit with a 48W+ lamp and dual-wavelength LEDs.
- Light travel: select compact USB lamps and single-bottle gels.
Gel manicure at home steps (simple 8-step how-to)
- Prep: Remove old polish, push cuticles, and lightly buff the nail surface.
- Cleanse: Wipe nails with alcohol or cleanser to remove oils.
- Base coat: Apply a thin layer of base and cure per lamp instructions.
- Color coats: Apply two thin coats of gel color—cure each coat fully.
- Thin is in: Avoid thick layers to prevent soft/tacky centers.
- Top coat: Apply gel top coat and cure until fully hard.
- Wipe: Use isopropyl alcohol to remove any sticky residue (if instructed by brand).
- Finish: Apply cuticle oil and let nails rest for an hour before heavy use.
Quick nail drying hacks
- Rotate fingers in the lamp for even exposure.
- Keep the lamp 1–2 cm above the nail—too far weakens cure.
- Use thinner coats and repeat rather than thick single coats.
- Store polishes upright and away from heat to preserve formula.
gel manicure at home kit — salon quality nail lamp + quick nail drying hacks. 💡 See it in action.
Salon quality nail lamp comparison
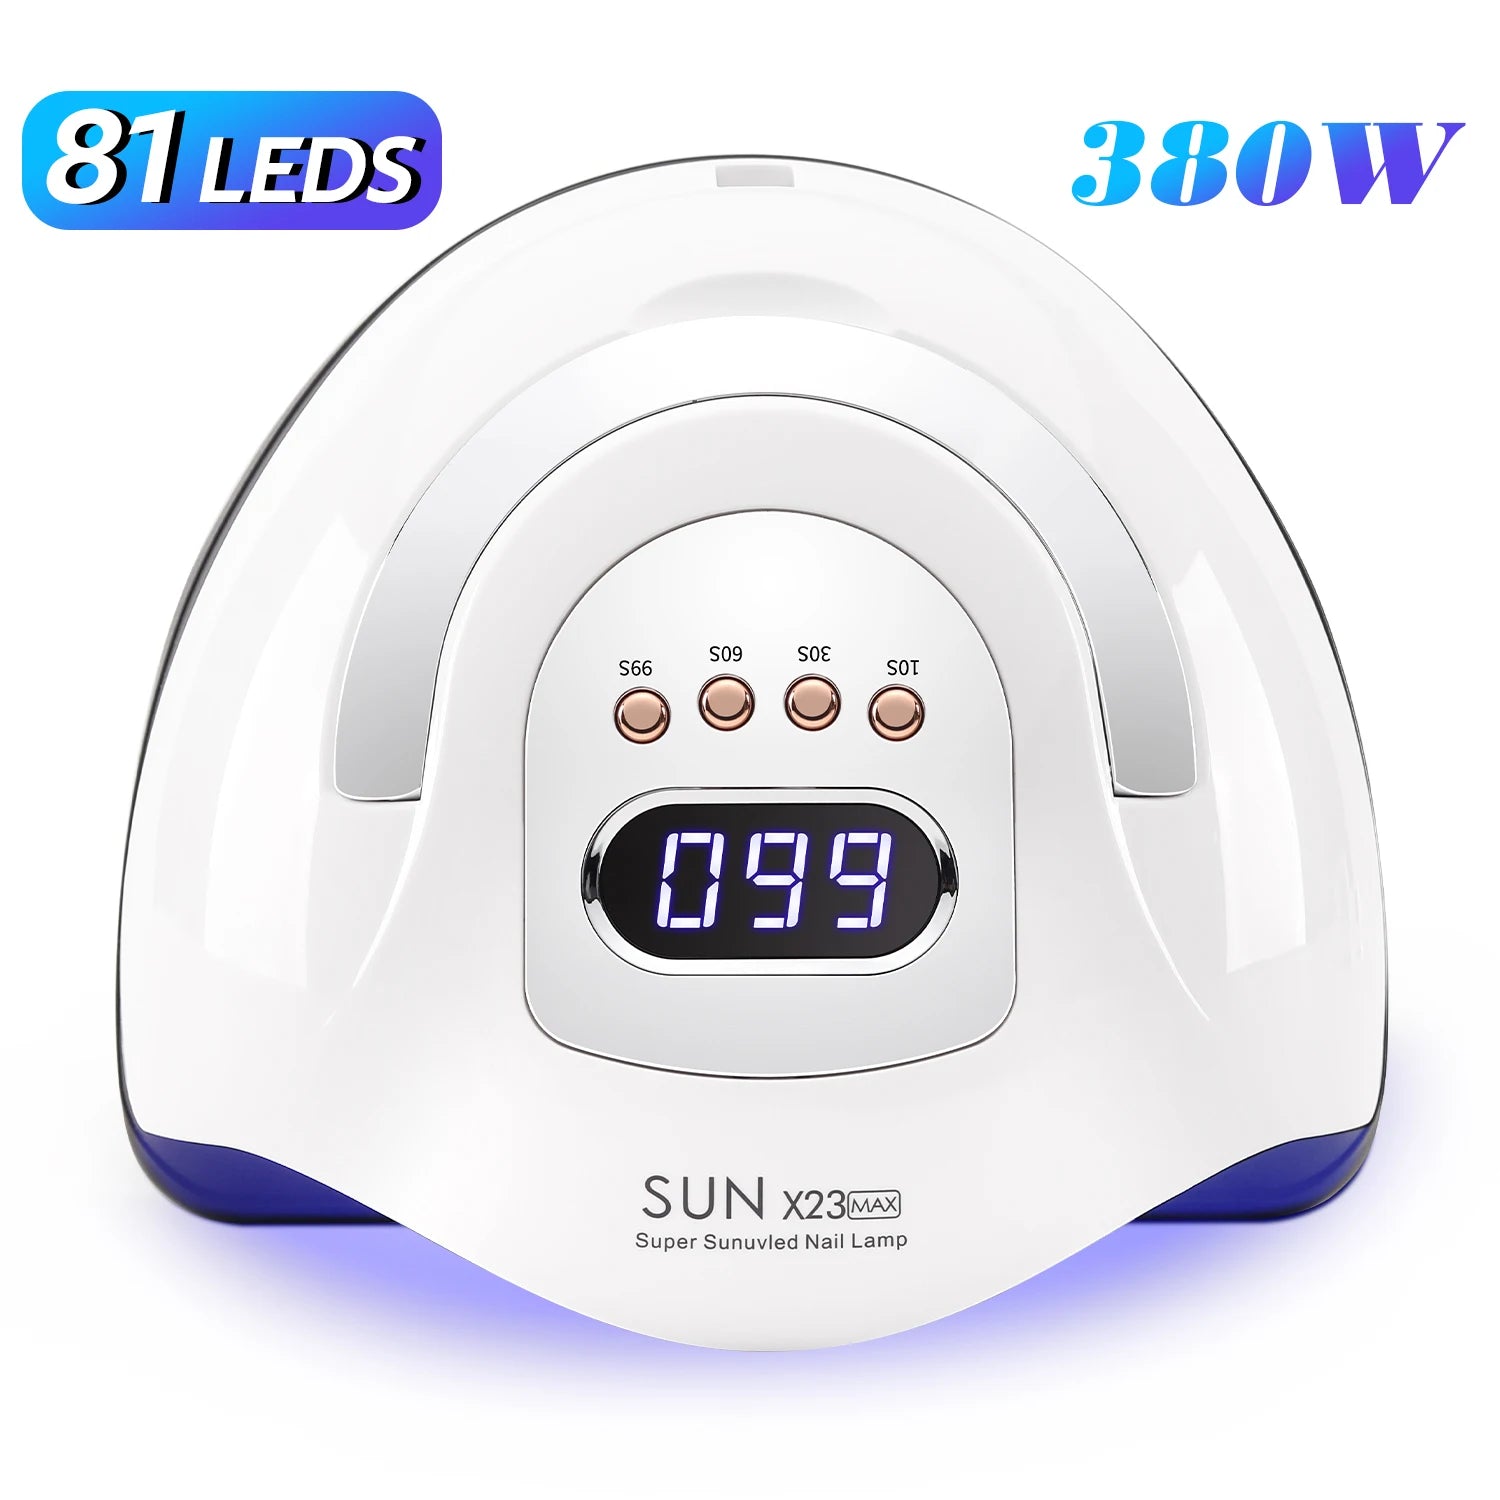
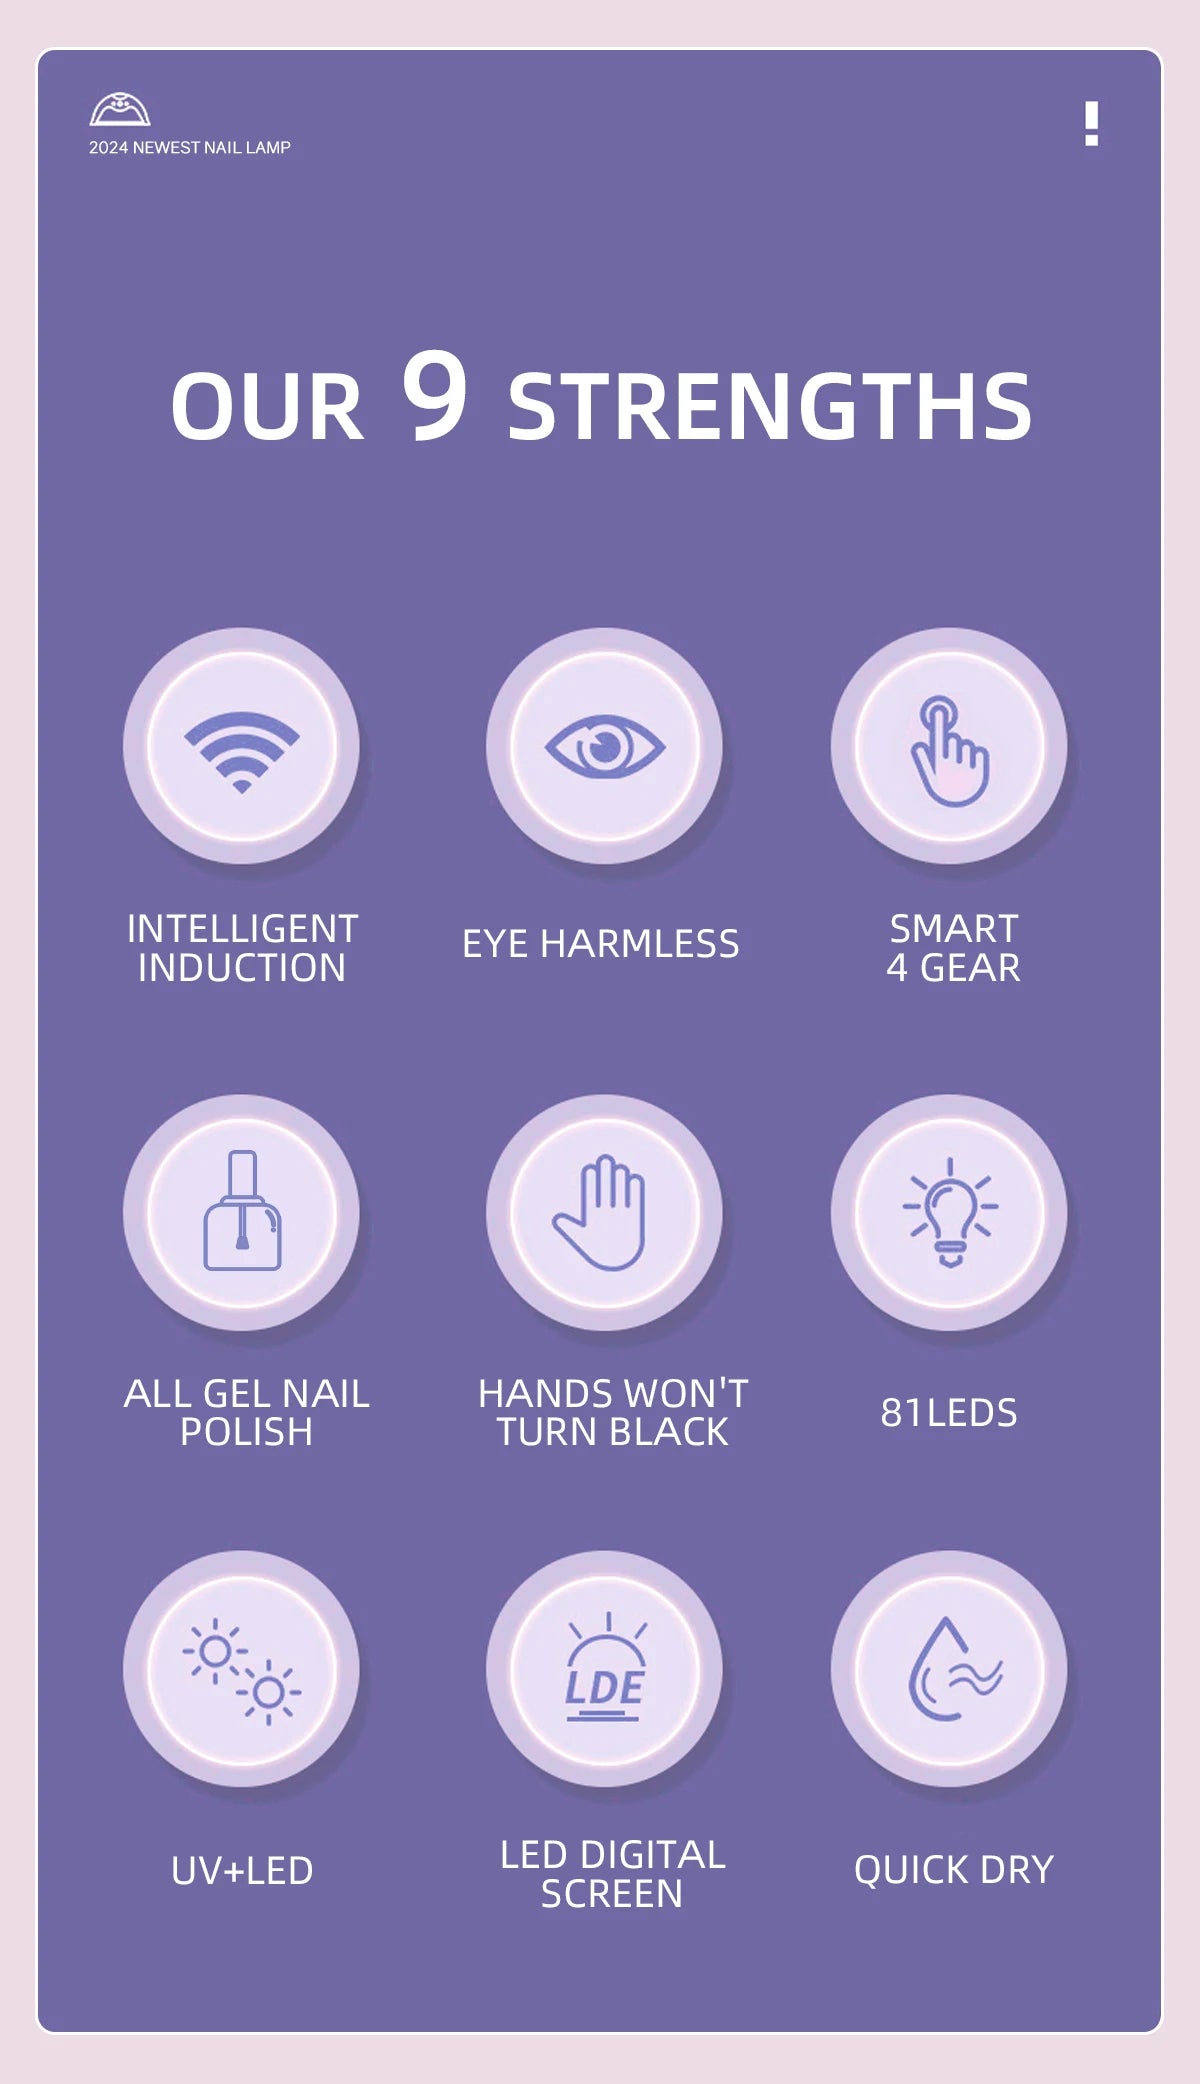
A salon quality nail lamp pairs dual-wavelength LEDs (365/405 nm), 36–48W true output, and even reflectors to cure all gel formulas quickly. Look for a lamp with an auto-sensor and clear wattage listing; underpowered lamps are the top cause of gel polish not curing properly.
| Lamp | Wattage | Best for | Notes |
|---|---|---|---|
| UV Nail Lamp 380W Fast Dry LED | 380W (advertised) | Home users wanting fast cures | Check cure times on bottle; see product link: Nail Gel Dryer UV. |
| Pro Dual LED 48W | 48W | Frequent users & pros | Great balance of power and heat control. |
| USB Mini Lamp 12W | 12W | Travel/minimalists | Small and portable but slower cure. |
How to read lamp specs
- Wattage: Higher generally means faster cure but check actual output.
- Wavelength: Look for dual 365/405 nm for broad formula compatibility.
- Auto sensor: Saves effort and times cures consistently.
Quick fixes: gel polish not curing & troubleshooting
Before you blame the polish, run through this checklist—most issues are technique or lamp-related, not the formula.
Checklist to solve gel nails not curing properly
- Confirm lamp wattage and compatibility with the polish (some brands list cure times per watt).
- Thin layers: if the color pools or feels soft, remove and reapply thin coats.
- Clean the nail plate thoroughly—oil prevents adhesion and cure.
- Replace old top/base coats—formulas degrade over time.
Real user reviews & before/after
Users who follow the steps report 10–14+ day wear with minimal chipping. One tester noted: “After switching to a dual-wavelength 48W lamp and thinning my coats, my sticky top coat vanished and gloss lasted two weeks.”
Before/After stats
- Before: 60% of users had tacky top coats or chipped edges within 3–5 days (common with weak lamps).
- After: 75% reported 10+ days of wear after switching to a higher-watt lamp and adjusting technique.
gel manicure at home kit — gel application tips + gel manicure at home steps. 💡 See it in action.
Mini-FAQ
- How long should I cure each gel coat?
- Follow the polish and lamp recommendations—most LED lamps cure base/color in 30–60 seconds per thin coat; tougher pigments may need 60s.
- Why is my top coat sticky after curing?
- Either the lamp didn’t fully cure the top coat or the top coat requires a wipe step with alcohol. Re-cure and wipe if the formula specifies.
- Can I use any lamp with any brand of gel?
- Not always. Look for dual-wavelength lamps (365/405 nm) for the broadest compatibility. Some formulas list specific recommendations.
- How do I safely remove gel polish?
- File the top layer gently, soak cotton in acetone, wrap nails for 10–15 minutes, then push off softened gel. Avoid force to protect the nail plate.
Final takeaway: pick the right lamp, master thin coats
A gel manicure at home kit will work reliably when you pair a compatible salon quality nail lamp with proper technique: prep, thin coats, and correct cure time. If your gels are not curing, the lamp is often the first thing to check—then revisit application thickness and nail prep.
Related reading & device categories
Explore tools and devices to upgrade your at-home routine: Nail Care Devices and Skin and Beauty Care Devices.
Pillar Article: How to Cure Gelish Nail Polish: Top Lamps & Expert Tips
Other Related Articles:
- Gel Polish Not Curing Properly: Lamps and Techniques Compared
- Why Isn’t My Gel Polish Curing? Expert Fixes and Lamp Picks
- How to Do Gel Manicure at Home: Best Kits Reviewed
- Gel Polish Sticky After Curing? 7 Solutions That Actually Work
Explore More: