Does a better nail lamp actually fix curing problems?
Answer: If you’re asking why isn’t my gel polish curing, the most common causes are incorrect lamp type, weak bulbs, too-thin/too-thick product layers, or incompatible polish formulas. A reliable professional gel nail lamp that matches the polish’s wavelength and wattage often solves curing problems and reduces lamp-caused discomfort in one go.
⏱ 8 min readWhy Isn’t My Gel Polish Curing? Expert Fixes and Lamp Picks
Struggling with tacky, soft, or uneven gel nails is frustrating—especially after spending time on a manicure. This guide explains why gel polish not curing properly happens, shows quick fixes you can try at home, and compares lamps so you can pick a professional gel nail lamp that actually works for your routine.
Why isn’t my gel polish curing?
Direct answer: The main reasons gel polish not curing properly are using the wrong lamp type (UV vs LED/wavelength mismatch), underpowered bulbs or aging LEDs, product-thickness errors, expired or incompatible gel formulas, and skipping base/top steps—each stops polymerization and leaves a tacky finish.
Which style suits you best? Read on!
why isn t my gel polish curing - KentDO · 💡 See it in action
Common pain points (and why they matter)
- Time wasted redoing nails after an at-home session.
- Heat spikes or lamp burns hands during curing — painful and alarming.
- Slow gel nail dryer performance that doesn’t match salon results.
- Confusion about which lamp works with specific gel brands.
Quick fixes you can try now (fast, no-cost checks)
Before buying equipment, try these steps. They solve most problems for DIY users.
- Check bulb/LED health: if LEDs are dim or bulbs flicker, replace or upgrade your lamp.
- Thin your layers: apply thin, even coats—thick layers won’t cure through.
- Confirm compatibility: match polish brand instructions to UV or LED curing recommendations.
- Extend curing time by 10–20% if polish remains tacky after the standard cure.
- Wipe away inhibition layer properly with recommended cleanser or alcohol swabs.
Quick diagnostic checklist
- Is your lamp rated for the polish (LED 365–405nm vs UV broad spectrum)?
- Are you using fresh base and top coats made for gel systems?
- Are lamp LEDs evenly lit and not dim on one side?
- Is the nail surface properly prepped (no oils, dust, or sticky residue)?
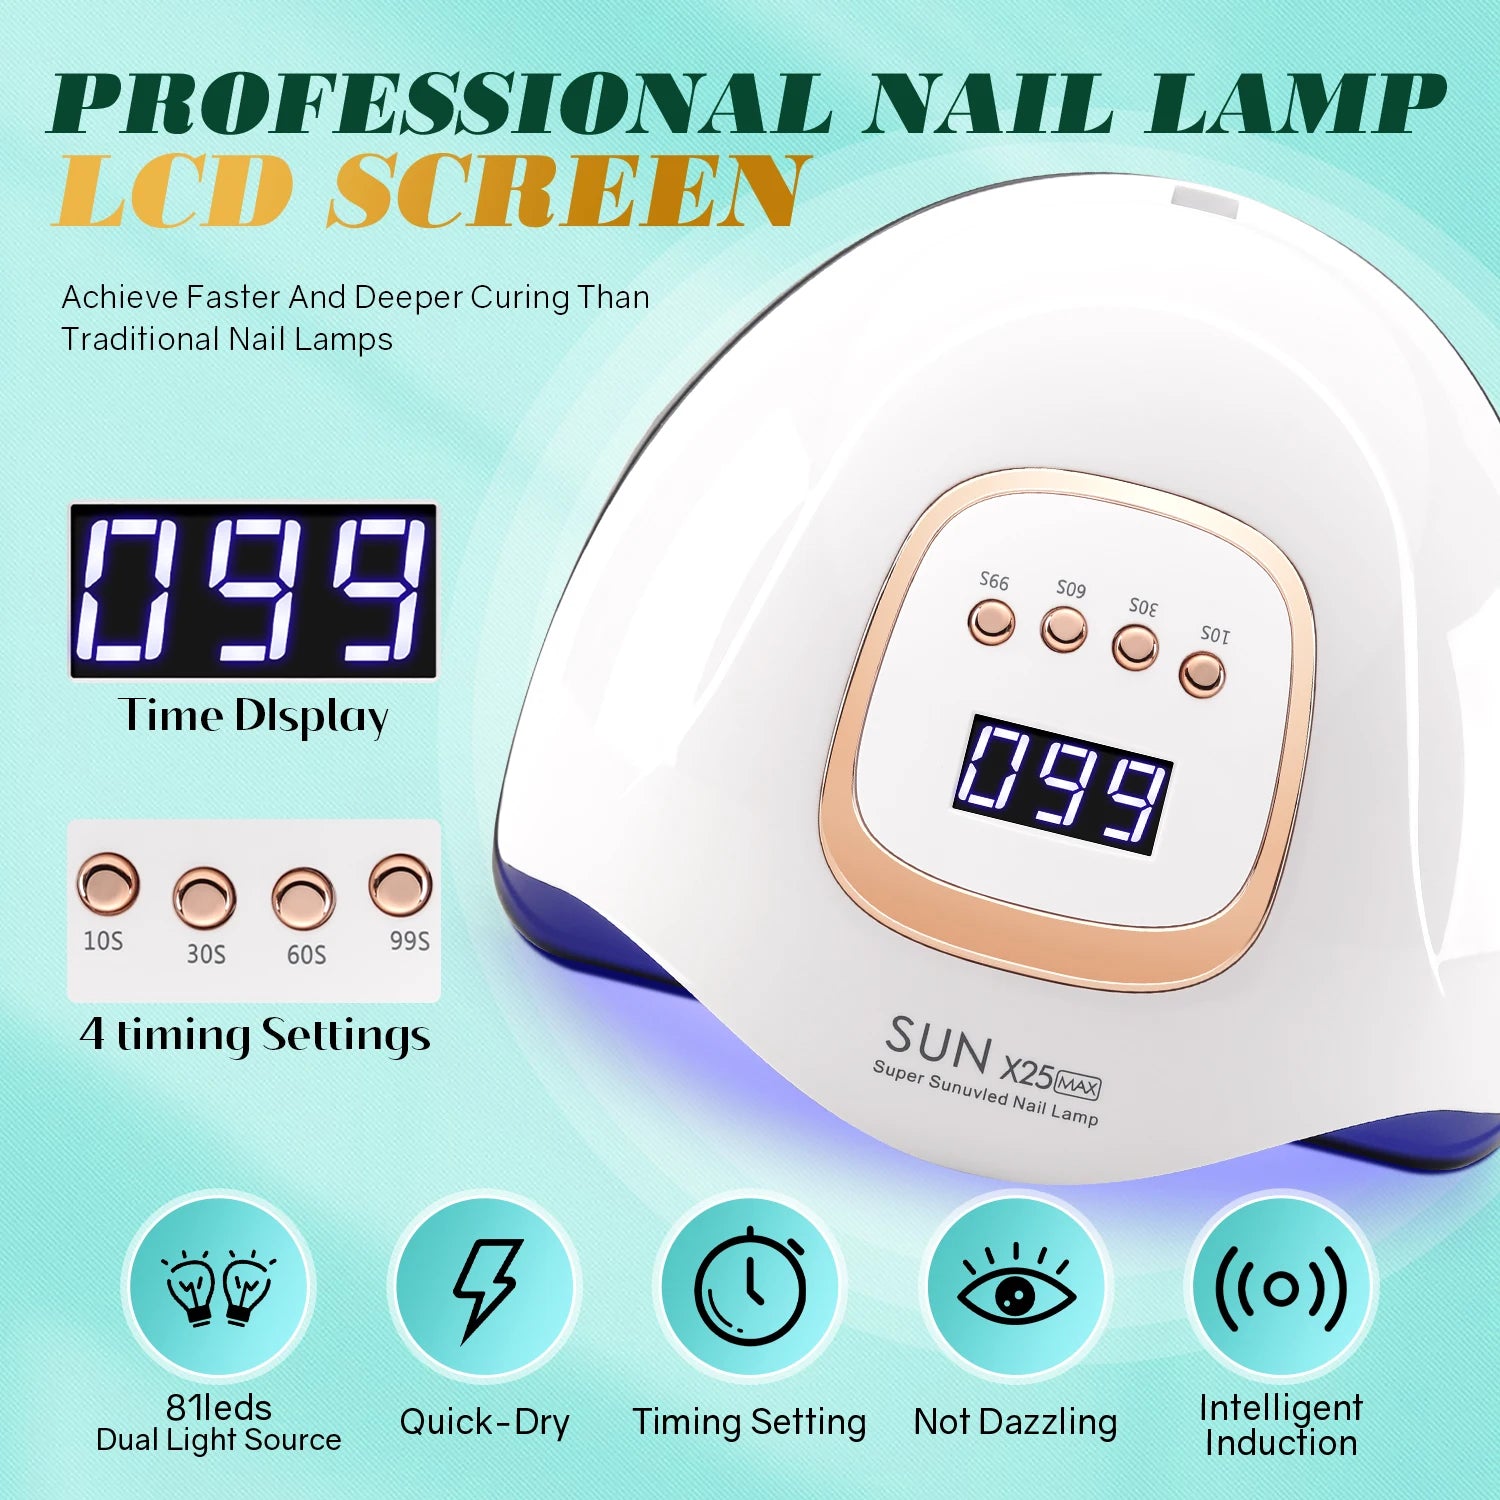
Side-by-side lamp comparison: which fits your needs
Use this table to match lamp features to results: fast cure, gentle on hands, or salon-grade power.
| Feature | Basic Home Lamp | Mid-range LED (recommended) | Professional Gel Nail Lamp |
|---|---|---|---|
| Typical Wattage | 9–24W | 36–48W | 60–120W |
| Best for | Occasional touch-ups | Regular at-home use | Salon-quality, thick gels |
| Cure speed | Slow | Fast | Very fast |
| Heat spike risk | Low–Medium | Medium | Can be higher — look for built-in heat control |
| Price range | Low | Moderate | Higher |
Pros & Cons (quick glance)
- Basic: Inexpensive but may leave tacky polish and require longer cure times.
- Mid-range: Best balance of price, speed, and safety for home users.
- Professional: Fast cures, consistent wavelength output — ideal if you use thick gels or do many sets.
why isn t my gel polish curing - KentDO · 💡 See it in action
How to cure properly for long-lasting results (exact steps)
Follow this ordered process every time you do a gel manicure to minimize curing issues.
- Prep nails: push cuticles, buff lightly, and remove oils with a lint-free wipe and cleanser.
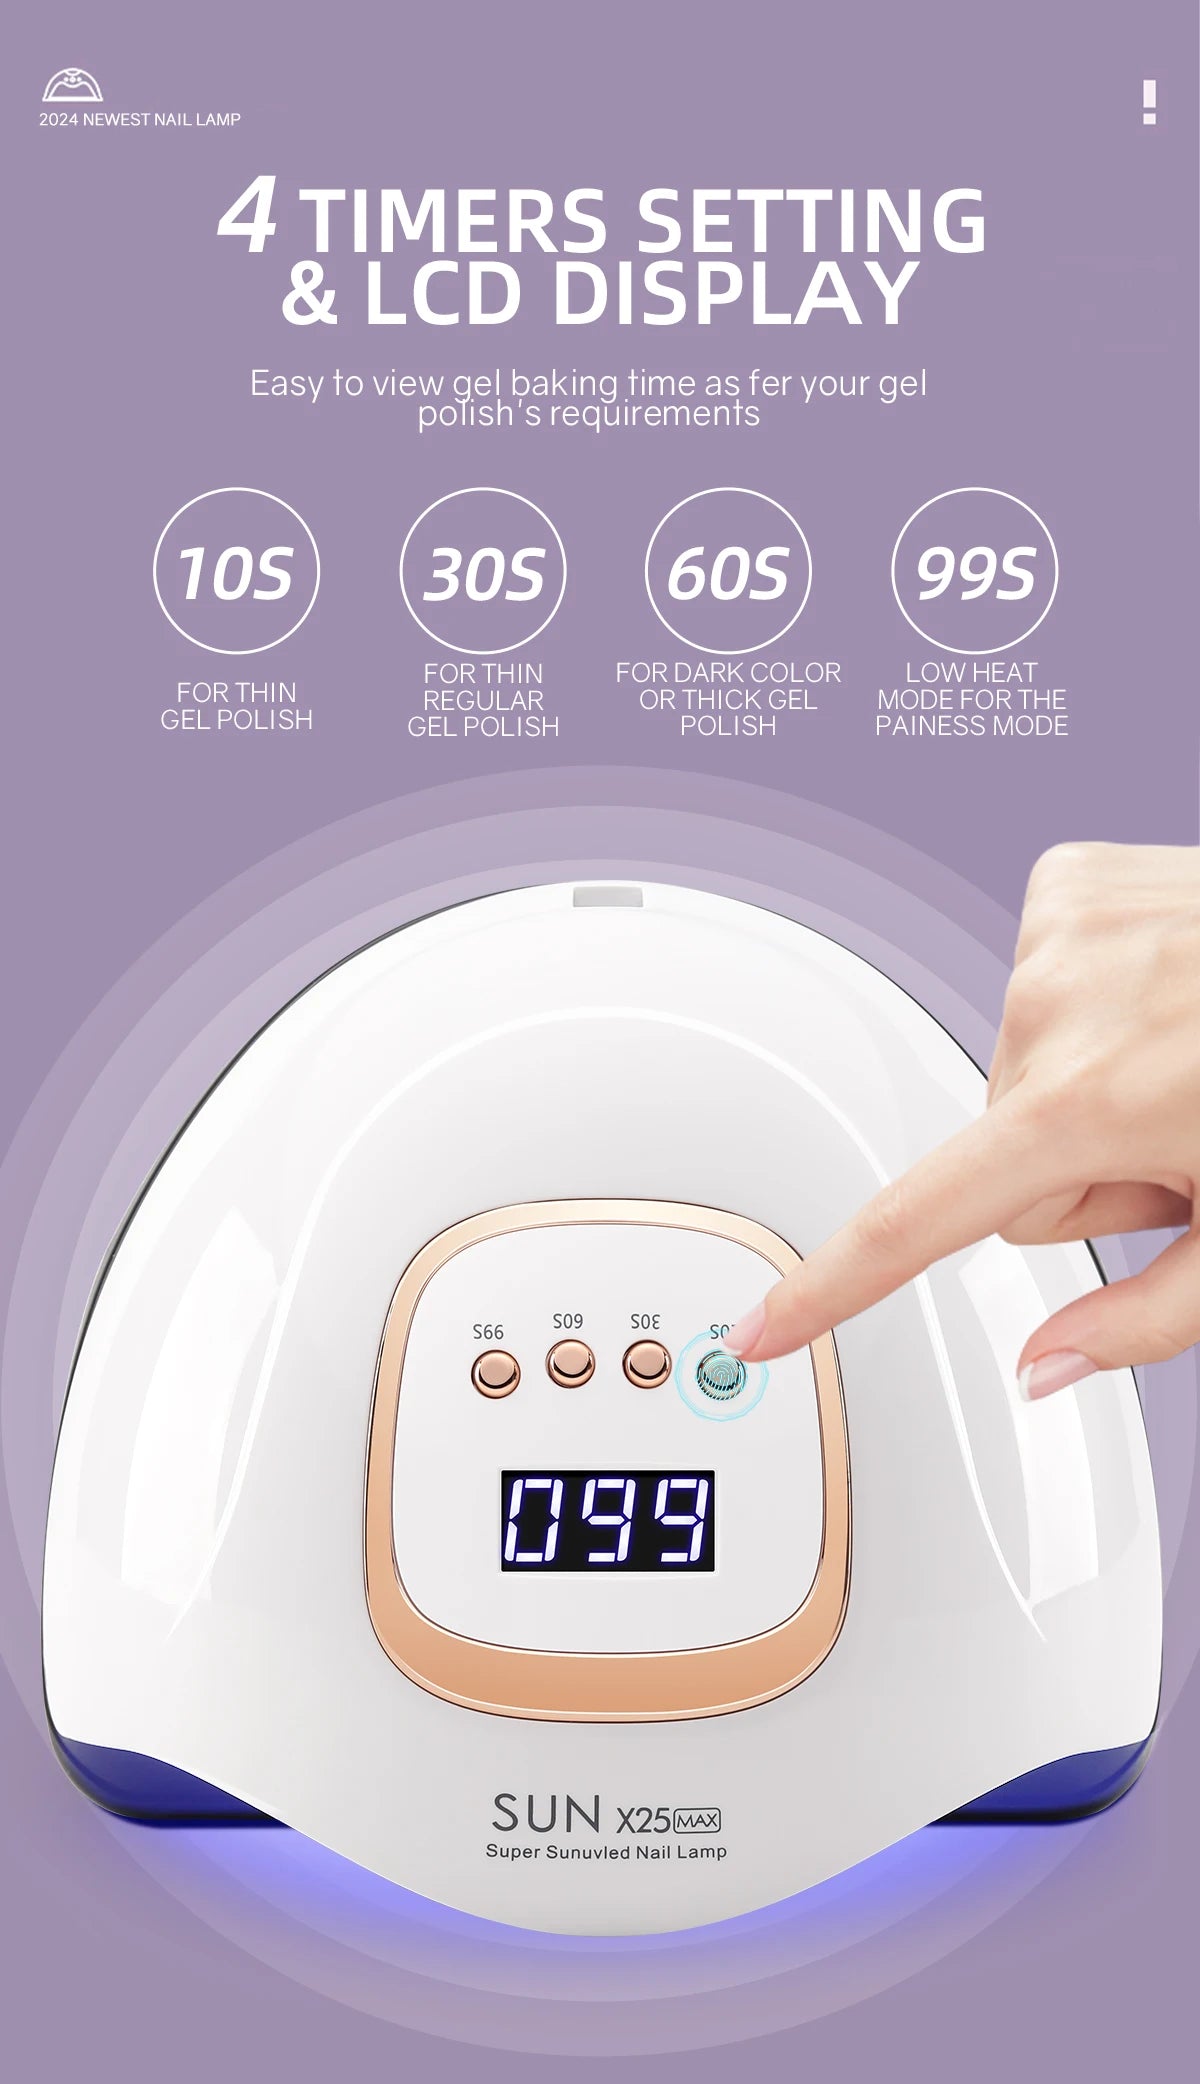
- Apply thin base coat — cure according to base instructions (often 30–60s).
- Apply 2–3 thin color coats, curing each layer separately.
- Apply top coat, cure fully, then remove the inhibition layer if the product requires it.
- If nails feel warm during top-cure, use shorter pulses or lower-watt stepping feature if available.
Why thin coats matter
Each gel layer needs light to penetrate and fully polymerize. Thin, even coats cure reliably; thick coats trap uncured resin inside and cause tackiness or peeling.
Reduce heat spikes and stop nail lamp burns hands
Heat sensations during curing often come from rapid polymerization of thick layers. Solutions below reduce discomfort while still curing properly.
- Use pulse or low-heat modes: many professional lamps ramp power or offer low-heat cycles.
- Edge-first curing: cure center for short time, then edges — spreads heat exposure.
- Cool compress: a quick cool-down between layers reduces cumulative heat.
- Lower wattage for sensitive clients: a slower cure with thin layers can be gentler.
When to suspect a lamp fault
If only certain nails or zones remain tacky despite correct technique, the lamp likely has uneven LED output or failing diodes. That’s a signal to upgrade to a reliable model.
Top lamp picks and when to buy
Below is a short roundup to match needs, plus the recommended product link repeated for convenience.
- Everyday at-home: Mid-range LED lamp with at least 36W and even LED distribution.
- Frequent users: 48–72W lamps with low-heat modes and wide curing area.
- Salon / power users: 60–120W professional gel nail lamp with proven wavelength coverage and quick cure cycles.
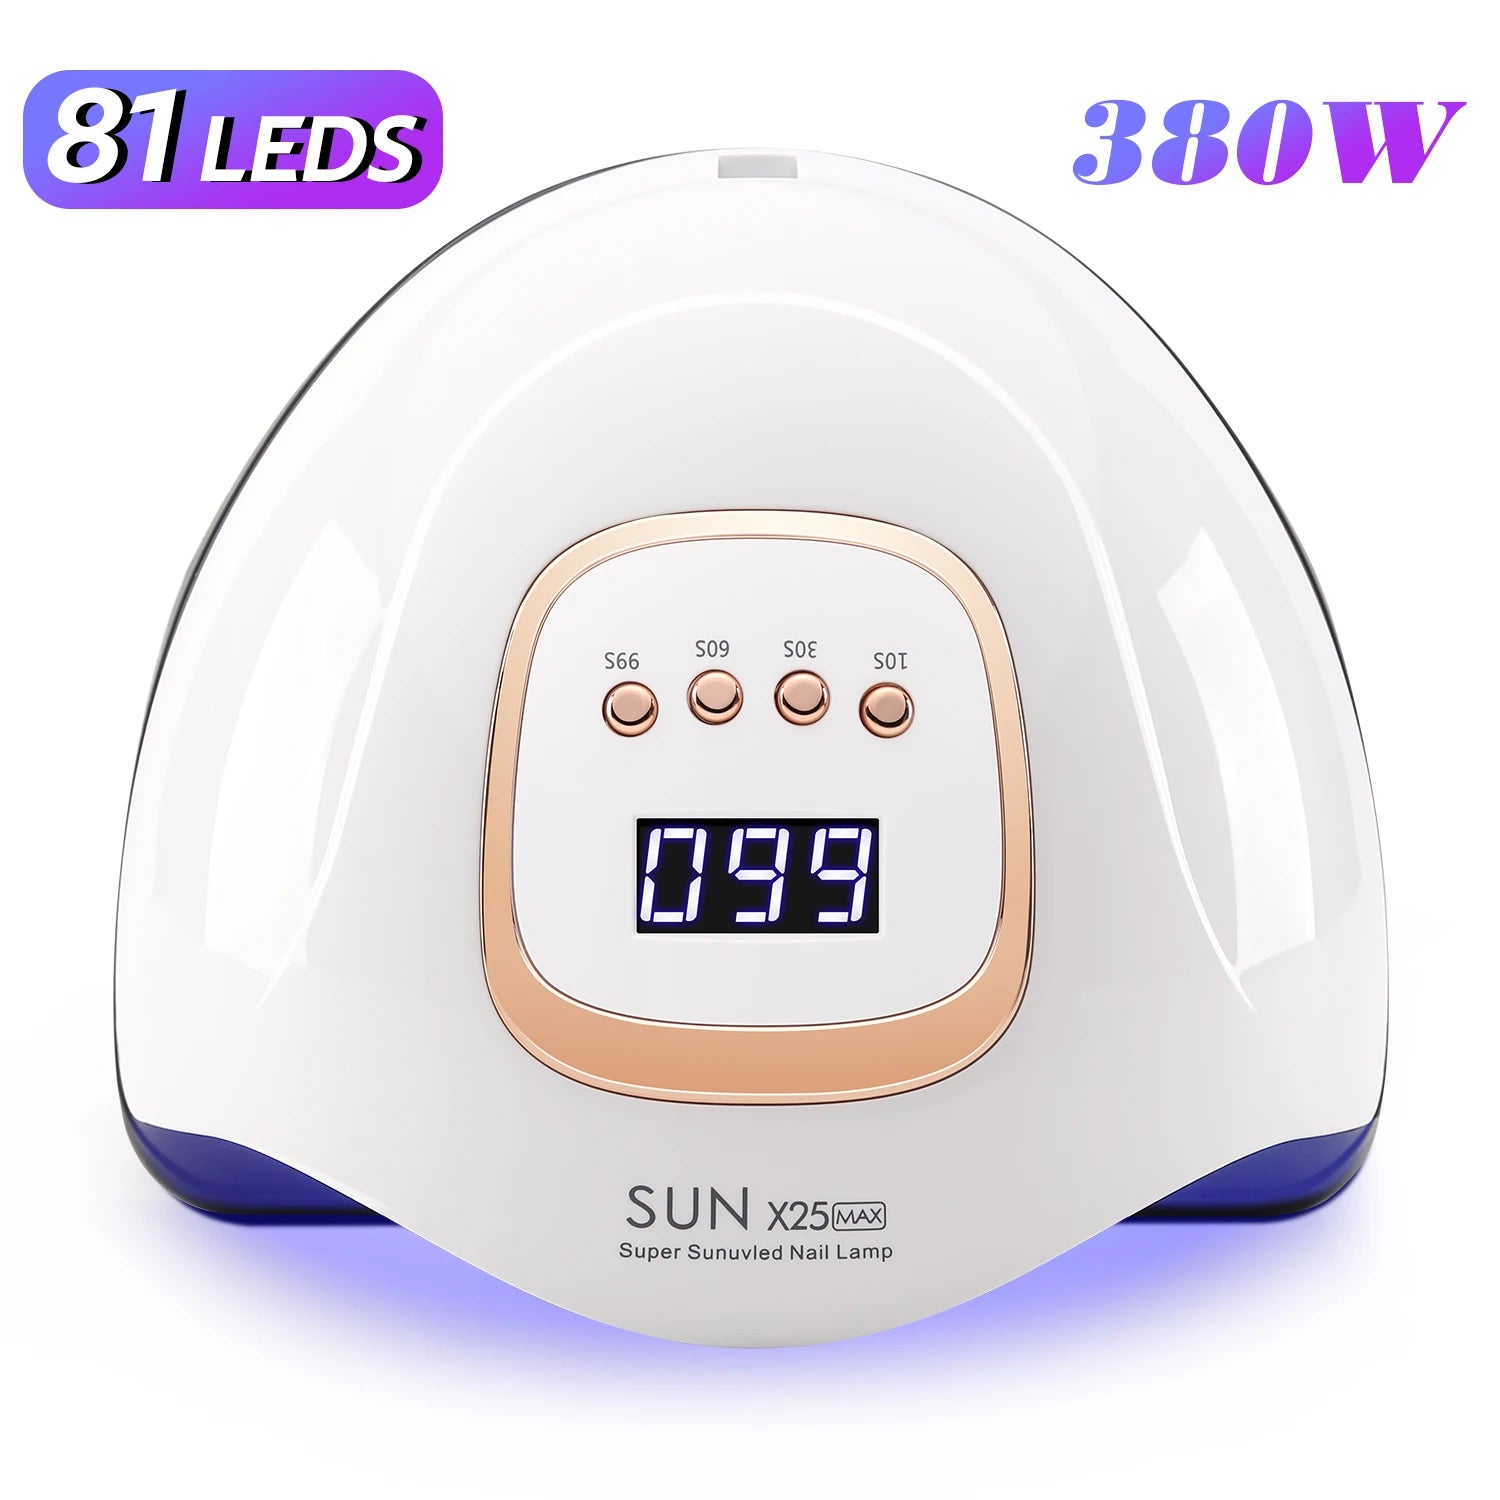
Recommended model for many users: the UV Nail Lamp 380W Fast Dry LED Gel Dryer — built for faster cures and consistent output. Get yours here.
Who benefits most from upgrading?
- Users with frequent tacky finish despite correct technique.
- Those experiencing lamp-caused heat spikes or "lamp burns hands".
- People using thicker builder gels or pigmented colors that need more power to cure through.
why isn t my gel polish curing - KentDO · 💡 See it in action
Quick comparison (what to check when choosing)
- Wavelength coverage: Look for 365–405nm range for broad formula compatibility.
- Wattage: Higher wattage shortens cure time but check heat control features.
- Evenness: Lamps with full-arch LED arrays prevent uneven cures.
- Modes: Low-heat/pulse modes reduce heat spikes and make curing comfortable.
Mini FAQ
Why isn’t my gel polish curing even though I used a lamp?
Most often it’s a mismatch between polish and lamp type, weak LEDs, or layers that are too thick. Check lamp wavelength, replace old bulbs, and apply thin coats curing each layer fully.
How can I stop my lamp from burning my hands?
Use low-heat or pulse modes, cure in shorter bursts, or switch to a lamp with ramp features. Thin coats and cooling breaks also reduce heat sensations.
Is a professional gel nail lamp worth the price?
If you do frequent sets, use builder gels, or want consistent salon-level cures, a professional gel nail lamp saves time and reduces reworks—making it a worthwhile investment.
Final thoughts — practical checklist before you buy or troubleshoot
- Confirm polish-to-lamp compatibility (wavelength and cure time).
- Replace old bulbs/lamps showing dim LEDs or uneven output.
- Always apply thin, even layers and cure each one fully.
- Choose a lamp with heat-control modes if you feel burning or excess heat.
- Consider the UV Nail Lamp 380W Fast Dry LED Gel Dryer for fast, reliable results: view product.
Real user voices: “Switched to a higher-watt lamp and my sets stopped peeling after two weeks.” — 4.7★ (200+ reviews). “Heat mode saved my clients who were sensitive.” — Nail tech user feedback.
Pillar Article: How to Cure Gelish Nail Polish: Top Lamps & Expert Tips
Other Related Articles:
- Gel Manicure at Home Kit Reviews: Top Picks for Beginners
- Gel Polish Not Curing Properly: Lamps and Techniques Compared
- How to Do Gel Manicure at Home: Best Kits Reviewed
- Gel Polish Sticky After Curing? 7 Solutions That Actually Work
Explore More: