Does gel polish sticky after curing really happen, and how can you fix it?
If your gel polish sticky after curing leaves a tacky, uneven finish, you’re not alone. Many users struggle with gel polish still sticky after curing or nail polish sticky after drying. The key is adjusting curing time, using compatible base/top coats, and selecting a quick dry gel nail polish that guarantees a smooth, glossy finish every time.
Gel Polish Sticky After Curing? 7 Solutions That Actually Work
If your gel polish sticky after curing keeps ruining your manicure, you’re not alone. Many struggle with gel polish still sticky after curing or nail polish sticky after drying. From adjusting curing times to using the right quick dry gel nail polish, these 7 expert solutions will finally give you smooth, lasting results. Ready to uncover the surprising trick most pros swear by and never tell beginners?
💡 See gel polish sticky after curing fixed with the right technique
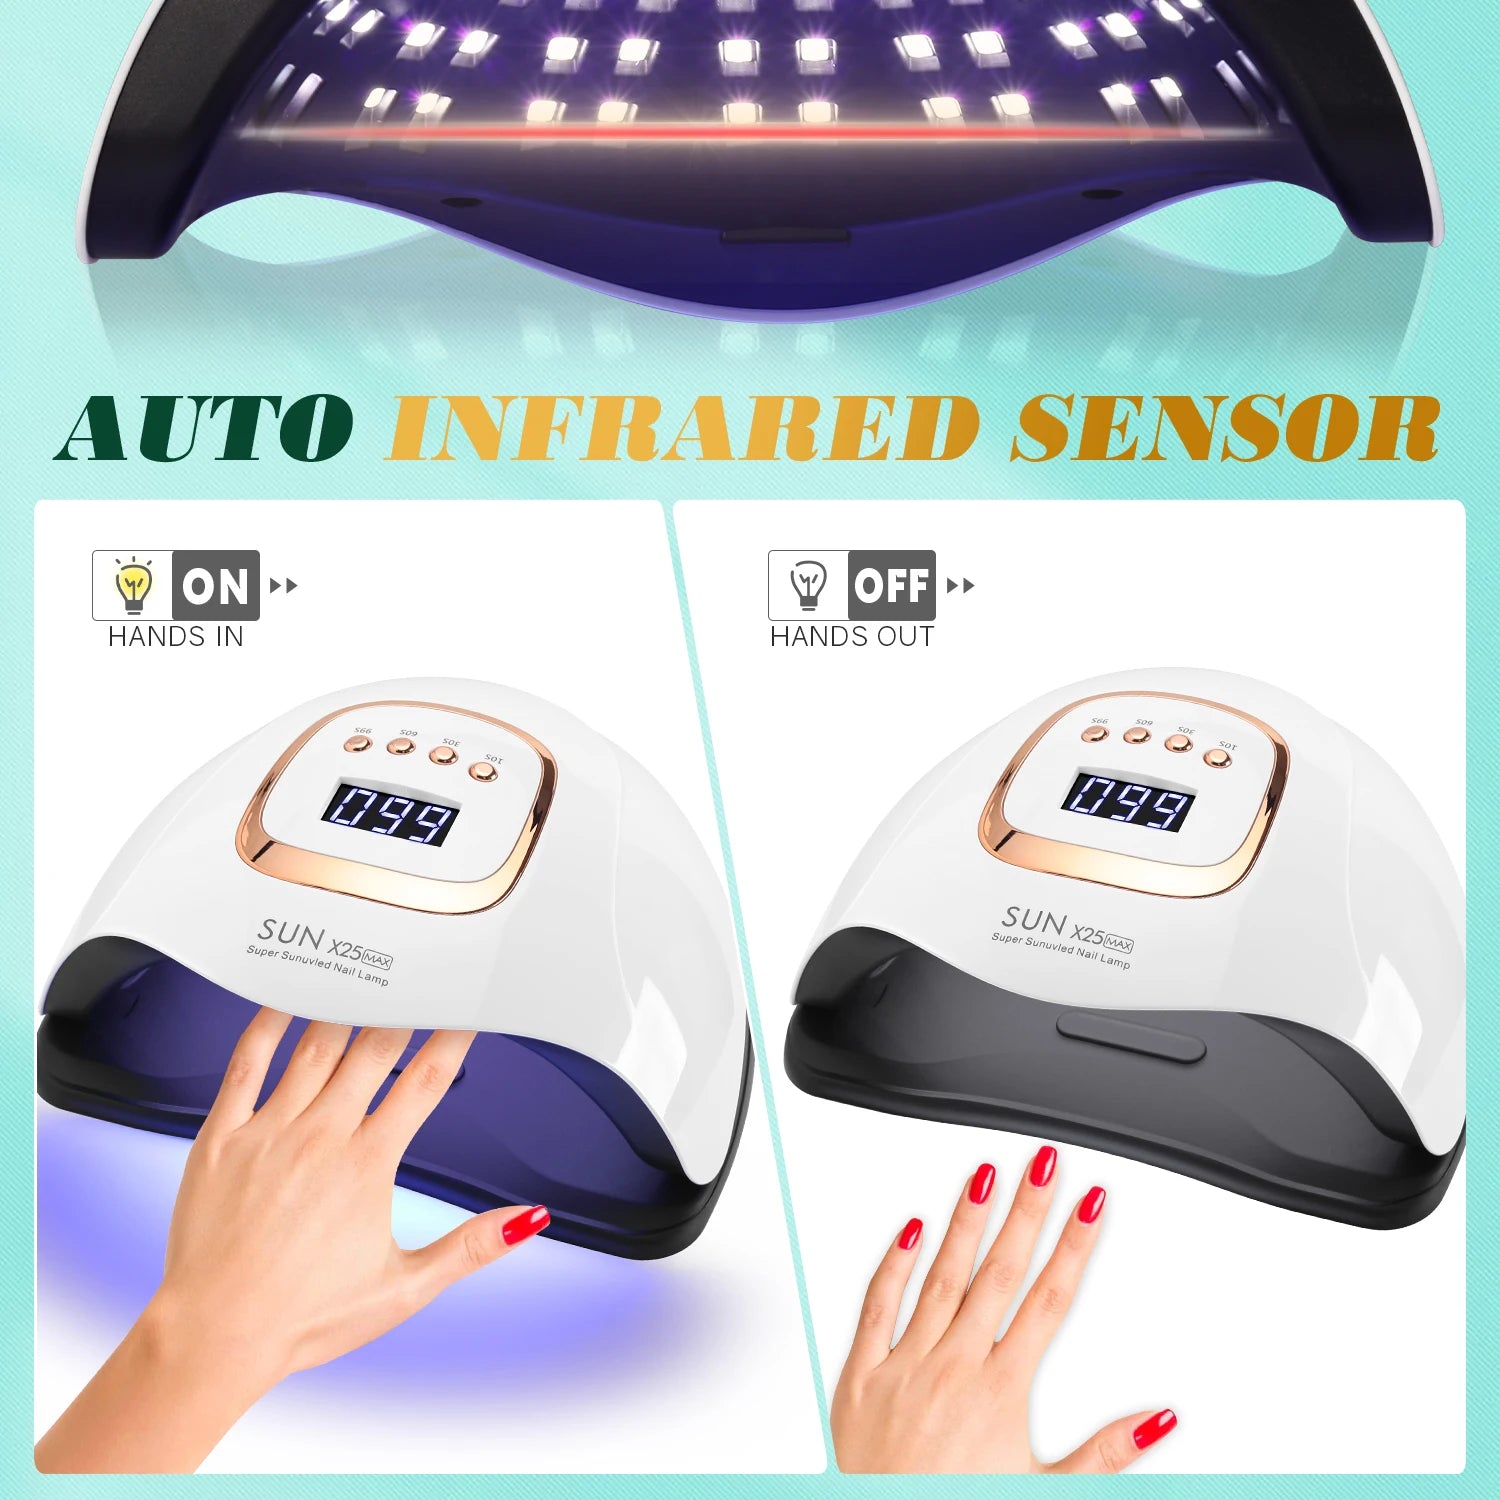
1. Check Your UV/LED Lamp Wattage and Compatibility
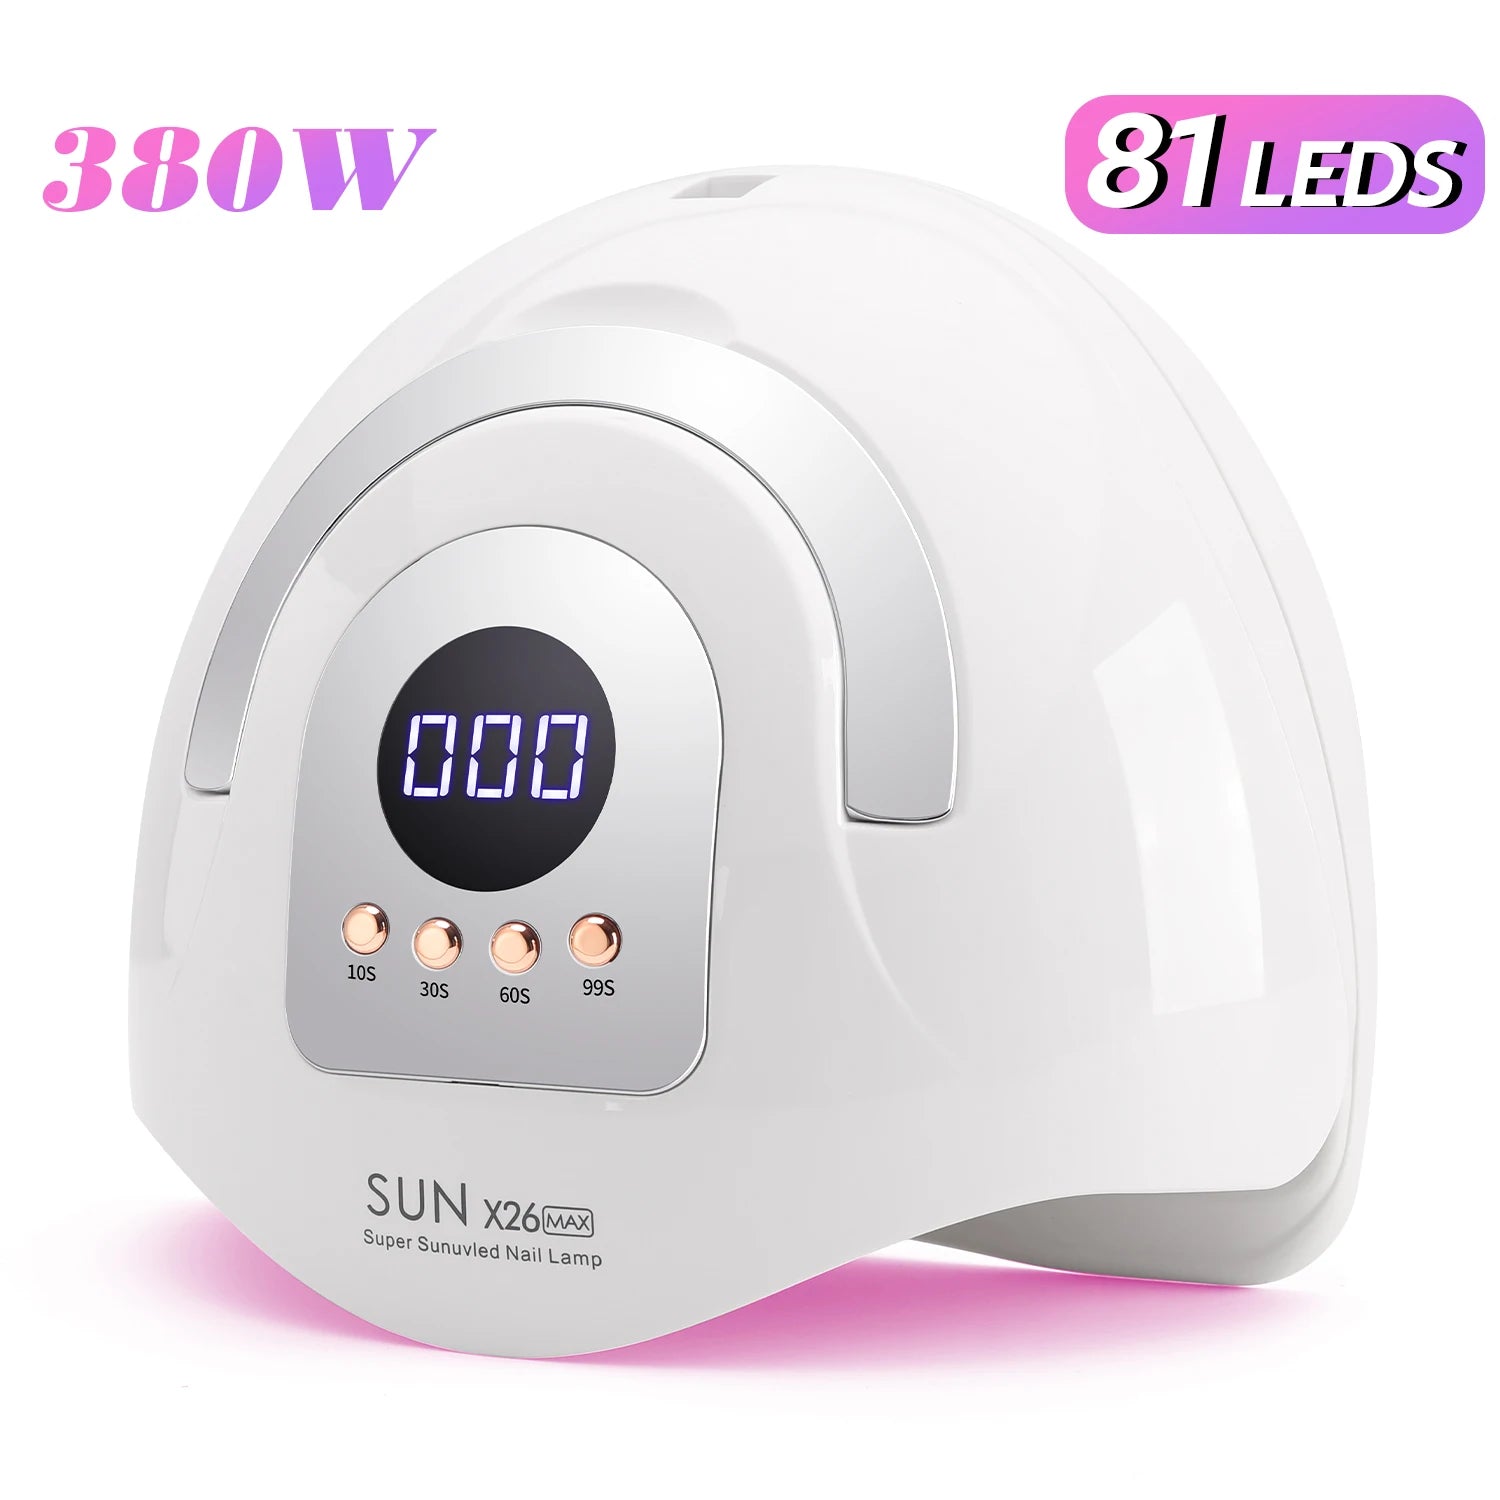
Gel polish sticky after curing often happens because the lamp doesn’t provide sufficient power or the wrong wavelength. Using a lamp under 36W or one not compatible with your gel formula can leave nails tacky. For best results, use a high-wattage UV/LED lamp like the KentDO UV Nail Lamp 380W to ensure thorough curing.
2. Wipe Off the Sticky Layer Correctly
Many users attempt to remove the tacky layer too early or with the wrong solution. Always use a lint-free wipe soaked in isopropyl alcohol after curing to gently remove the sticky residue. This keeps your gel polish smooth and shiny without dulling the color or texture.
3. Adjust Layer Thickness for Even Curing
Applying layers too thick prevents light penetration, leaving polish sticky after curing. Apply thin, even coats and cure each layer separately. Thin layers not only dry faster but also reduce shrinkage and bubbling, improving overall manicure longevity.
💡 Thin layers + proper curing = no more gel polish still sticky after curing
4. Switch to Quick Dry Gel Nail Polish
Using a quick dry gel nail polish minimizes sticky finishes. These formulas are optimized to cure evenly and reduce tackiness, even in lower-powered lamps. Brands that advertise fast curing times are ideal for home use and beginners who want reliable, salon-quality results.
- ✅ Cures evenly under most LED/UV lamps
- ✅ Reduces nail polish sticky after drying
- ✅ Saves time without sacrificing shine
5. Replace Expired or Poor-Quality Gel Polish
Old or low-quality gel polish can become thick, uneven, or sticky. Always check the batch date and consistency before application. Fresh gel polish ensures smooth application, proper curing, and a long-lasting glossy finish without the tacky residue.
6. Control Temperature and Humidity
Environmental factors affect curing. High humidity or very cold temperatures can prevent the polish from setting fully, leaving a sticky layer. Aim for room temperature between 68–75°F and low humidity. Avoid applying gel polish near air conditioning vents or in overly humid bathrooms.
7. Apply Compatible Base and Top Coats
The wrong base or top coat may react with your gel polish, causing stickiness. Always pair your polish with recommended or compatible base/top coats to prevent gel polish still sticky after curing. A top-quality top coat also enhances shine and durability.
💡 Smooth gel finish achieved with correct base and top coat application
Side-by-Side Quick Comparison of Sticky Gel Fixes
| Solution | Pros | Cons |
|---|---|---|
| High-Wattage Lamp | Even curing, fast | Cost, power consumption |
| Wipe Sticky Layer | Glossy finish, simple | Needs correct alcohol & lint-free wipe |
| Thin Layers | Reduces bubbling & shrinkage | More application steps |
| Quick Dry Gel | Faster, reliable results | May be pricier |
| Fresh Gel Polish | Smoother, longer-lasting | Need to check expiration |
| Temperature Control | Consistent curing | Requires monitoring environment |
| Compatible Base/Top Coat | Enhanced durability & shine | Limited brand compatibility |
Pro Tips from Users
- "Switching to a 38W lamp and thin layers solved my sticky gel issue instantly!" — Amanda L., home nail enthusiast
- "Using a quick dry gel polish saved me 10 minutes per manicure and no more tacky nails." — Sophie K., beginner nail artist
- "Controlling humidity in my bathroom made a noticeable difference for a smooth finish." — Jamie T., regular home user
Mini FAQ
Why is my gel polish sticky after curing?
Gel polish sticky after curing usually results from insufficient lamp power, thick layers, or incompatible base/top coats. Adjusting these factors and using a quick dry gel nail polish can resolve the issue.
Can I fix sticky gel without removing it?
Yes, gently wipe the tacky layer with isopropyl alcohol on a lint-free wipe. Avoid scrubbing too hard to preserve the polish.
How long should I cure each gel layer?
Curing times vary by lamp and polish type. Thin layers generally require 30–60 seconds under LED and 2 minutes under UV lamps.
Does using a quick dry gel polish prevent stickiness completely?
Quick dry gel nail polish reduces the risk of tacky nails but works best when paired with proper lamp wattage, thin layers, and compatible base/top coats.
Where can I find reliable gel nail devices?
Check the Nail Care Devices collection for high-quality UV/LED lamps and accessories to prevent gel polish sticky after curing.
Pillar Article: How to Cure Gelish Nail Polish: Top Lamps & Expert Tips
Other Related Articles:
- Gel Manicure at Home Kit Reviews: Top Picks for Beginners
- Gel Polish Not Curing Properly: Lamps and Techniques Compared
- Why Isn’t My Gel Polish Curing? Expert Fixes and Lamp Picks
- How to Do Gel Manicure at Home: Best Kits Reviewed
Explore More: