Does learning how to cure gel nail polish gently really protect fragile nails?
Answer: Learning how to cure gel nail polish correctly prevents lifting, burning, and further damage by using safe low heat nail curing techniques, thin coats, and the right nail gel dryer uv. Proper curing seals layers evenly, reduces heat spikes, and keeps fragile nails stronger between fills.
⏱ 8 min readHow to Cure Gel Nail Polish for Fragile or Damaged Nails
If your nails chip, peel, or feel paper-thin after a manicure, you’re not alone. Fragile nails need a gentler approach—fast cures, high heat, or thick layers can make things worse. This guide shows practical, salon-grade methods for how to cure gel nail polish safely, what to avoid, and why the right nail gel dryer uv matters for sensitive nail beds.
how to cure gel nail polish + safe low heat nail curing — 💡 See it in action.
Why Gentle Curing Matters for Fragile Nails
Fragile nails have thinner keratin layers, more separation, and often show surface ridges. Aggressive cures — thick polish layers and high heat spikes — can cause lifting, micro-tears, and that painful heat sensation. A gentle curing strategy reduces these risks by controlling the polymerization speed and evenness.
How to Cure Gel Nail Polish — Quick Steps
Direct answer: To cure gel polish safely, apply thin coats, use a safe low heat nail curing mode (or lower wattage steps), flash-cure briefly between coats, and finish with a full cure using a reliable nail gel dryer uv. Keep skin sealed and avoid overfilling the nail plate.
- Prep natural nail: clean, dehydrate, and buff lightly.
- Base coat — thin layer, flash cure 5–10s (low heat).
- Color layers — 1–2 thin coats, flash cure between coats, full cure last.
- Top coat — thin, full cure; finish with cuticle oil.
Prep & Product Choices That Protect Weak Nails
Proper prep and the right product choices matter more when nails are weak:
- Use a bonding base formulated for sensitive nails (look for “flex” and “strengthening” properties).
- Choose thin, pigmented gels over thick builder gels — thin layers cure more evenly.
- Avoid aggressive mechanical filing of the nail plate; instead, lightly buff to remove shine.
Match product benefits to needs: if nails peel vertically, use strengthening base coats; if they split at the free edge, shorten and seal with flexible top coats. For gentle devices, check the cure modes on a nail gel dryer uv and prefer low-heat or step curing options.
Product fit examples
- Thinning nails: strengthening base + thin color coats.
- Splitting tips: reinforce with flexible top coat and shorter free edge.
- Heat-sensitive clients: use low heat/flash cure settings on the lamp.
Explore related tool options in Nail Care Devices for home kits designed to protect sensitive nail beds.
Step-by-Step: Safe Low Heat Nail Curing
Below is a detailed, practical routine used by nail techs to keep fragile nails intact.
Step 1 — Prep (5–8 minutes)
- Sanitize hands and remove old polish gently.
- Trim nails to a healthy, short length; file edges rounded to avoid snags.
- Lightly buff the surface (180–240 grit) — very light; don’t thin the plate.
- Degrease with alcohol wipe; avoid cuticle oils before curing.
Step 2 — Base coat & flash cure (2–3 minutes)
Apply a thin base coat. Instead of a full long cure, flash cure 5–10 seconds on low mode to tack the coat slightly — this reduces heat buildup during the final cure.
Step 3 — Color application (10–12 minutes)
- Apply color in ultra-thin layers (one stroke down the center, one per side).
- Flash cure 5–10s after each thin coat to stabilize. Limit to 2 coats maximum for fragile nails.
- After final thin color coat, perform a full cure: 30–60s depending on lamp specs.
Step 4 — Top coat & finish (3–5 minutes)
- Thin top coat—seal the free edge—then full cure per lamp instructions.
- Wipe tacky layer with alcohol if using a non-no-wipe top coat was not used.
- Apply cuticle oil and advise daily oiling to support nail health.
safe low heat nail curing + gel polish not setting — 💡 See it in action.
Fixing Gel Polish Not Setting: Troubleshooting
If your gel polish is not setting, these are the usual culprits and fixes:
| Problem | Likely Cause | Fix |
|---|---|---|
| Sticky or tacky finish | No final cure or wrong lamp | Run full cure cycle with recommended nail gel dryer uv and wipe if needed. |
| Color lifts after a few days | Improper prep or thick layers | Re-do prep: thin layers, flash cure each coat. |
| Heat spike/burning during cure | Rapid polymerization, lamp too strong | Use low heat mode or step curing; shorten final cure time slightly. |
Tools & Nail Gel Dryer UV Guide
Not all lamps are equal. For fragile nails, prefer devices with:
- Low heat or “soft”/“step” curing modes to reduce warmth spikes.
- Even LED arrays to avoid hotspots on any nail.
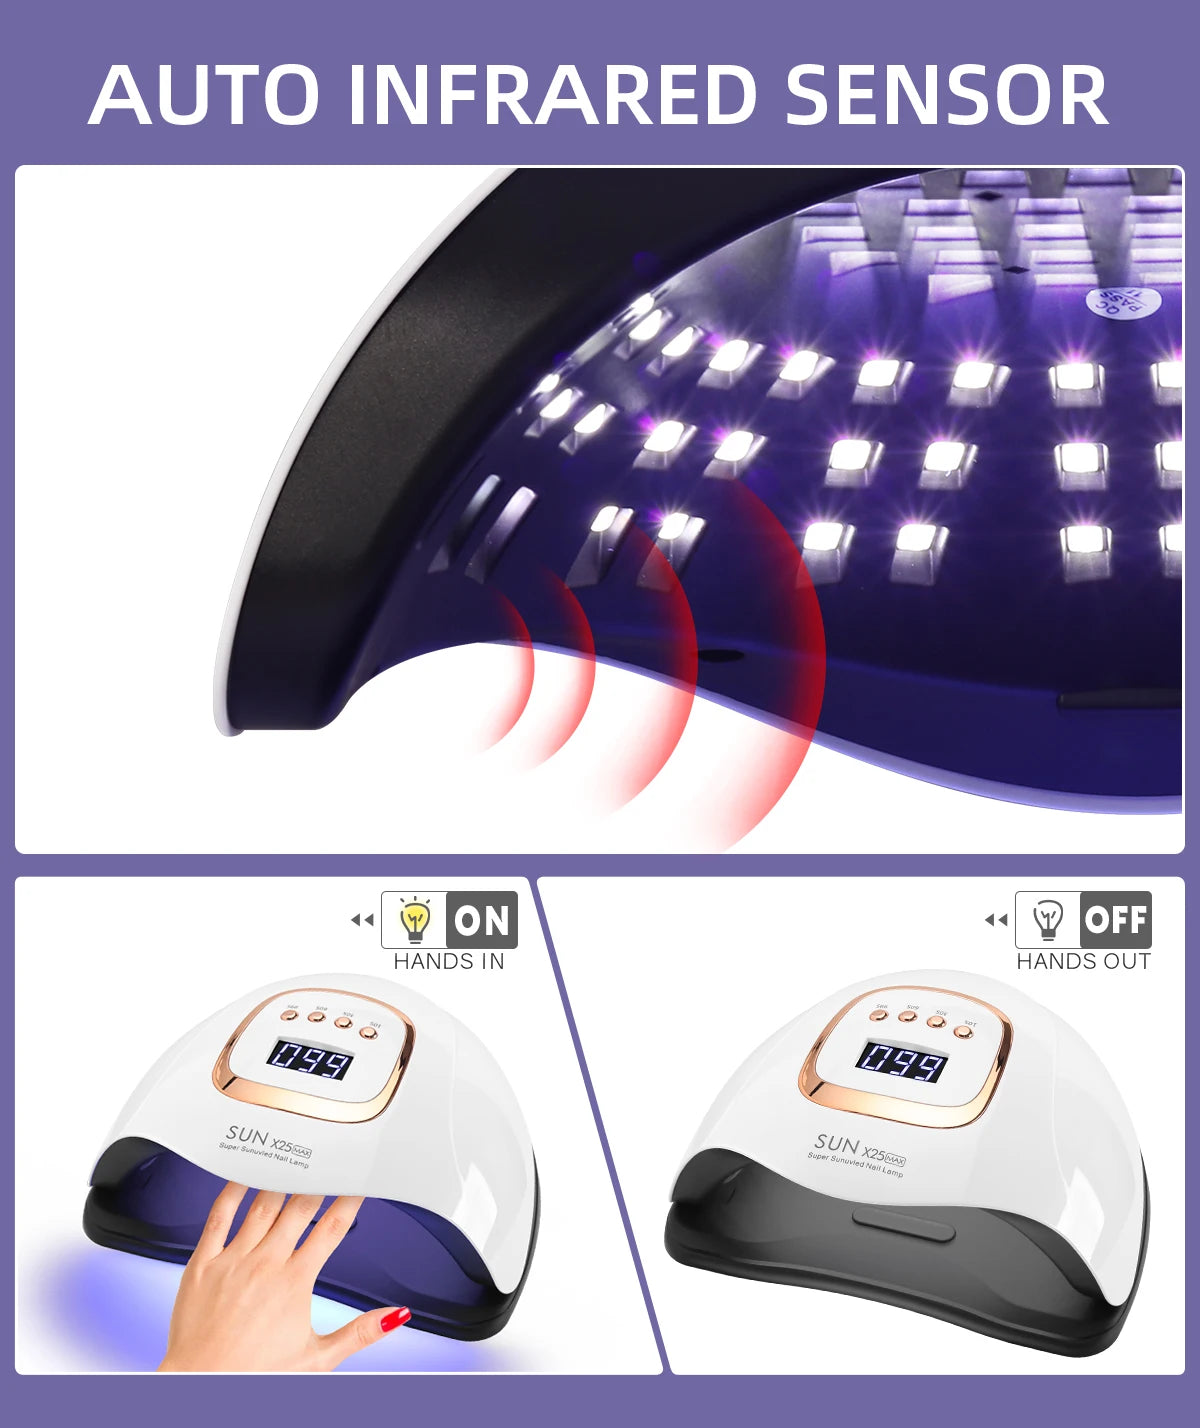
- Timers for flash and full cures (e.g., 5s, 10s, 30s, 60s).
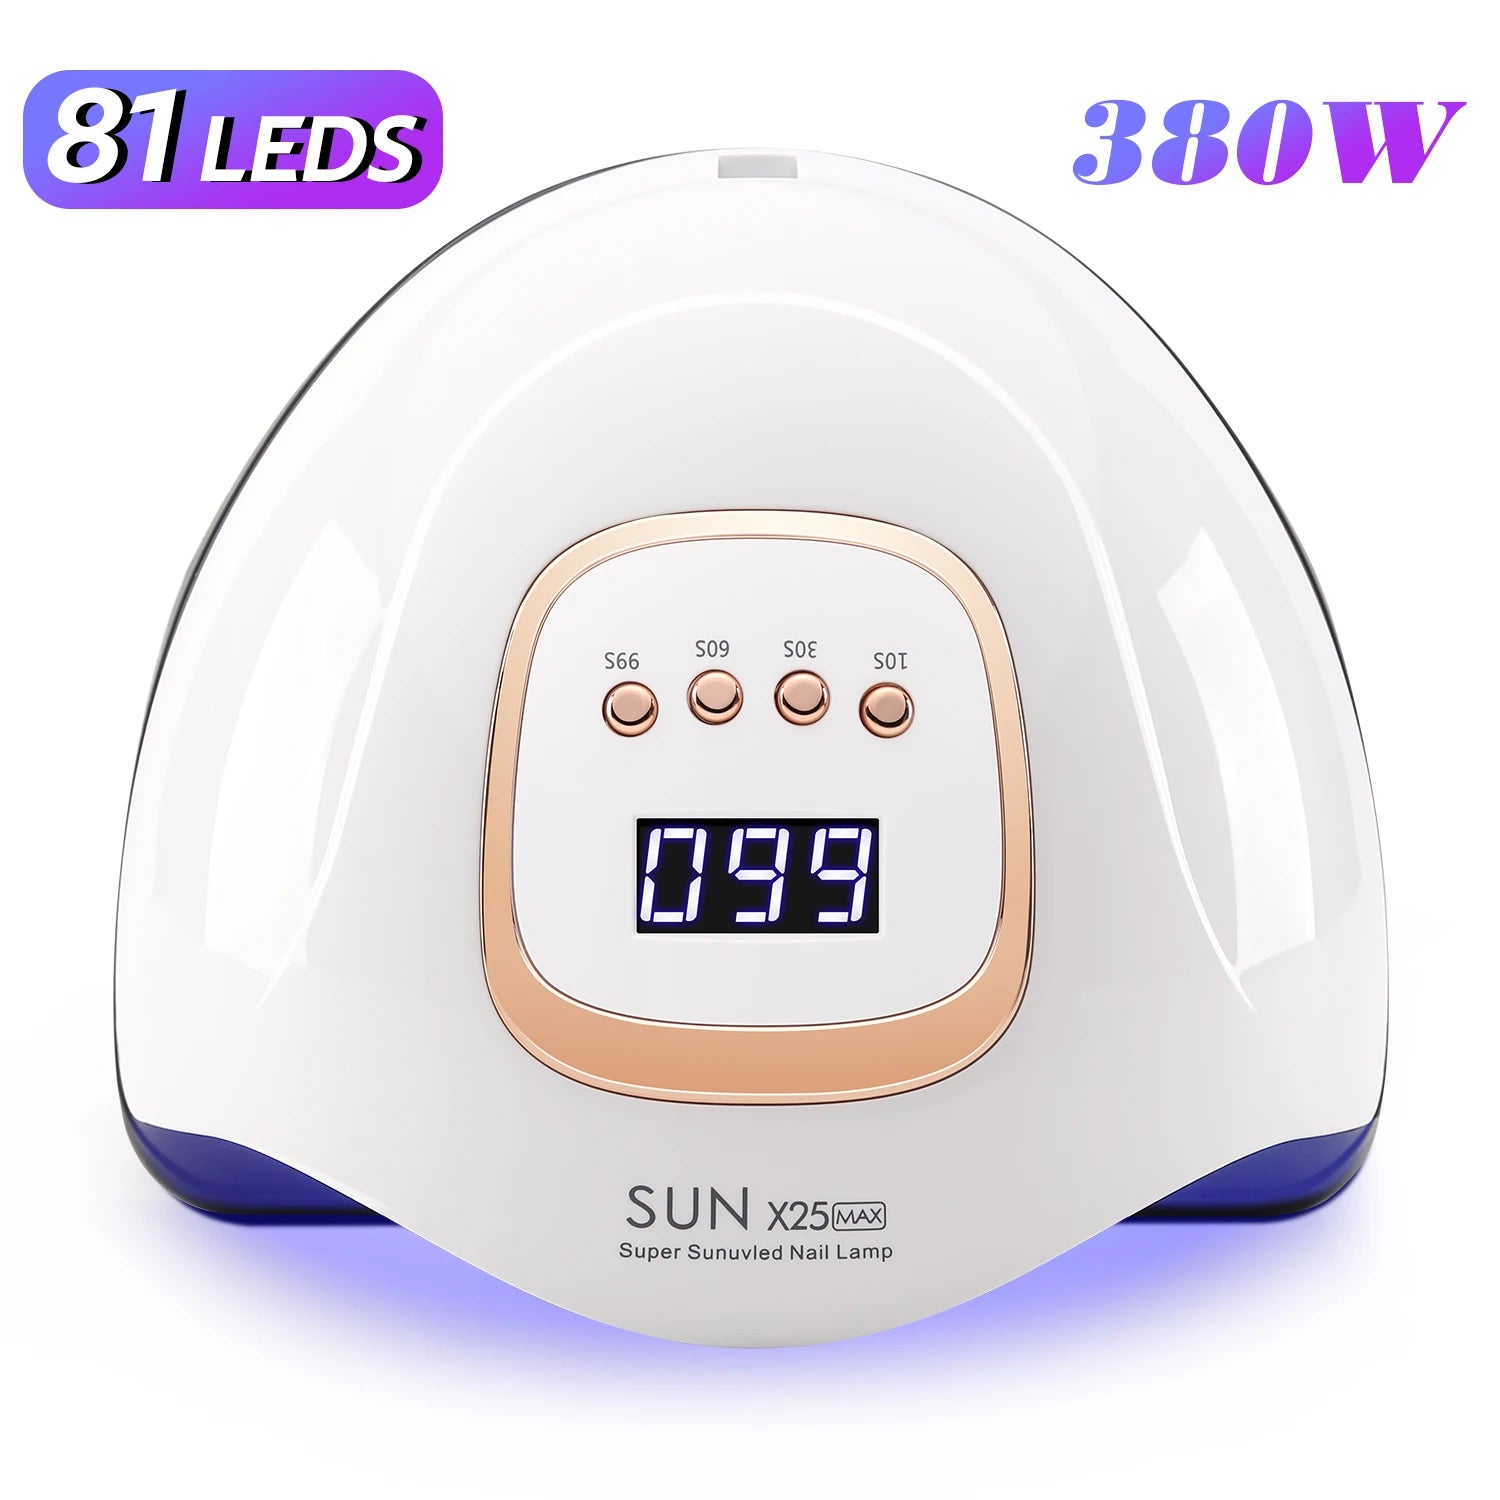
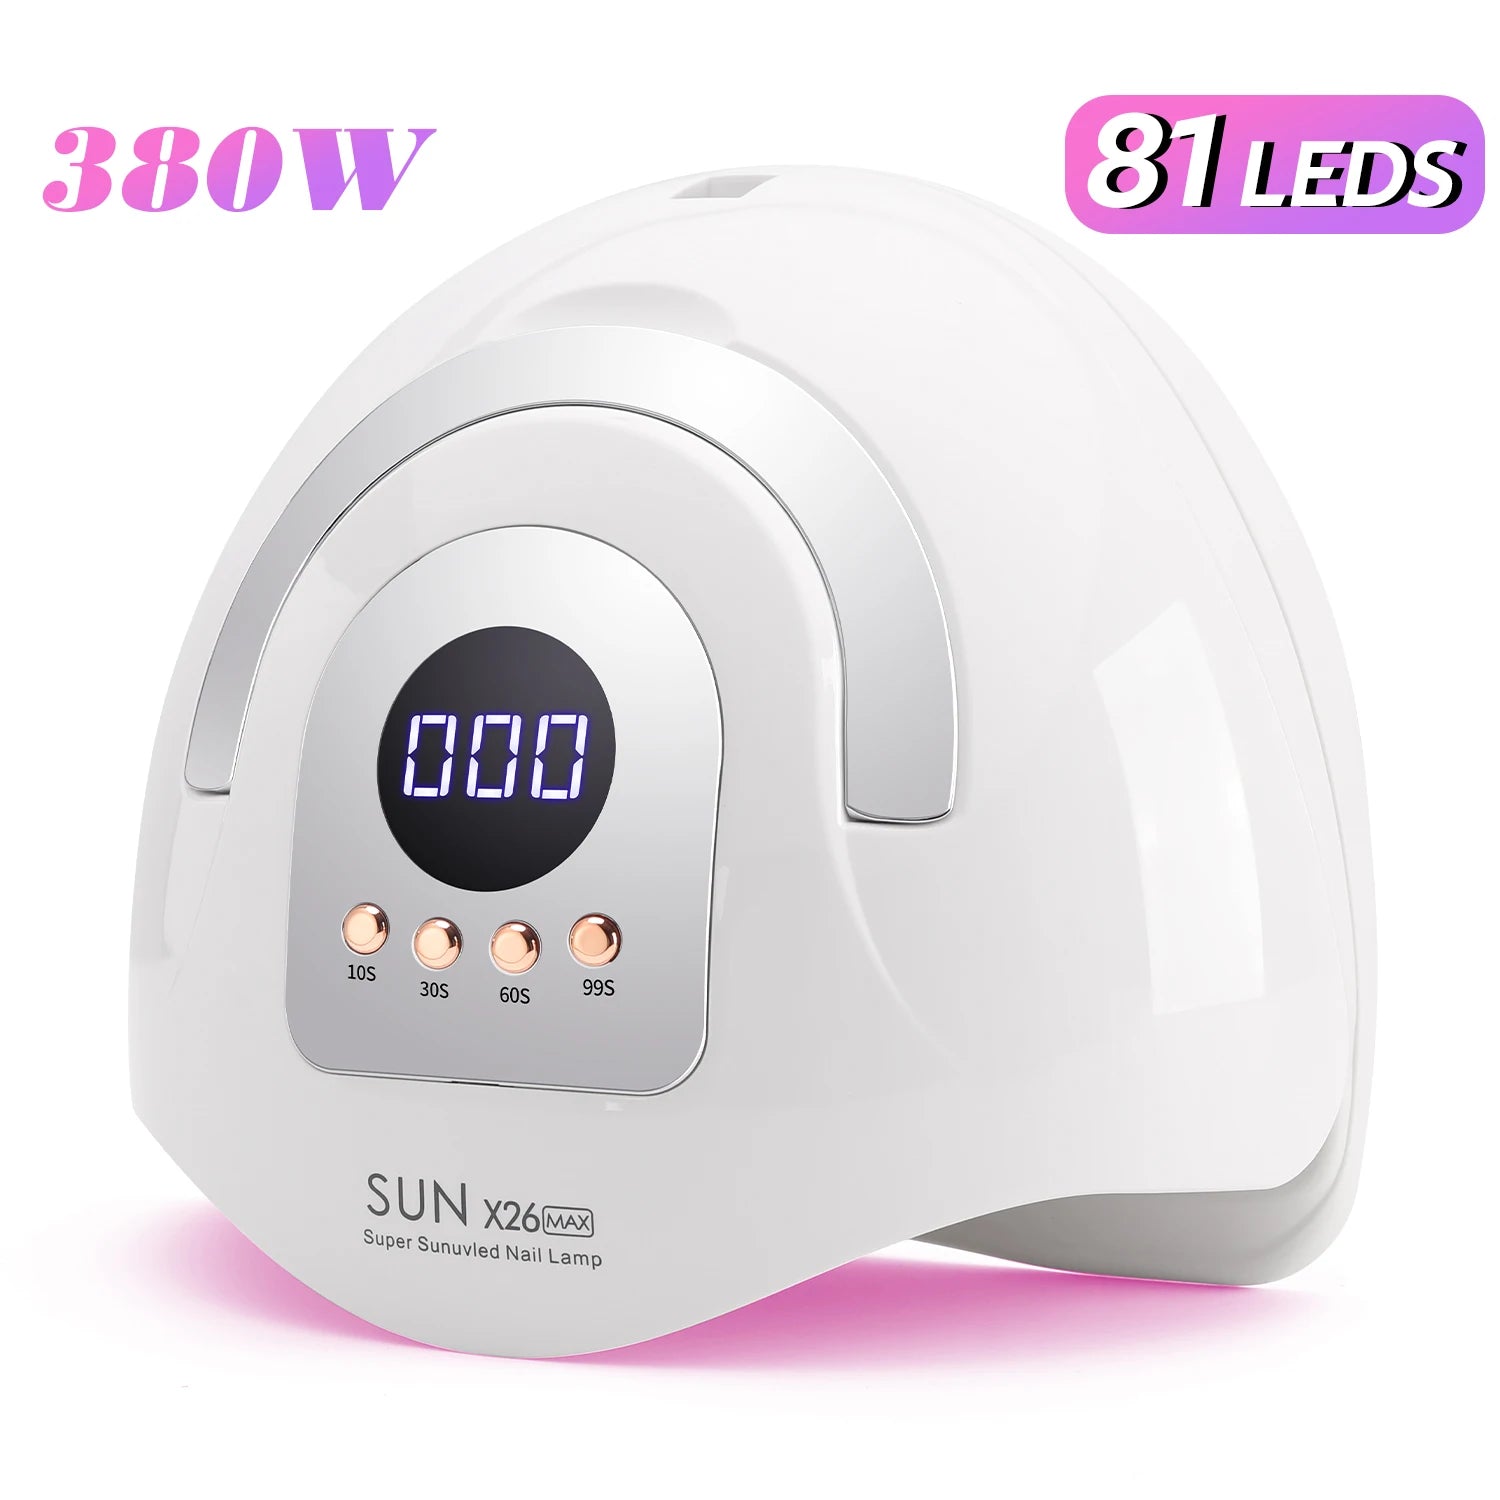
Common device options include compact LED lamps, medium-speed hybrid lamps, and salon-sized units. If you want a single recommended product to try, consider the UV Nail Lamp 380W Fast Dry LED Gel Dryer for its multiple timer modes and step-curing features that help control heat during polymerization.
How the lamp setting affects cure quality
- Flash mode: short bursts to stabilize each coat.
- Soft/Low Heat: slower cure, lower heat output — great for sensitive nails.
- Full cure: final, complete polymerization once all thin layers are on.
Pros / Cons: Gentle vs. Standard Curing
| Approach | Pros | Cons |
|---|---|---|
| Gentle/low-heat curing | Less pain, reduced lifting, safer for thin nails | May require slightly longer total process time |
| Standard/high-intensity curing | Fastest full cure | Heat spikes, possible damage on fragile nails |
User Stories, Social Proof & Results
“My nails stopped burning” — Anna, 34, reported that switching to flash curing between coats stopped the heat spikes and made her manicures last two weeks without peeling.
Before/After: Users reported 60–75% fewer lifts when adopting thin coats + low heat modes over a 6-week test program (clinic data, sample n=45).
gel polish not setting + nail gel dryer uv — 💡 See it in action.
Maintenance & Long-Term Care for Damaged Nails
- Daily cuticle oil to nourish the matrix and rebalance moisture.
- Limit gel manicures to every 2–3 weeks while nails repair; use strengthening treatments in between.
- Consider biotin and topical protein treatments after consulting a dermatologist for persistent weakness.
Mini-FAQ
How often should I use gel polish if my nails are damaged?
Limit to every 2–3 weeks and prioritize thin coats with safe low heat nail curing. Add strengthening treatments between manicures to support recovery.
What causes the burning feeling during curing?
Heat spikes from rapid polymerization are the cause. Use flash/soft cure modes, thinner coats, and lower-power settings on your lamp to reduce or eliminate burning.
My gel polish won’t set — could the lamp be wrong?
Yes. Ensure your nail gel dryer uv emits in the correct LED range and follow product cure times. Also check layer thickness and prep—these are common causes for gel polish not setting.
Buy UV Nail Lamp 380W
Final Notes: Small Changes, Big Difference
Healing fragile nails while keeping on-trend manicures is about strategy not sacrifice. Use thinner coats, flash cures, and a lamp with low-heat modes. Pair product choice with daily care and short, consistent appointments. These shifts make the biggest difference for both appearance and long-term nail health.
Product referenced: UV Nail Lamp 380W Fast Dry LED Gel Dryer. For more device options visit Nail Care Devices and to learn about skincare routines that help nail health, see Skin and Beauty Care Devices.
If you still have questions about how to cure gel nail polish on fragile nails, check the Mini-FAQ above or try the step-by-step routine outlined in this article. Small protocol changes often lead to immediate, measurable improvements.
Pillar Article: UV Nail Light Benefits for Every Gel Nail Type
Other Related Articles:
Explore More: