How can you repair a nail drill in 5 minutes or less?
Nail drill repair is quick and easy—most problems like stuck bits, weak rotation, or power loss can be fixed in under 5 minutes. Clean the chuck, replace worn bits, and ensure connections are tight. Regular maintenance keeps your professional electric nail drill kit running smoothly for years.
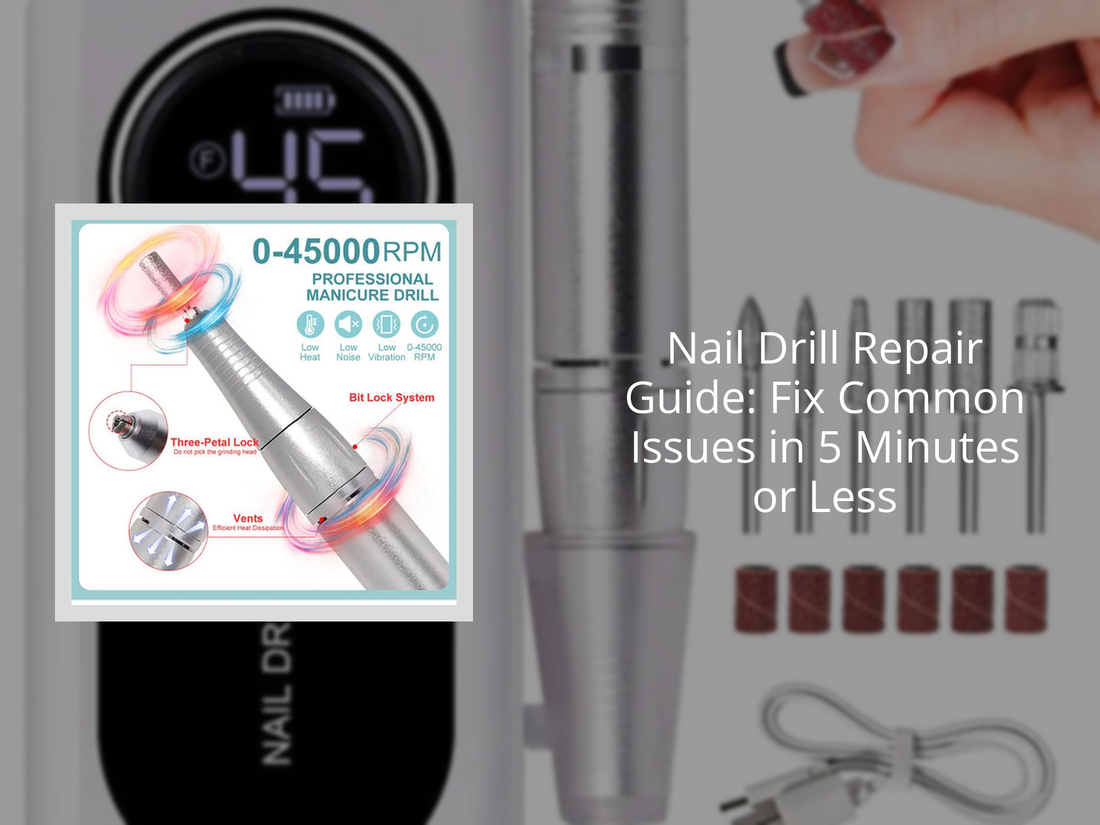
Nail Drill Repair Guide: Fix Common Issues in 5 Minutes or Less
Mastering nail drill repair is easier than you think—even for beginners using a professional electric nail drill kit or manicure drill set. From stuck bits to weak power, most issues with your nail drill machine professional or electric nail drill file can be fixed in minutes. Want to know the secret to keeping your tool running like new without expensive replacements?
⏱ 7 min read
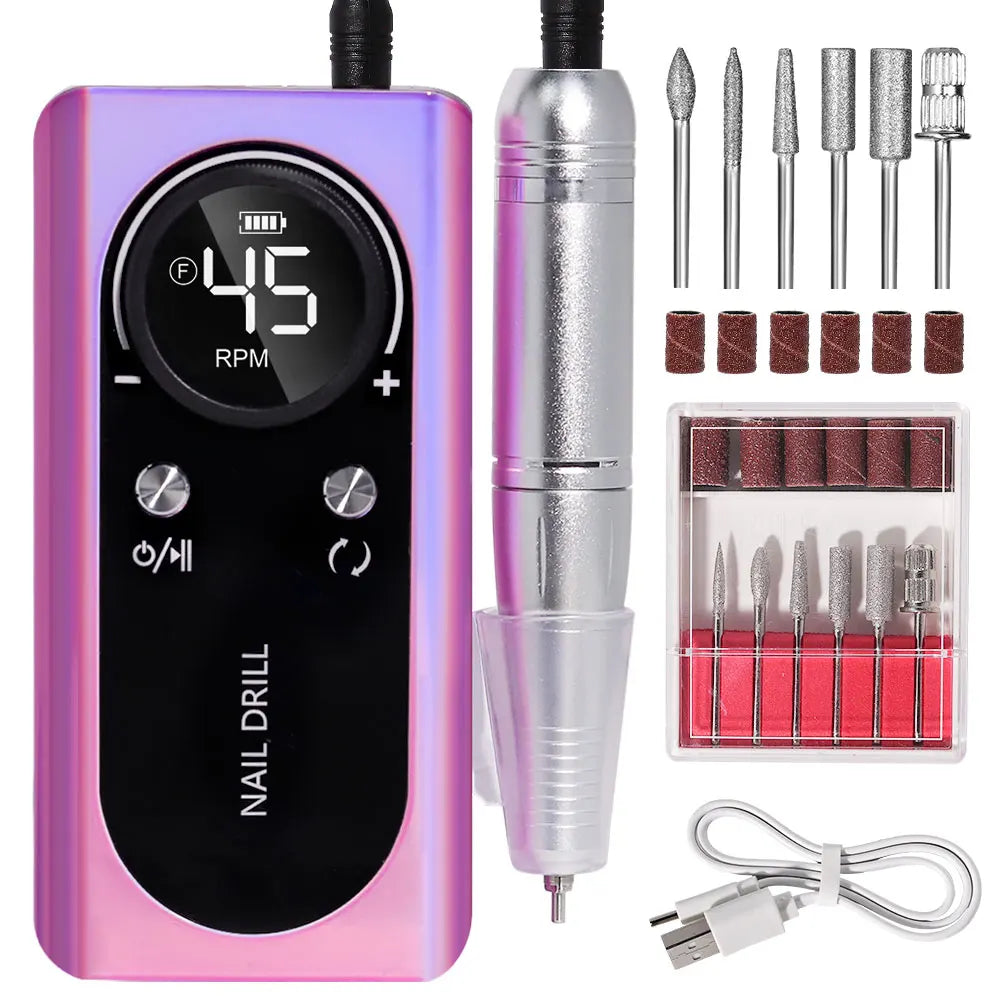
💡 Master nail drill repair with your KentDO electric nail drill file — keep your salon tools in top shape.
Common Nail Drill Problems and Quick Fixes
Every nail technician eventually faces issues like power drops, bit jams, or vibration. Thankfully, these problems don’t always require professional servicing. Here’s how to identify and fix them fast.
- Weak or inconsistent power: Often caused by a loose cord or dirty motor vents. Clean and reattach tightly.
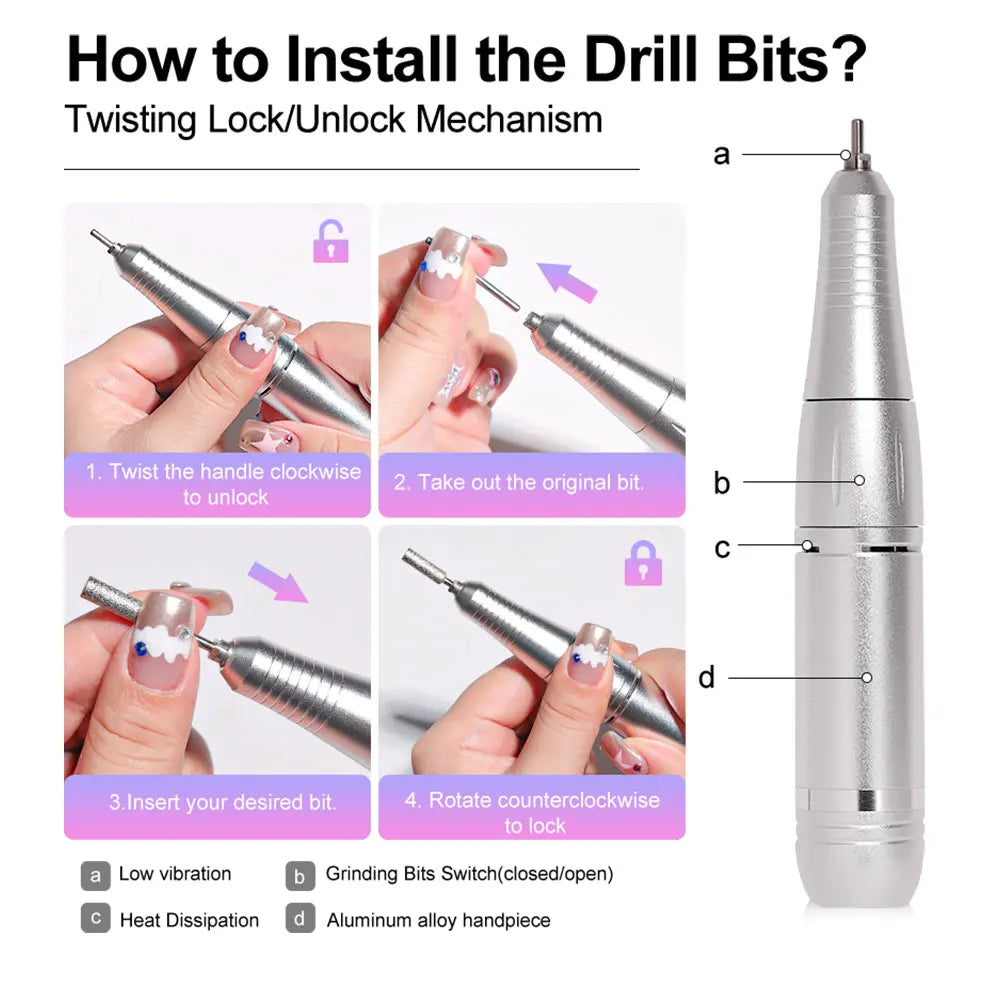
- Bit stuck in chuck: Remove debris using a small brush and apply light machine oil.
- Overheating: Prolonged high-speed use or blocked air vents. Give it cooling breaks every 10 minutes.
- Strange noises: May indicate worn bearings—replace or lubricate them.
Tools You’ll Need for Quick Nail Drill Repair
Before you start your nail drill repair, gather the right tools to make the process safe and efficient.
- Mini screwdriver set
- Soft cleaning brush or compressed air
- Lubricating oil for precision tools
- Microfiber cloth for surface cleaning
- Replacement bits (if worn out)
For professional use, it’s smart to keep a full manicure drill set on hand for quick swaps and consistent quality in your salon.
🛠 Keep your nail drill machine professional in top condition with easy DIY care steps.
Step-by-Step: How to Repair a Nail Drill Machine Professional
Follow these five easy steps to restore performance in minutes and extend the life of your electric nail drill file.
- Unplug and inspect the drill: Safety first. Remove the bit and power cord before opening the device.
- Clean the chuck and motor: Use a soft brush to remove dust and nail residue.
- Check wiring and connectors: Loose wires are a common cause of malfunction—tighten gently.
- Lubricate moving parts: Apply a small amount of tool oil for smoother spinning.
- Reassemble and test: Plug back in, insert a clean bit, and test rotation speed and sound.
Still not working? Try using a backup from your professional electric nail drill kit to verify if the issue is with the power supply or motor.
Maintenance Tips to Prevent Future Damage
Consistent care keeps your electric nail drill file running at salon-quality performance. Here are quick maintenance tips:
- Store in a dry, dust-free area after each use.
- Wipe the handpiece weekly with a microfiber cloth.
- Replace worn bits regularly to prevent stress on the motor.
- Use moderate pressure when filing to reduce strain.
When to Repair vs. Replace Your Nail Drill
Sometimes, repair isn’t enough—especially when your device shows persistent signs of wear. Here’s how to know when it’s time for a new model.
| Condition | Repair | Replace |
|---|---|---|
| Loose bit or slow rotation | ✅ Clean chuck & oil bearings | ❌ Not needed |
| Motor overheating or burnt smell | ⚠️ Check air vents & rest device | ✅ Replace if smell persists |
| Frequent power loss | ⚠️ Check adapter or cable | ✅ Replace if circuit damaged |
| Noise or vibration even after oiling | ❌ Temporary fix | ✅ Replace motor assembly |
Upgrading to the KentDO Rechargeable Nail Drill Machine ensures consistent power, quieter operation, and longer lifespan—perfect for both salon professionals and home users.
⚡ Experience precision and comfort — try the KentDO manicure drill set today.
Nail Drill Repair FAQ
How often should I clean my nail drill?
For professional use, clean your nail drill machine professional after each session. For personal use, once or twice weekly prevents buildup and maintains motor efficiency.
Can I replace the motor myself?
Yes, if you’re comfortable with small electronics. Always unplug before disassembly and refer to your professional electric nail drill kit manual for motor replacement guidance.
What causes vibration in my nail drill?
Vibration usually means a misaligned or dirty chuck. Remove the bit, clean the socket, and reinsert carefully. If the issue continues, lubricate or replace the bearing.
Is it worth repairing an old nail drill?
If the cost of repair exceeds half the price of a new electric nail drill file, replacement is the smarter option. Modern drills like the KentDO model offer better speed control and durability.
Tags: nail drill repair, professional electric nail drill kit, nail drill machine professional, electric nail drill file, manicure drill set, nail drill maintenance, nail drill troubleshooting, diy nail tool repair, salon equipment care, nail technician tips
Pillar Article: How to Use Electric Nail Drill Without Ruining Your Nails
Other Related Articles:
- Nail Drill with Bits: What’s Included & Which Ones You’ll Actually Use
- E File Nail Drill Bits Explained Clearly (Even If You’re a Total Beginner)
- Electric Nail Drill for Beginners: Avoid These 7 Common Mistakes
Explore More: