What is layering for cold bike rides?
Layering for cold bike rides uses a smart clothing system to manage heat, sweat, and wind while cycling in cold weather. By combining moisture-wicking base layers, insulating mid layers, and wind-blocking outer shells, riders stay warm without bulk and maintain comfort, endurance, and control on winter rides.
Layering for Cold Weather Cycling: The Complete Winter Riding System
Layering for cold bike rides doesn’t have to feel complicated. The right winter cycling setup creates warmth where needed, breathability where you sweat, and consistent comfort—without bulky clothing or constant adjustments.
⏱ 7 min read
Layering for cold bike rides starts with the right foundation 💡 See it in action
Which layer actually keeps you warm—and which one makes you sweat? Read on to build a winter cycling system that works together, not against you.
Why Layering Matters for Cycling in Cold Weather
Thermoregulation While Riding
Cycling generates heat quickly, but cold air strips it away just as fast. Effective layering helps maintain a stable core temperature without overheating or freezing mid-ride.
Wind Chill vs Air Temperature
Wind chill significantly lowers perceived temperature. A 5°C ride can feel near freezing at speed, making wind protection essential in cold weather cycling gear.
Sweat Management and Overheating
Overdressing is the most common mistake. Sweat buildup leads to rapid cooling when intensity drops. Proper layering allows moisture to escape while maintaining insulation.
The 3-Layer System for Winter Cycling (Explained Simply)
Base Layer (Moisture Control)
The base layer sits directly on your skin and pulls sweat away to keep you dry. This is the foundation of any cold weather bike clothing system.
Mid Layer (Insulation Strategy)
The mid layer traps heat generated by your body while remaining breathable to prevent overheating.
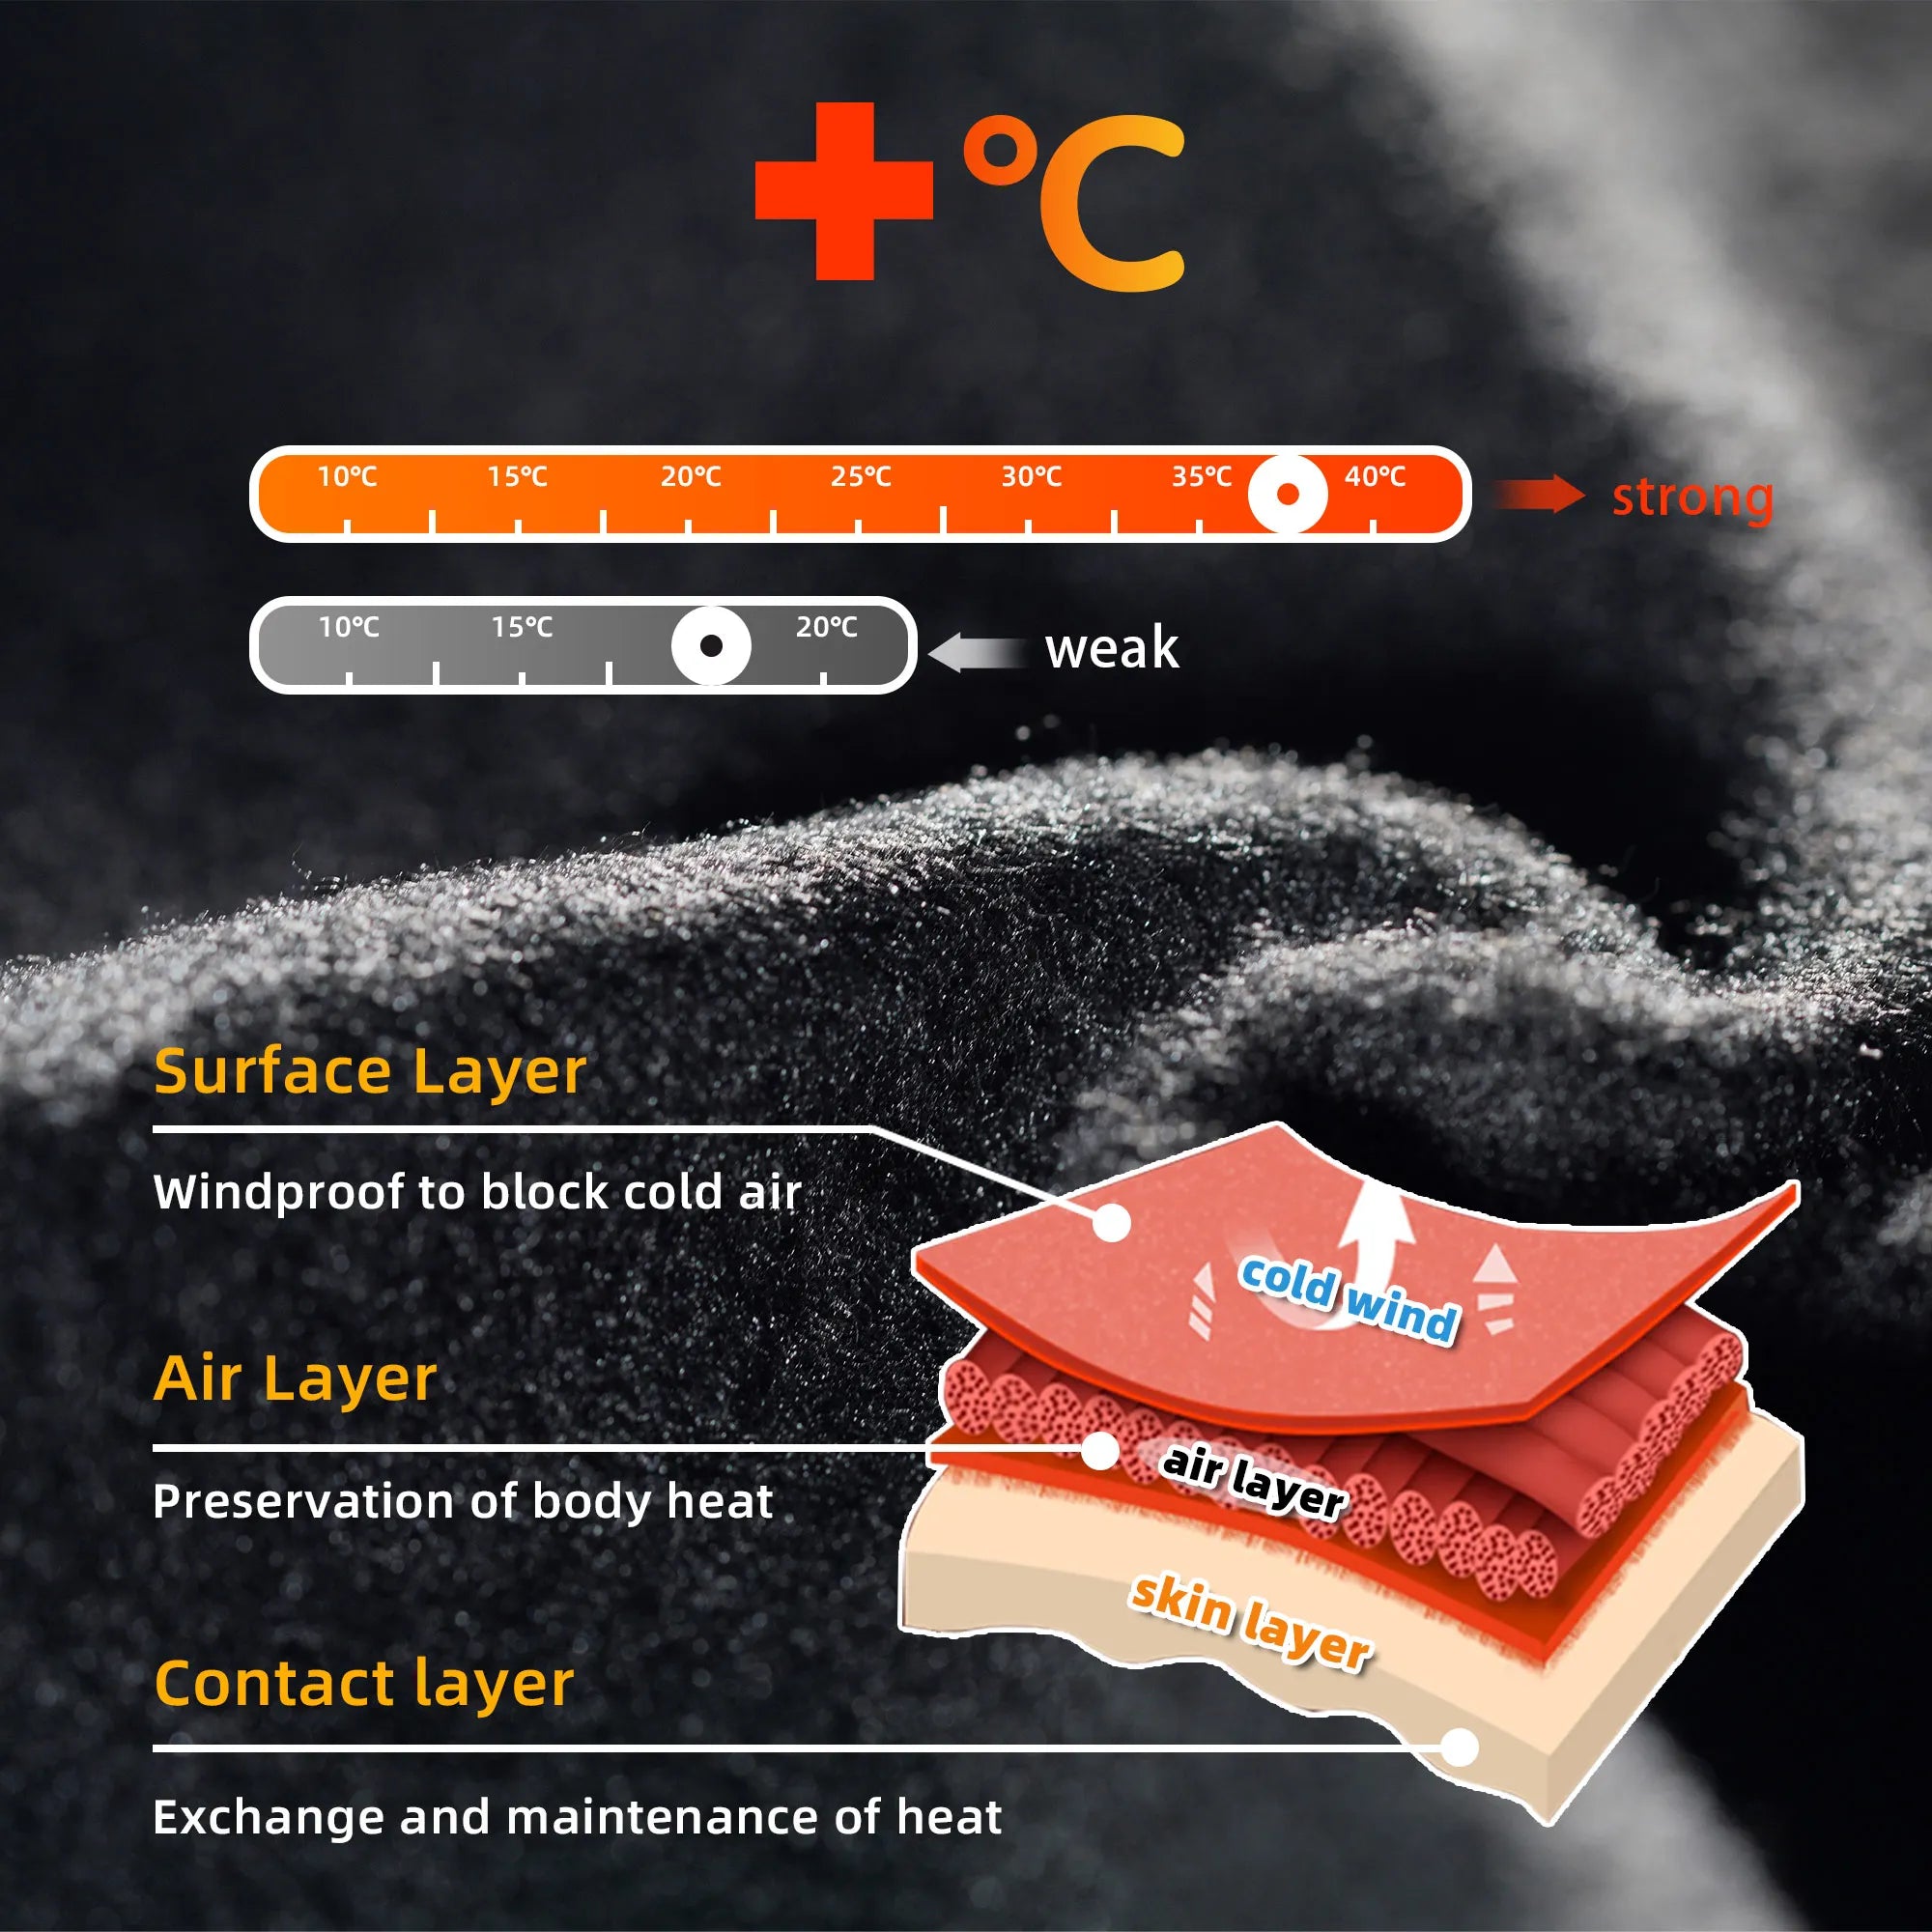
Outer Layer (Wind & Weather Protection)
The outer shell blocks wind, rain, and road spray. Breathability is essential to prevent moisture buildup inside your system.
How to Choose the Right Base Layer (Merino vs Synthetic)
Merino Wool Benefits
Merino wool regulates temperature naturally, resists odor, and stays warm even when damp—ideal for long, steady winter rides.
Synthetic Performance Fabrics
Synthetic materials excel at moisture-wicking and quick drying, making them ideal for high-intensity cycling sessions.
When to Use Each Material
- Use merino for endurance rides and colder conditions
- Use synthetic for high-output training sessions
- Blend both for versatility in changing weather
| Feature | Merino Wool | Synthetic |
|---|---|---|
| Warmth | High | Moderate |
| Moisture Control | Good | Excellent |
| Drying Speed | Slow | Fast |
| Odor Resistance | Excellent | Moderate |
Mid Layers That Trap Warmth Without Overheating
Breathability vs Insulation Balance
The best mid layers balance warmth and airflow to prevent sweat buildup.
Grid Fleece vs Thermal Jerseys
Grid fleece offers better ventilation, while thermal jerseys provide consistent warmth for steady efforts.
Adjusting for Ride Intensity
Dress lighter for high-intensity rides and add insulation for casual or stop-start cycling.
Balanced insulation keeps winter rides smooth 💡 See it in action
Outer Layers: Windproof vs Waterproof Explained
Softshell vs Hardshell Jackets
Softshell jackets provide breathability and light wind protection, while hardshells offer full waterproofing for harsh conditions.
When You Actually Need Waterproofing
Waterproof jackets are essential for rain or wet snow, but in dry cold, they can trap sweat. Choose based on weather and ride duration.
Ventilation Features That Matter
Look for zip vents, breathable panels, and adjustable cuffs to regulate airflow during effort.
Lower Body Layering for Winter Cycling
Thermal Bib Tights vs Leg Warmers
Thermal bib tights provide full insulation, while cycling leg warmers offer flexibility for changing conditions.
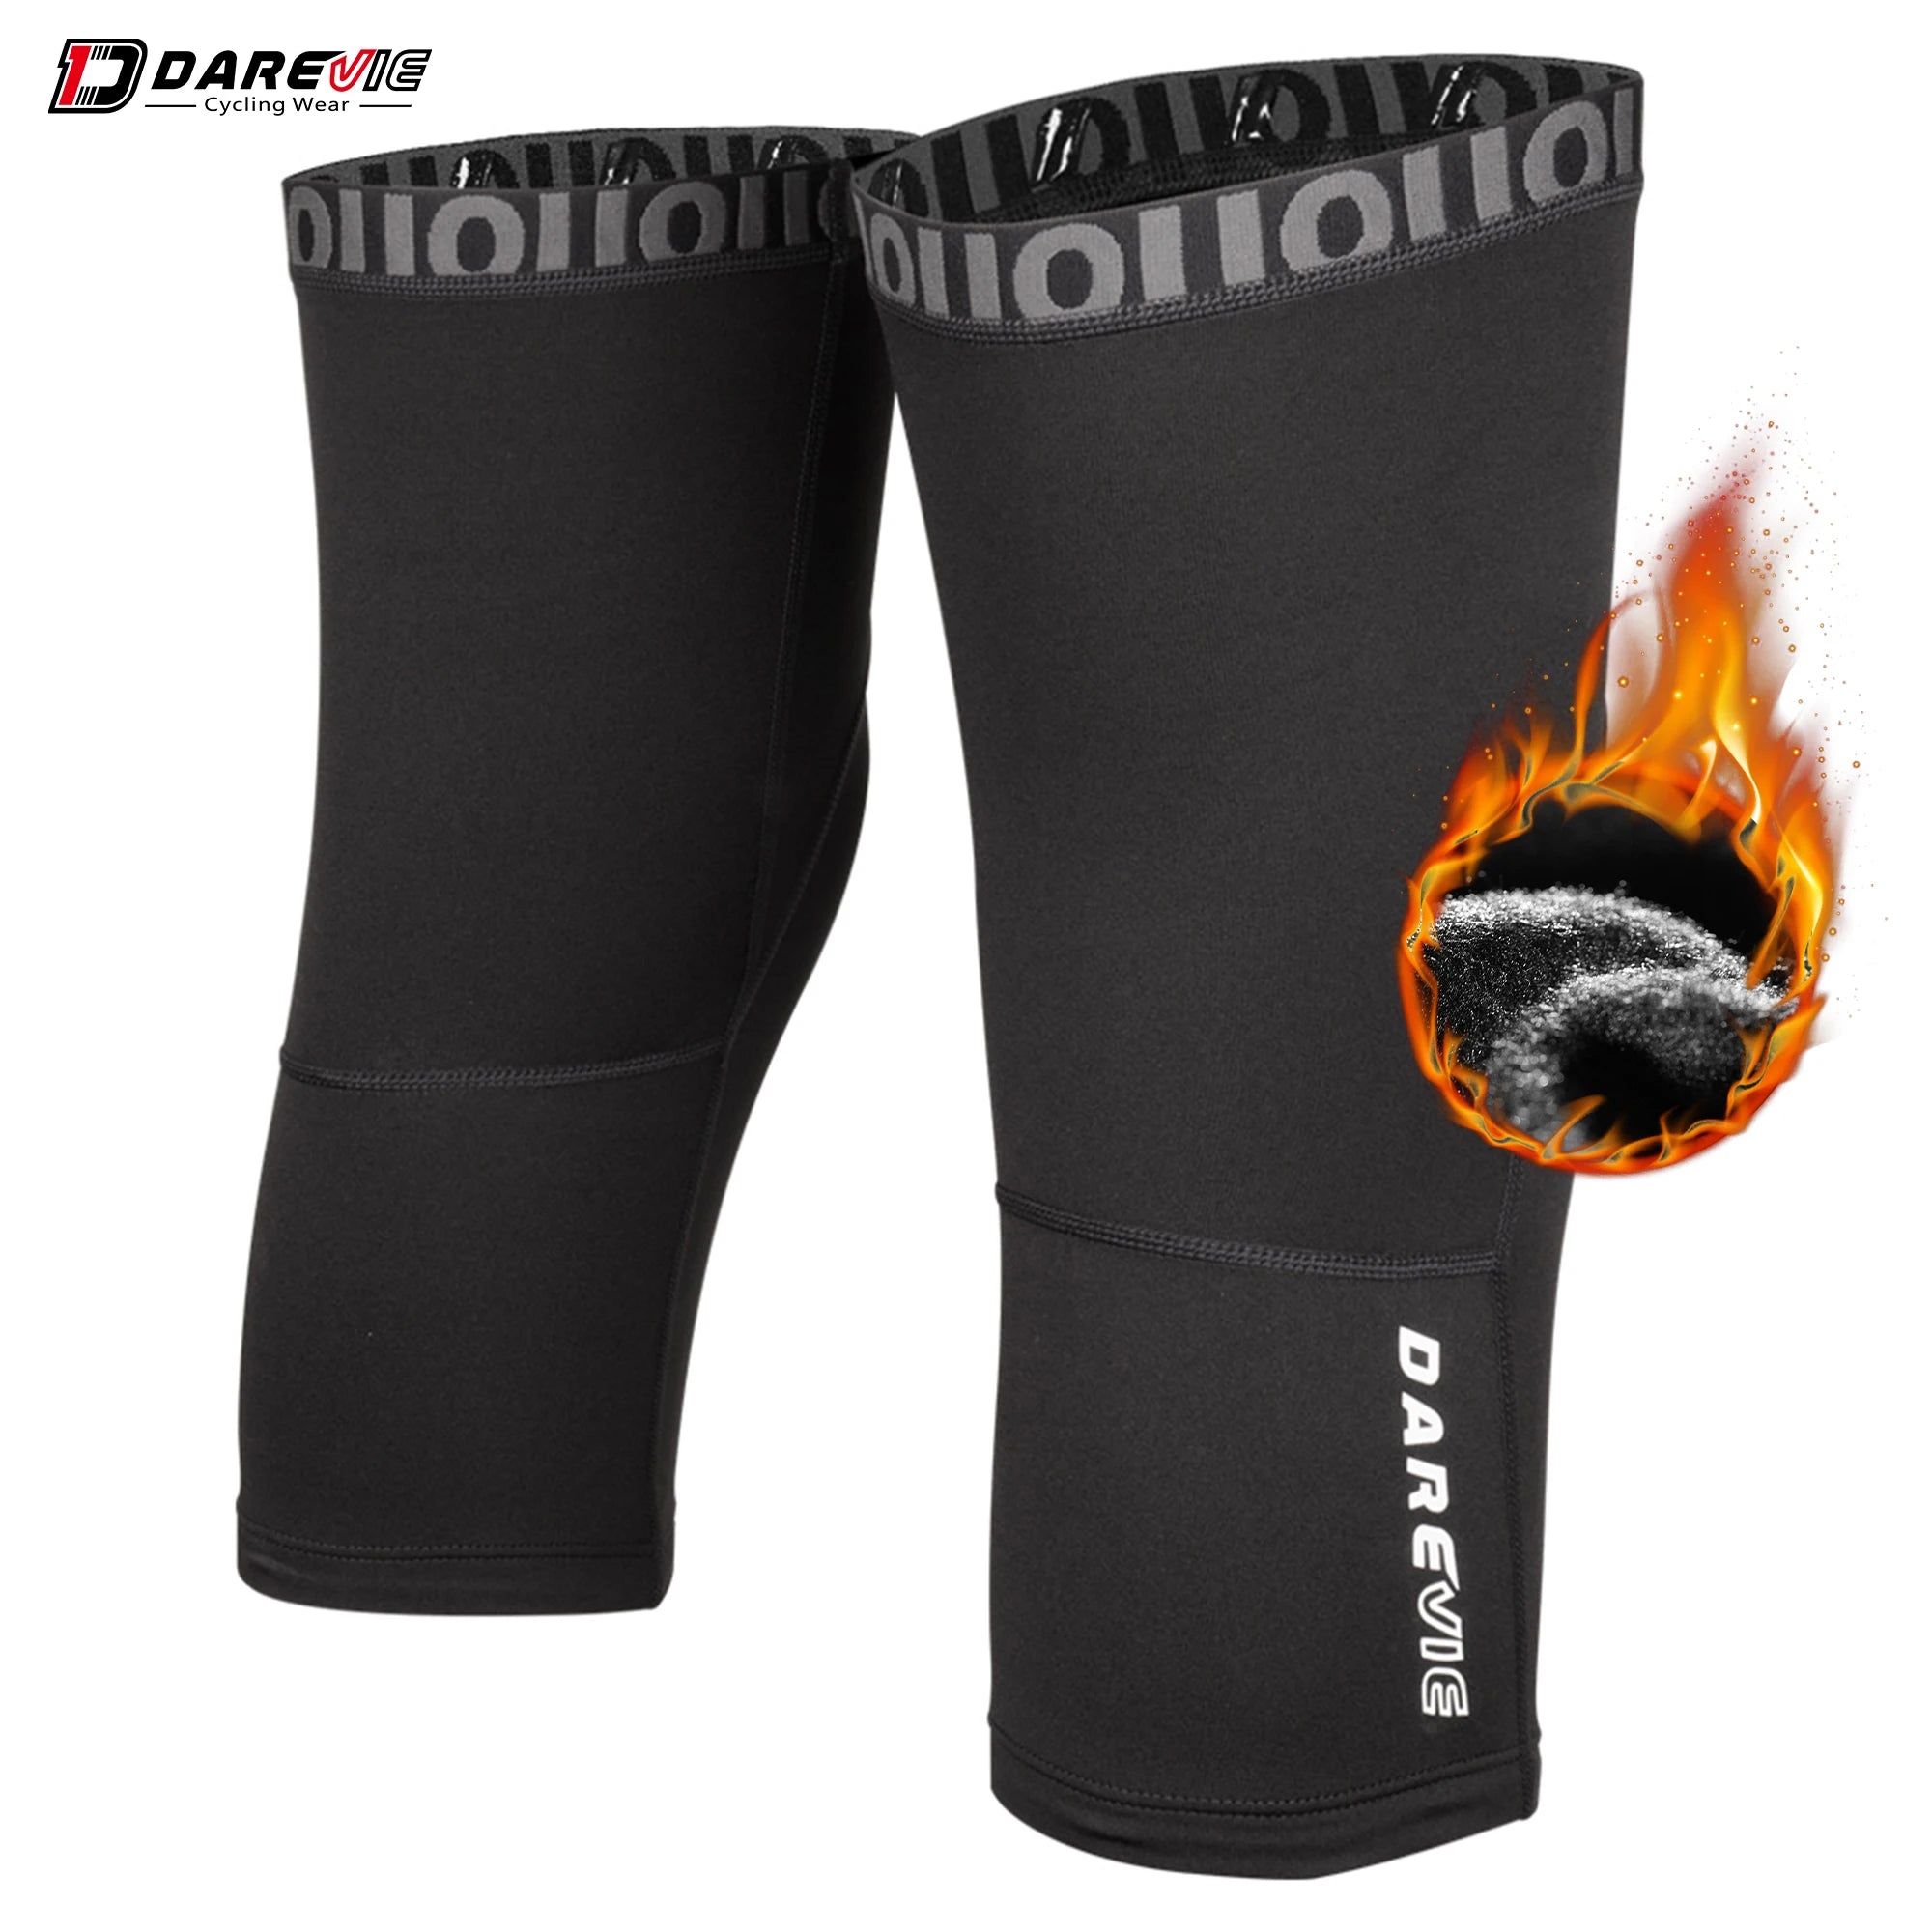
Wind Protection for Knees and Thighs
Your knees are sensitive to cold. Wind-resistant panels help prevent stiffness and discomfort.
Layering for Wet vs Dry Roads
In wet conditions, water-resistant fabrics prevent road spray from soaking through your layers.
- Protects muscles from cold stiffness
- Improves circulation during long rides
- Easy to remove as temperatures rise
- Works with existing winter cycling attire
Hands, Feet, and Head: Critical Heat Zones
Glove Layering Strategy
Use insulated gloves or a liner + shell system depending on temperature. Balance warmth and dexterity.
Shoe Covers and Thermal Socks
Thermal socks combined with windproof shoe covers help retain warmth and block cold air.
Headwear and Helmet Compatibility
A thin thermal cap or headband under your helmet reduces heat loss without affecting fit.
Layering by Temperature: What to Wear at 10°C to -5°C
10°C to 5°C (Mild Cold)
- Light base layer
- Long sleeve jersey or light thermal
- Windproof vest or light jacket
- Arm warmers and light gloves
5°C to 0°C (Cold)
- Thermal base layer
- Insulated mid layer
- Windproof jacket
- Thermal bib tights and full gloves
0°C to -5°C (Freezing Conditions)
- Heavy thermal base layer
- Insulated mid layer
- Windproof or softshell jacket
- Thermal tights, shoe covers, and insulated gloves
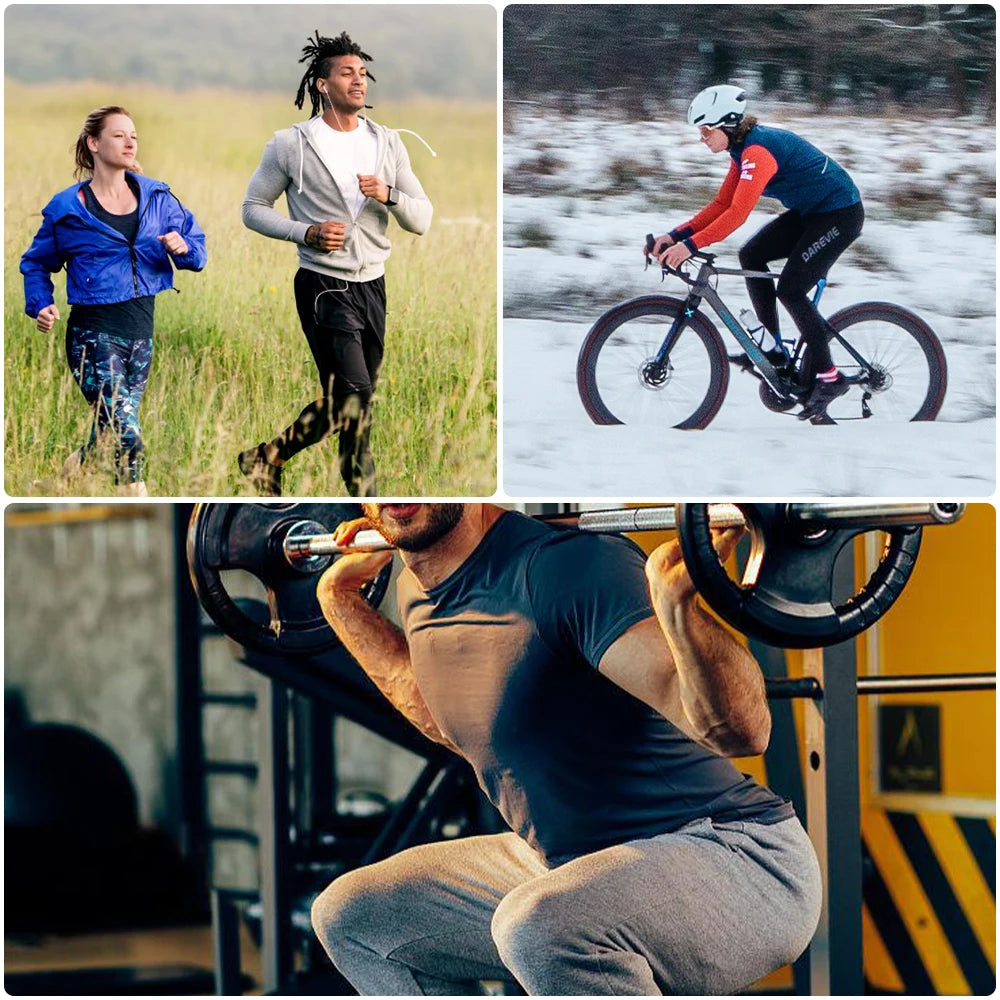
Layering for Different Riding Scenarios
Commuting vs Training
Commuters benefit from warmer setups due to stop-start riding, while training rides require more breathable layers.
Wet vs Dry Cold
Wet cold requires waterproof protection, while dry cold allows for more breathable insulation systems.
High-Intensity vs Casual Riding
High-intensity riders should dress lighter, while casual riders need more insulation from the start.
Common Winter Cycling Layering Mistakes to Avoid
- Overdressing and overheating
- Ignoring leg insulation
- Using non-breathable outer layers
- Skipping moisture-wicking base layers
Quick Layering Checklist (Before You Ride)
- Start slightly cool—you will warm up quickly
- Prioritize moisture-wicking base layers
- Ensure wind protection for exposed areas
- Adjust layers based on ride intensity
- Protect hands, feet, and head first
Ride longer with confidence 💡 See it in action
Winter Cycling Layering FAQs
How many layers do I need for cold bike rides?
Most riders stay comfortable with three layers: base, mid, and outer shell.
Are leg warmers better than thermal tights?
Leg warmers offer flexibility, especially when temperatures change mid-ride.
What’s the biggest mistake in winter cycling attire?
Overdressing, which leads to sweat buildup and rapid cooling.
What temperature is too cold for cycling?
Many cyclists ride comfortably down to -5°C with proper layering, but safety depends on wind, moisture, and experience.
Should I wear cotton in winter cycling?
No. Cotton retains moisture and increases heat loss. Always choose moisture-wicking fabrics.
How do I avoid sweating during cold rides?
Start slightly cool, use breathable layers, and adjust intensity to regulate body temperature.
- What to Wear Winter Cycling: A Simple Gear Checklist
- Cold Legs During Cycling? Fix It Before Your Next Ride
- Keeping Legs Warm Cycling Without Bulky Winter Tights
- Unisex Winter Cycling Leg Warmers Compared for Fit and Warmth
- Cycling Clothing for Cold Weather by Rider Type
- Cold Weather Bike Clothing: Features That Actually Matter
- Best Winter Leg Warmers Cycling: Top Picks Compared
Pillar Article: Not Found
Explore More: